
One of the most attractive and most iconic vintage cameras ever made, in my opinion, is the Rolleiflex Twin Lens Reflex (TLR) camera.
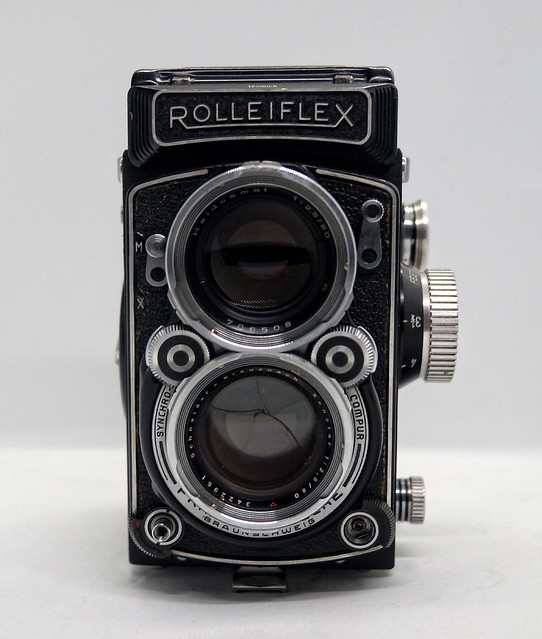
Manufactured from 1929 until (in some form) 2015, the Rolleiflex was one of the longest-running camera models ever made. It remains one of the best-known twin-lens reflex cameras, which were a big step in the evolution of camera technology. Before the TLR, cameras either required the photographer to first set the focus, and then insert the film, which could be time-consuming (see this review for an example) or employed a mirror that swung out of the way at the moment the shutter opened – which made the camera large and bulky. Putting two lenses in the camera let the photographer focus using one lens and then immediately take the shot through the other lens. Allowing continuous viewing of the subject at the moment of capture made the TLR good for portraiture – the photographer could see if the subject blinked or moved at the last minute and retake the shot immediately, rather than waiting until the film was developed to discover the shot was ruined. Eliminating the moving mirror also reduced camera shake, which was important for the slower films at the time. This article lists additional advantages and disadvantages of the TLR.
There are also “pseudo” twin lens reflex cameras. In addition to being much less expensive, differ from “real” TLRs in that the “viewing” lens is stationary and not coupled with the “taking” lens, which moves when you focus. Although you can keep viewing what you’re photographing even when the shutter opens, you can’t see in the viewing lens whether the taking lens is correctly focused. Instead, you focus the taking lens by estimating the distance to the subject, which can be both tricky. But even pseudo TLRs share some of the “real” TLR’s advantages, especially for street photography. First, the finder is the entire top of the camera and is BIG – usually 6×6 cm – giving an excellent view of the subject, rather than making you squint through a tiny viewfinder. Second, the camera hangs at your waist, and you compose your photo by looking downward, rather than looking through a camera pointed at your subject. With a TLR, your subject is often completely unaware that you’re photographing them.
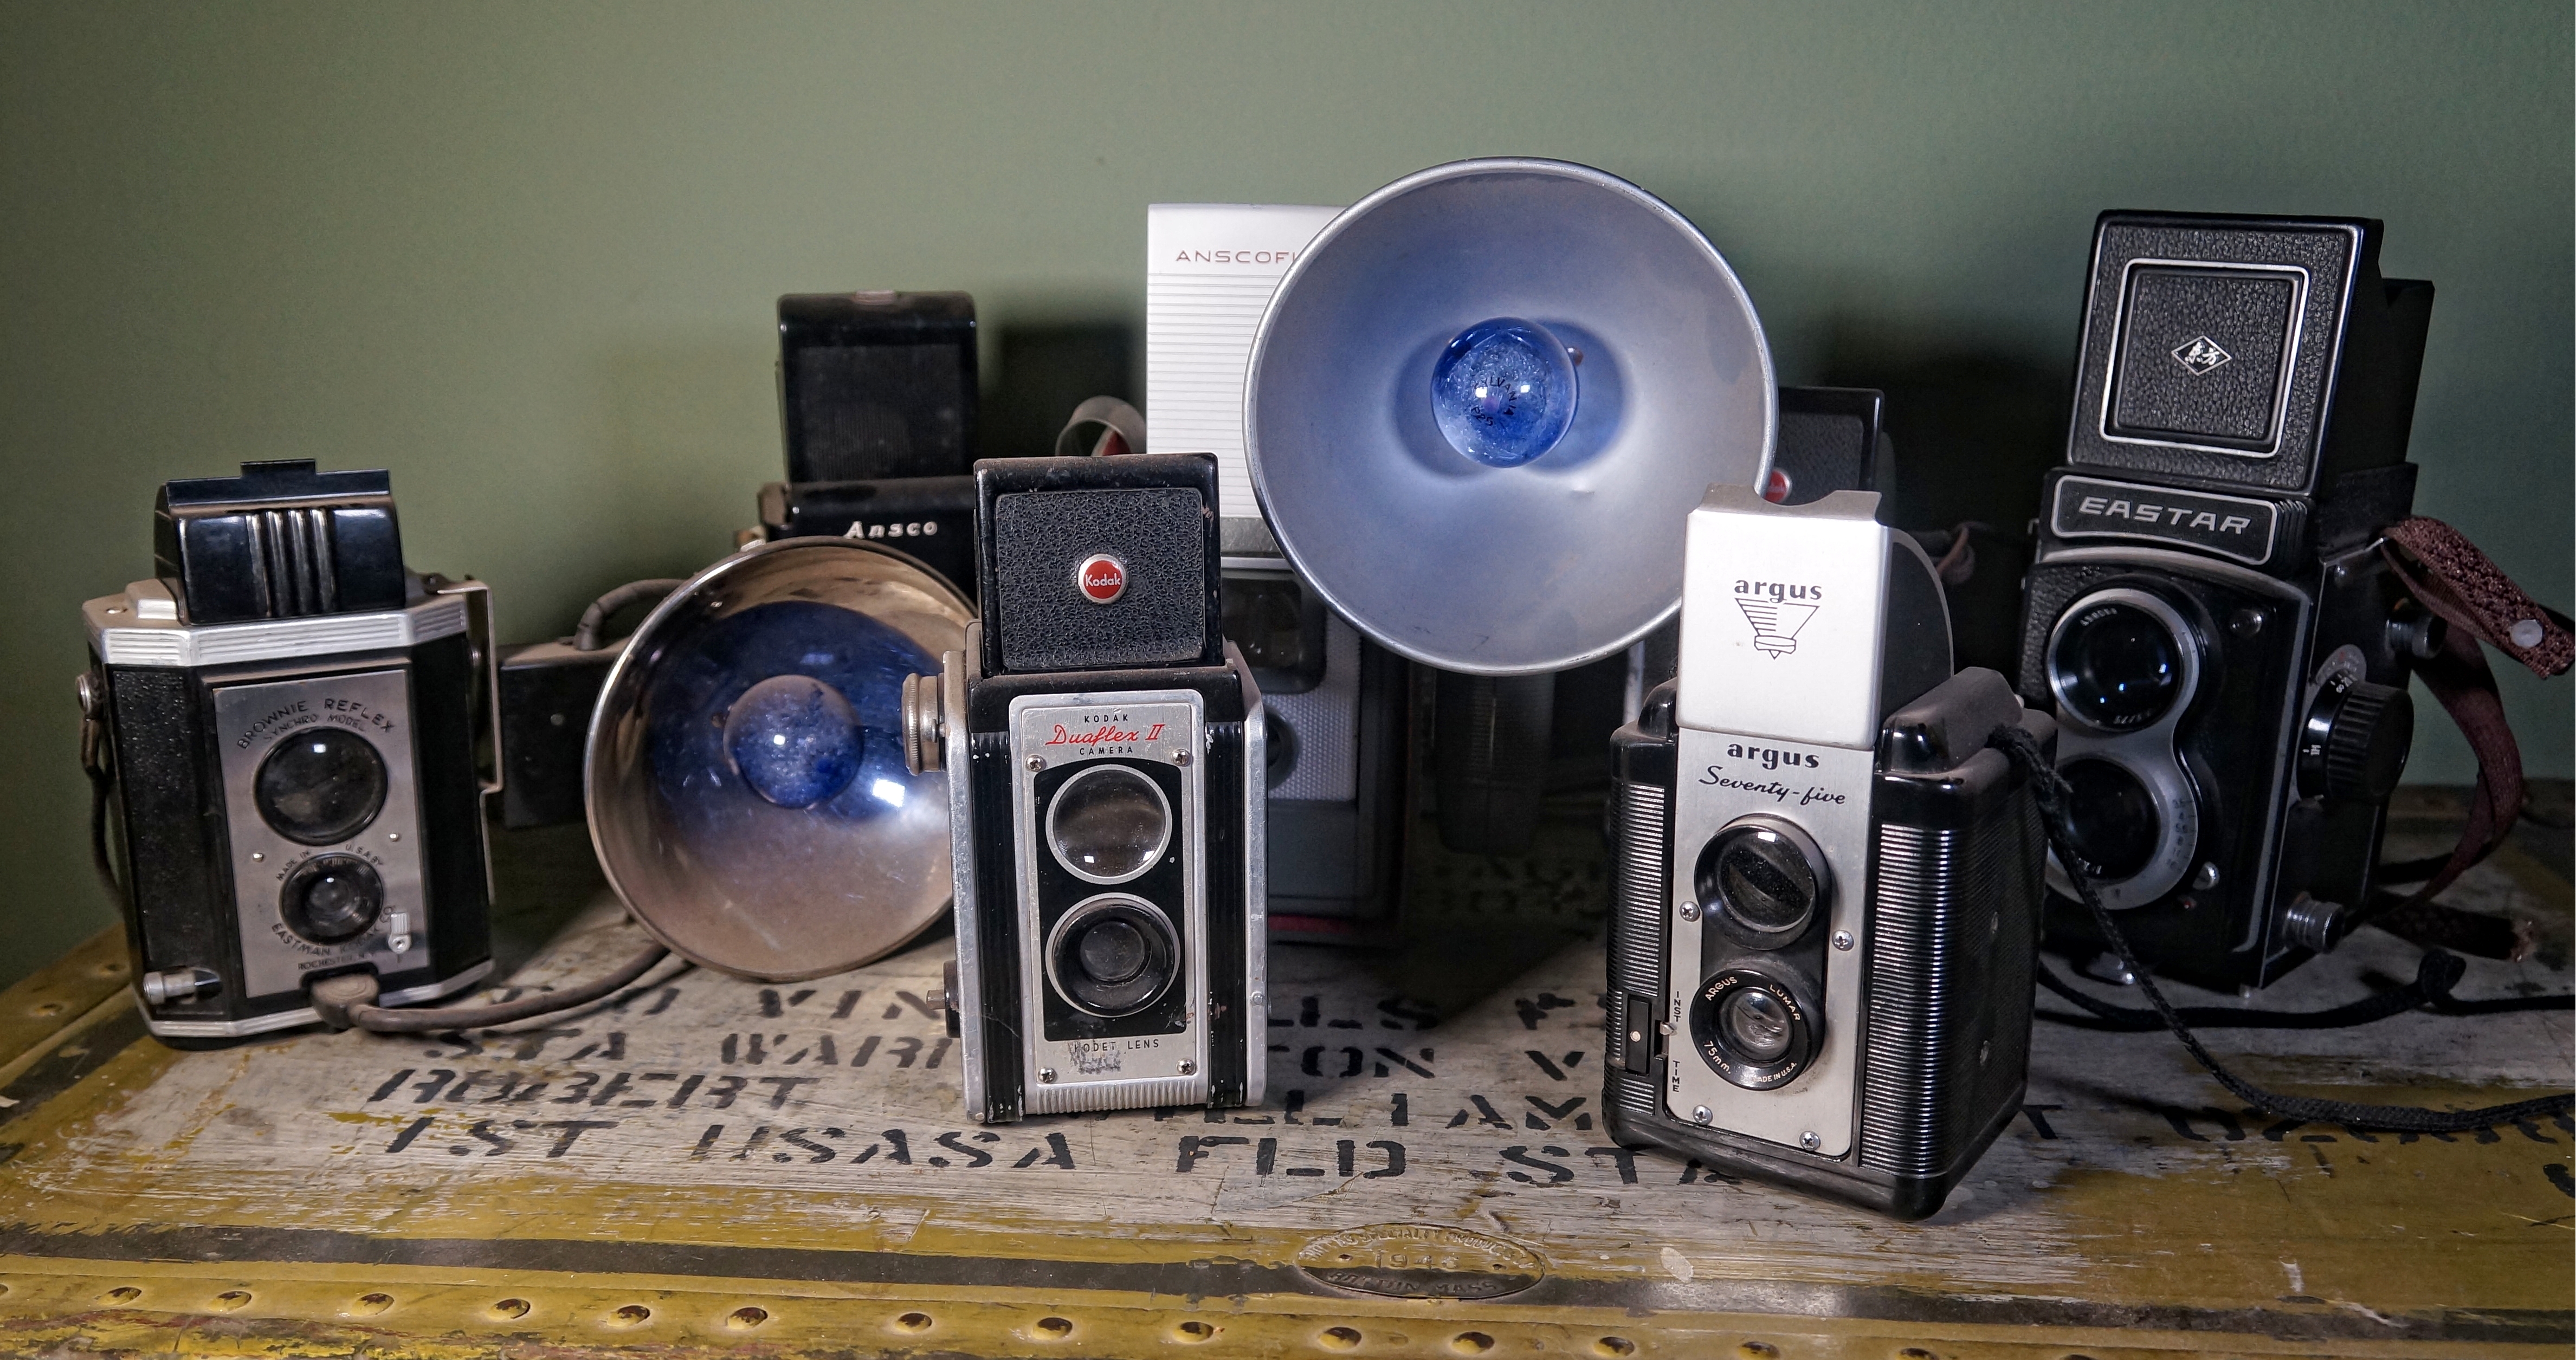 pseudo TLRs in my collection
The Rolleiflex viewing and taking lenses are coupled and move in unison when you focus. This means that what you see in the viewing lens should match what your film “sees” in the taking lens, minus a bit of parallax effect because the lenses are a few inches apart.
This is the first camera I’ve bought that was CLA’ed (cleaned, lubricated and adjusted by a specialist) prior to purchase. Most of the cameras I buy are your typical “junk store camera” that can be had for less than 50 bucks, and are not worth the several hundred dollar cost of a CLA. A Rolleiflex in good condition, however, will run you hundreds of dollars without a CLA, however – and it’s not uncommon to see them running four figures if they’re in excellent condition and have been recently serviced. This particular camera was an excellent deal, having been recently serviced but still selling for a reasonable price, so when I spotted it for sale, I made the leap and patiently waited for it to arrive in Madagascar.
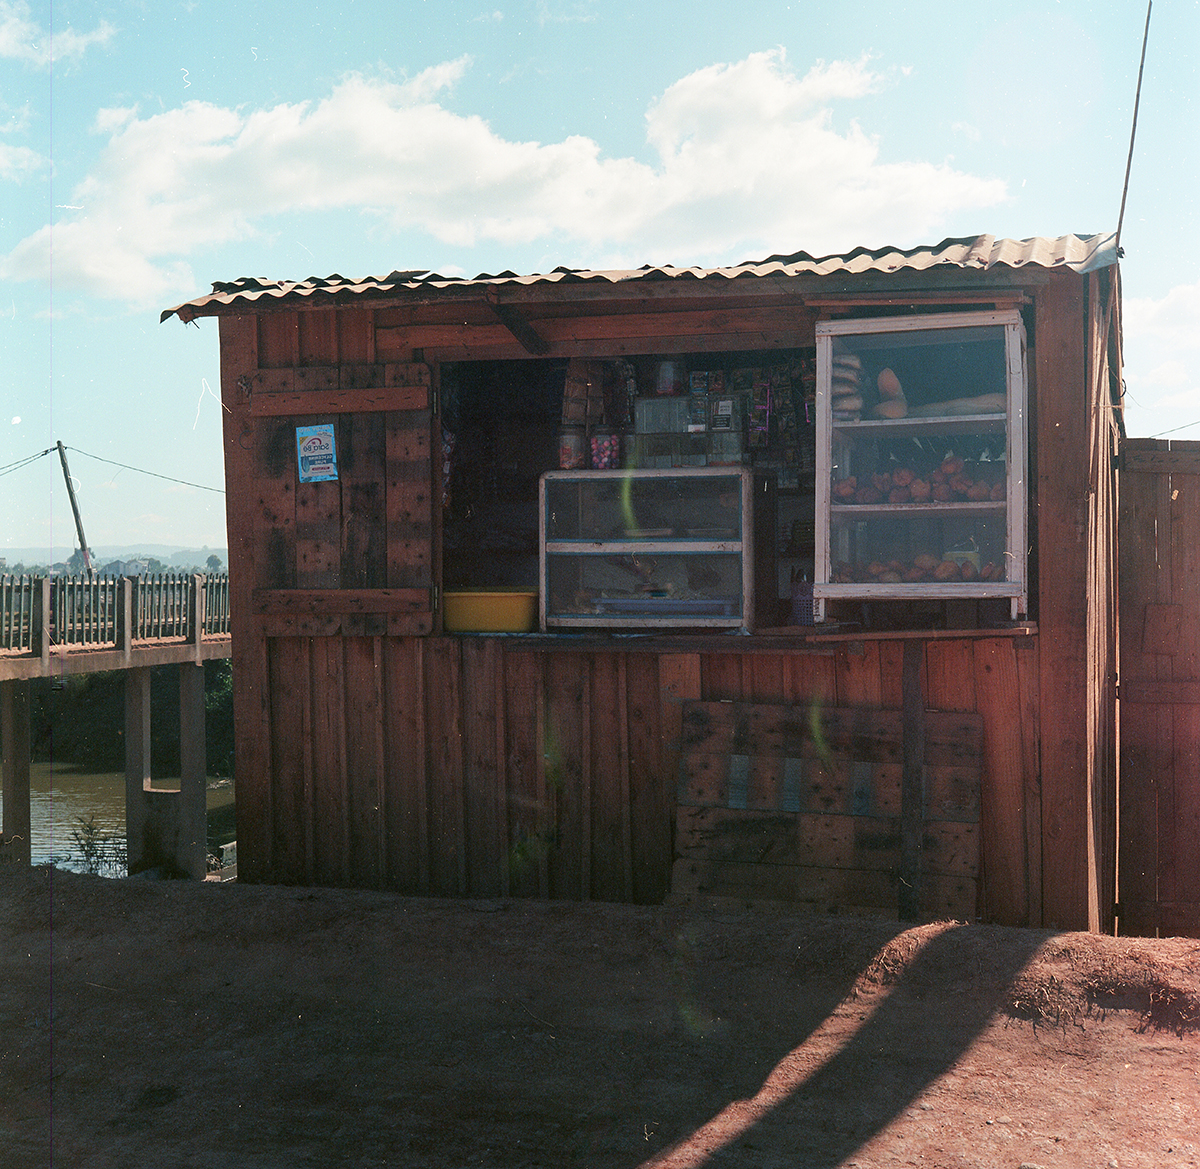
And so it was with some anticipation and excitement that I loaded my first roll of film into the camera when it finally did arrive. A roll of Ektar 100 color film. The late afternoon light was fading, but I couldn’t wait to snap a few shots, so I had the dogs pose by the pond and shot a few potted plants. The next day, I took it along with me on the (motorcycle) commute to work and snapped a few photos along the way.
How does it shoot?
This is a hefty camera that feels solid and well-built in your hands. But its size and shape make it a bit awkward in your hand – I constantly felt like I didn’t have a solid grip and worried I’d bump into something and drop it. So I ordered a neck strap for it – they’re readily available online. The shutter and aperture adjustment knobs take a bit of getting used to – you have to press inward on a release as you rotate the knob, and the shutter release also has a lock that has to be moved out of the way in order to be able to shoot. But once it’s set, it stays in place.

I really like the solid sound and feel of the shutter on many vintage cameras. On this camera, you barely notice it, so it’s not quite as satisfying. But a lot less happens when you press the shutter button on a Rolleiflex, I reminded myself. There is no fabric shutter or mirror being moved out of the way – just the 10 leaves of the taking lens shutter, and nothing else. The silence of the shutter can be an advantage.
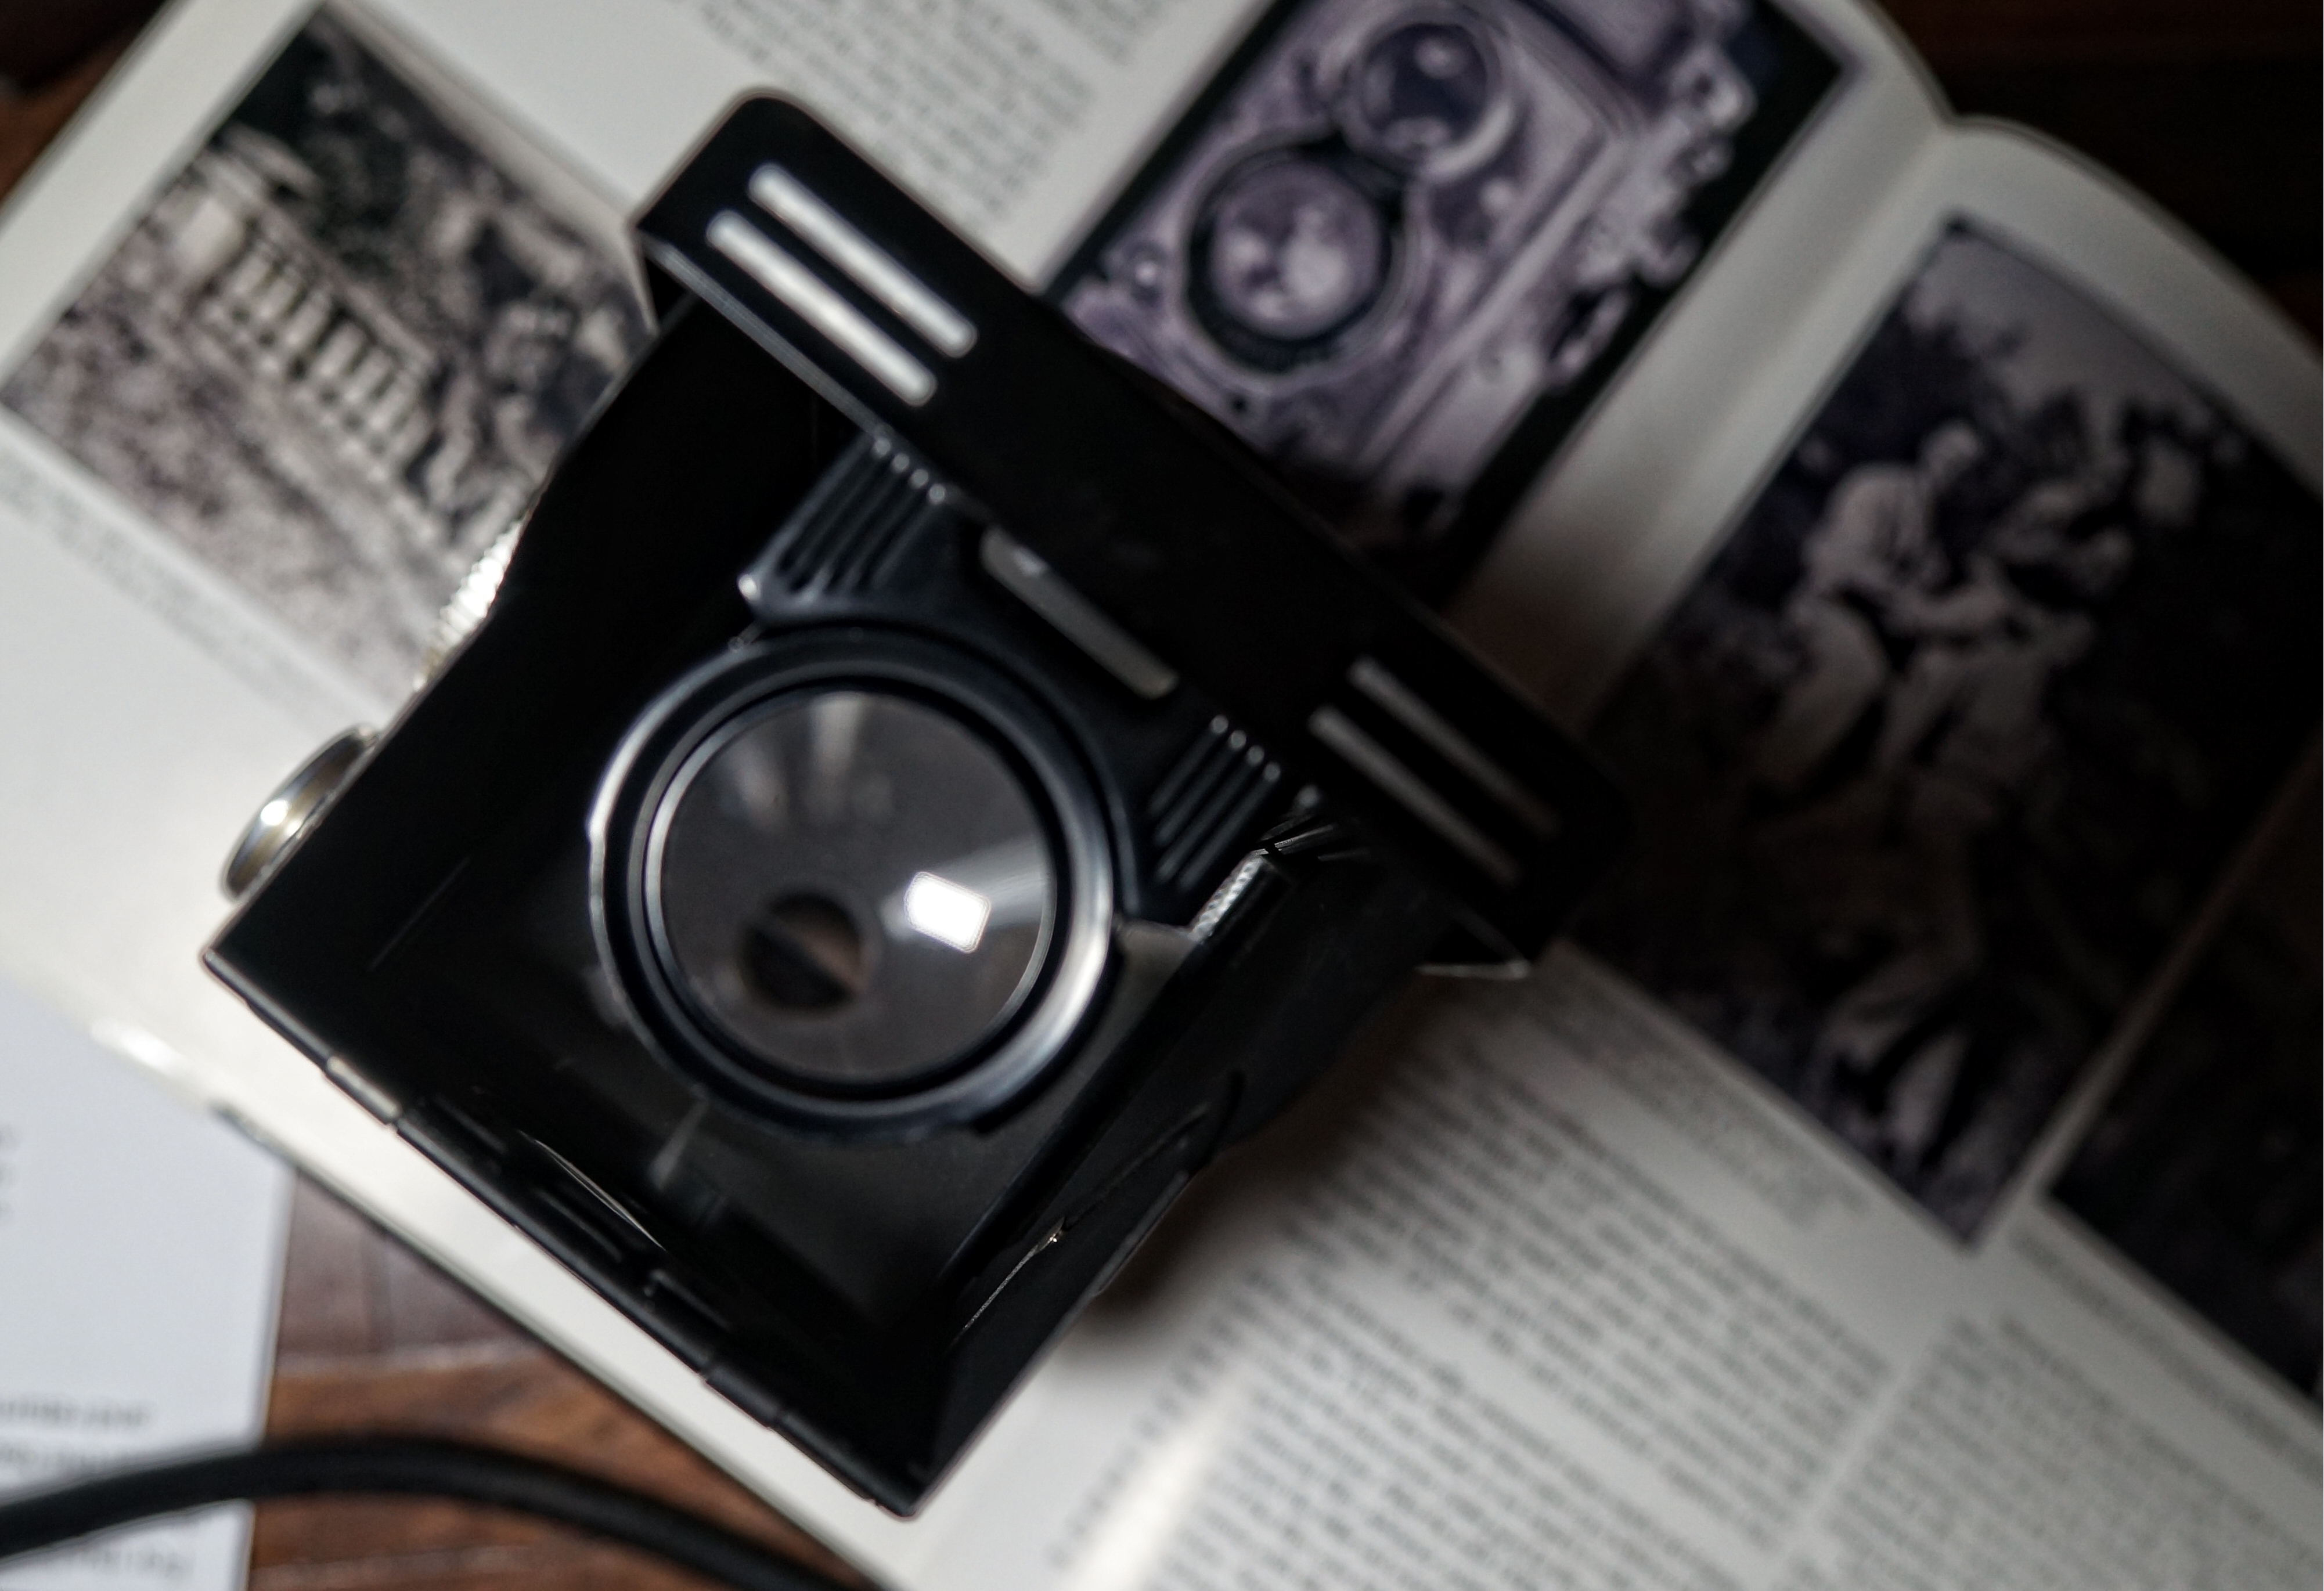
I was also surprised to find that focusing was a bit more difficult than I expected. Overall, the clarity, size and brightness of the viewfinder are a real joy to look at. The image you see reflected in the viewfinder has a real 3-D feel to it, with the subject looking sharp and the background somehow less sharp. In fact, it raises your expectation of the photo that will result. But you have to remind yourself to focus, which is done using only the center of the viewfinder, just a few millimeters across. It’s difficult to tell if something is focused correctly unless you flip out the additional magnifying lens – and all of this takes time. But I imagine this is something I’ll get the hang of – just like I’ll get the hang of moving the camera to the right and the image in the viewfinder moves left; composing the photo takes a few seconds longer than through an SLR.
Results: First Roll – “This One is Too Dark”
To be honest, the first roll was disappointing. As I said, the bright viewfinder fools you into thinking the pictures will turn out perfect; but immediately after processing the film, as I unspooled the roll to dry, I could see that things hadn’t turned out. Several overlapping shots, several areas where a few faint marks on the negative and not much else told me I had significantly underexposed the roll. Scanning would confirm this, and in addition, several shots that looked fine initially were out of focus. The few correctly exposed and focused shots were ruined because I had kinked the film while spooling it (I’m a bit out of practice with 120).
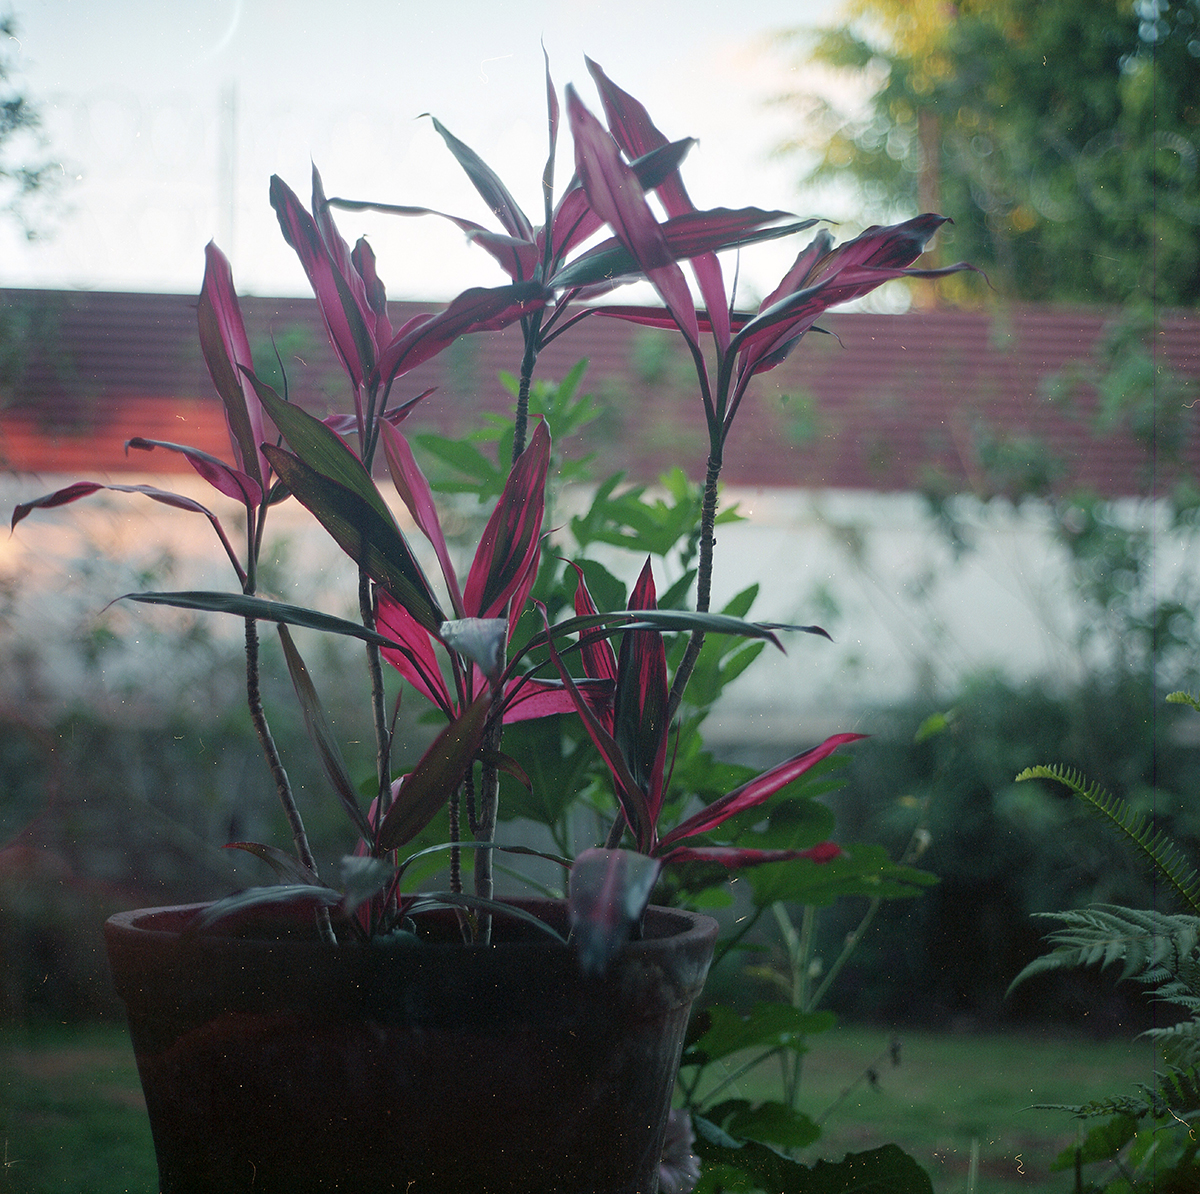


Though the photos were disappointing, I accepted this as user error and didn’t blame the camera. I could see there was potential – correctly focused, the lenses were sharp and clear, and a 6cm by 6cm negative has a lot of advantages. Sure, the images are square, which is unusual and may not be your cup of tea. As far as I know, all TLR and pseudo TLR cameras take square photos – maybe a good thing, given you can’t really turn it sideways to switch from portrait to landscape. But the size of the negatives means there’s an enormous amount of visual information recorded – the scans are 30 MB each – meaning you can crop to whatever size and aspect ratio you want without any problem. To illustrate the amount of detail in each photo, here’s a small square from the photo above, shown at “full” size:

Results: Second Roll – “This One is Too Light”
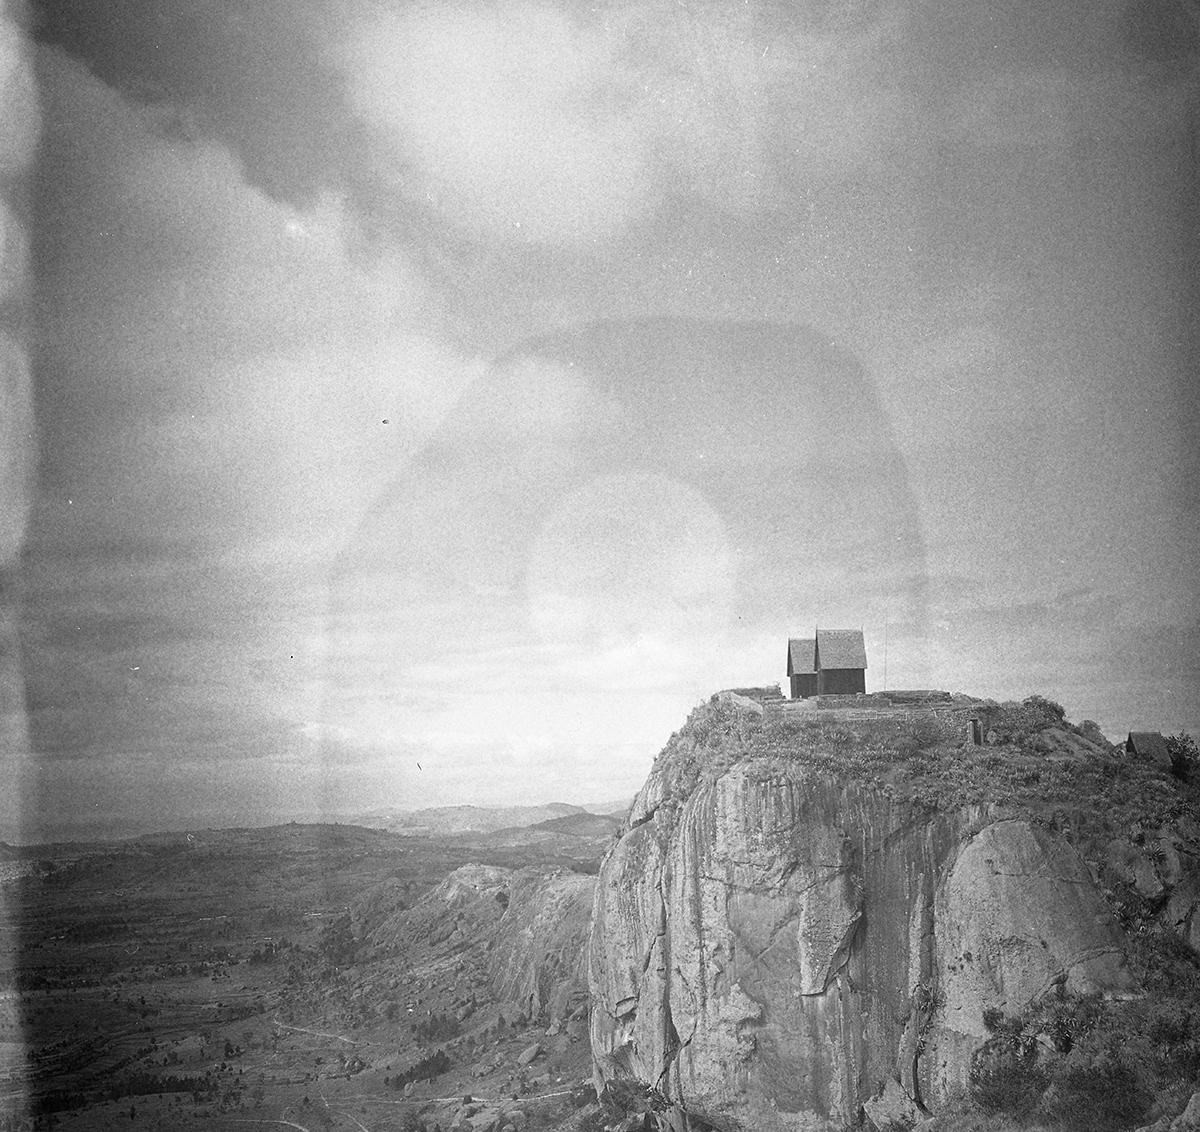
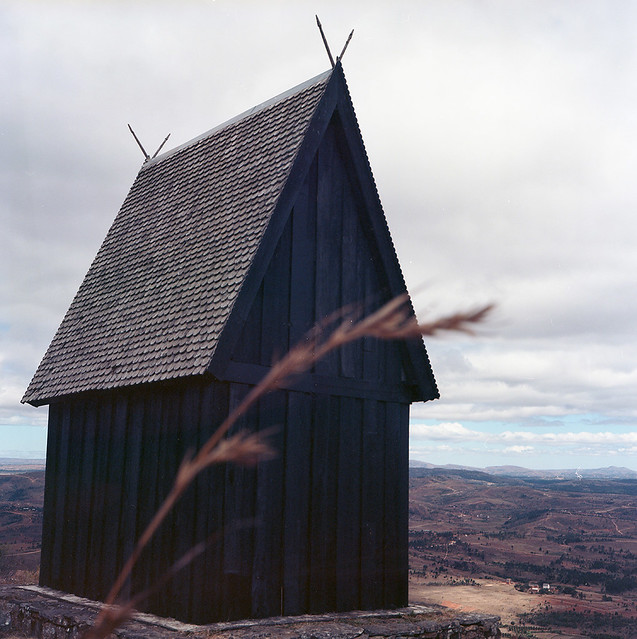
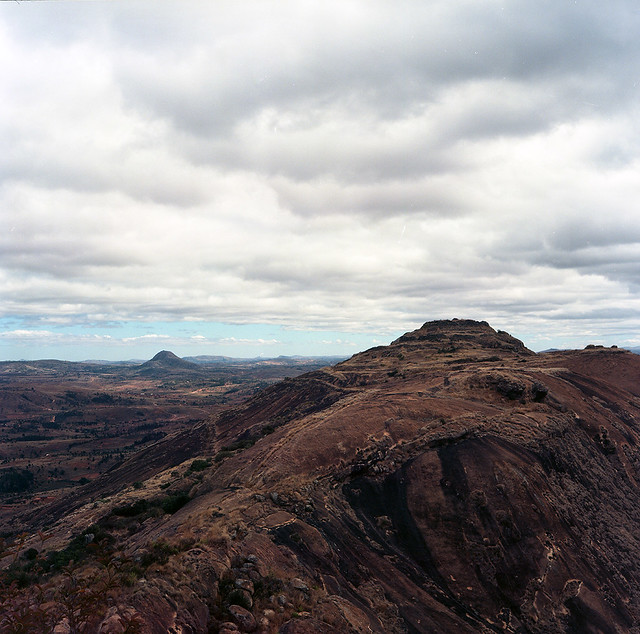
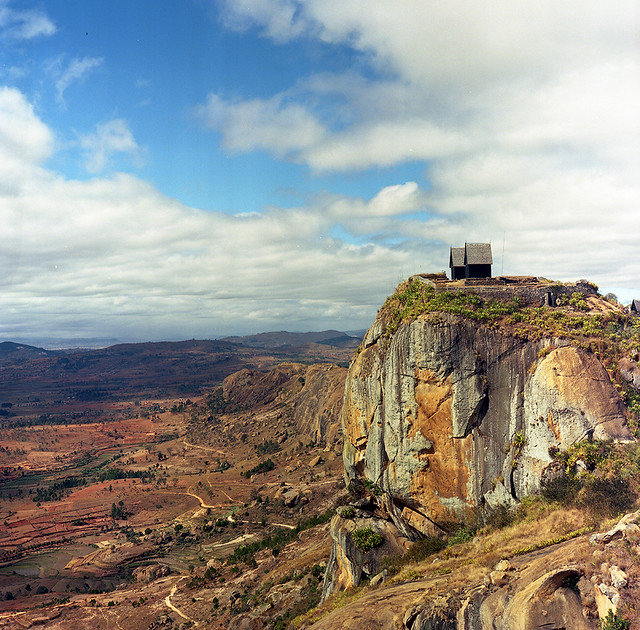
So I decided to have another go at it. This time with a roll of Tri-X 400. I used a light meter app on my iPhone I’ve used without any issues previously and headed out into the countryside. We went to Antongona with the dogs, an archaeological site near Antananarivo, Madagascar, which has two traditional houses built on top of a rock that offers amazing 360-degree vistas.
Once again, the results were less than ideal. The faded area along the left side was from not having used enough developer – stupid rookie error, except I’m not really a rookie. What I can’t figure out is why there appear to be odd reflections in some of the images. I vaguely remember at some point noticing that the bottom of the camera wasn’t fully closed – but I can’t remember if this happened when I had this film loaded. This camera is supposedly so carefully engineered that it manages to be light-tight without having to add the thin layer of felt or rubber so often seen lining the seams of many older camera. So it’s conceivable I didnt have the back door of the camera completely snapped in place. Hopefully!
The other issue is that all the shots on this roll are slightly overexposed. No idea why, but this will come back in roll 3.


Results: Third Roll – “This One is Just Right”
Once I was done with the Tri-X roll, I decided to pop another roll of Ektar 100 into the camera, not knowing that my Tri-X had been overexposed. Except for whatever reason, I thought the Ektar was 400 speed. So that’s what I input into the light meter app in my iPhone. And shortly after I started shooting, I realized that, for whatever reason, the focus knob was having no effect on the camera. (I’d later realize, thanks to advice from Jimmy Koh, who did the CLA for the camera, that the screw under the focus knob was loose and simply tightening it solved the problem). So all the photos were shot at infinity focus.
And yet somehow, everything turned out. Every single photo was beautiful, in focus, and correctly exposed – but only because I was metering for 400 film and shooting with 100 film, and my focus was stuck at infinity.
So the verdict on this camera? Amazing detail, sharp lens, and great potential when you manage to get it right. I look forward to many years of additional experimentation with this camera – the neck strap is in the mail and I’ve got plenty of 120 film in the freezer. But I will be bracketing for exposure until I can figure out what kind of exposure this camera “likes.”

Pingback: Recommended reading : Down the Road