Here’s a fun trick to try at night if you own a camera that can take 30 second exposures, a decent, fully-charged camera battery, and a tripod. This is not the best example, but it’s what you should be able to get on your first attempt, with about 25 minutes’ worth of shooting.
To get effective star trails, you’ll want to go somewhere where you can avoid ambient city light, airplanes taking off from an airport, strong moonlight, things like that. Too much ambient light will make the stars more difficult to see, and if something passes through your shot it will create stray lines.
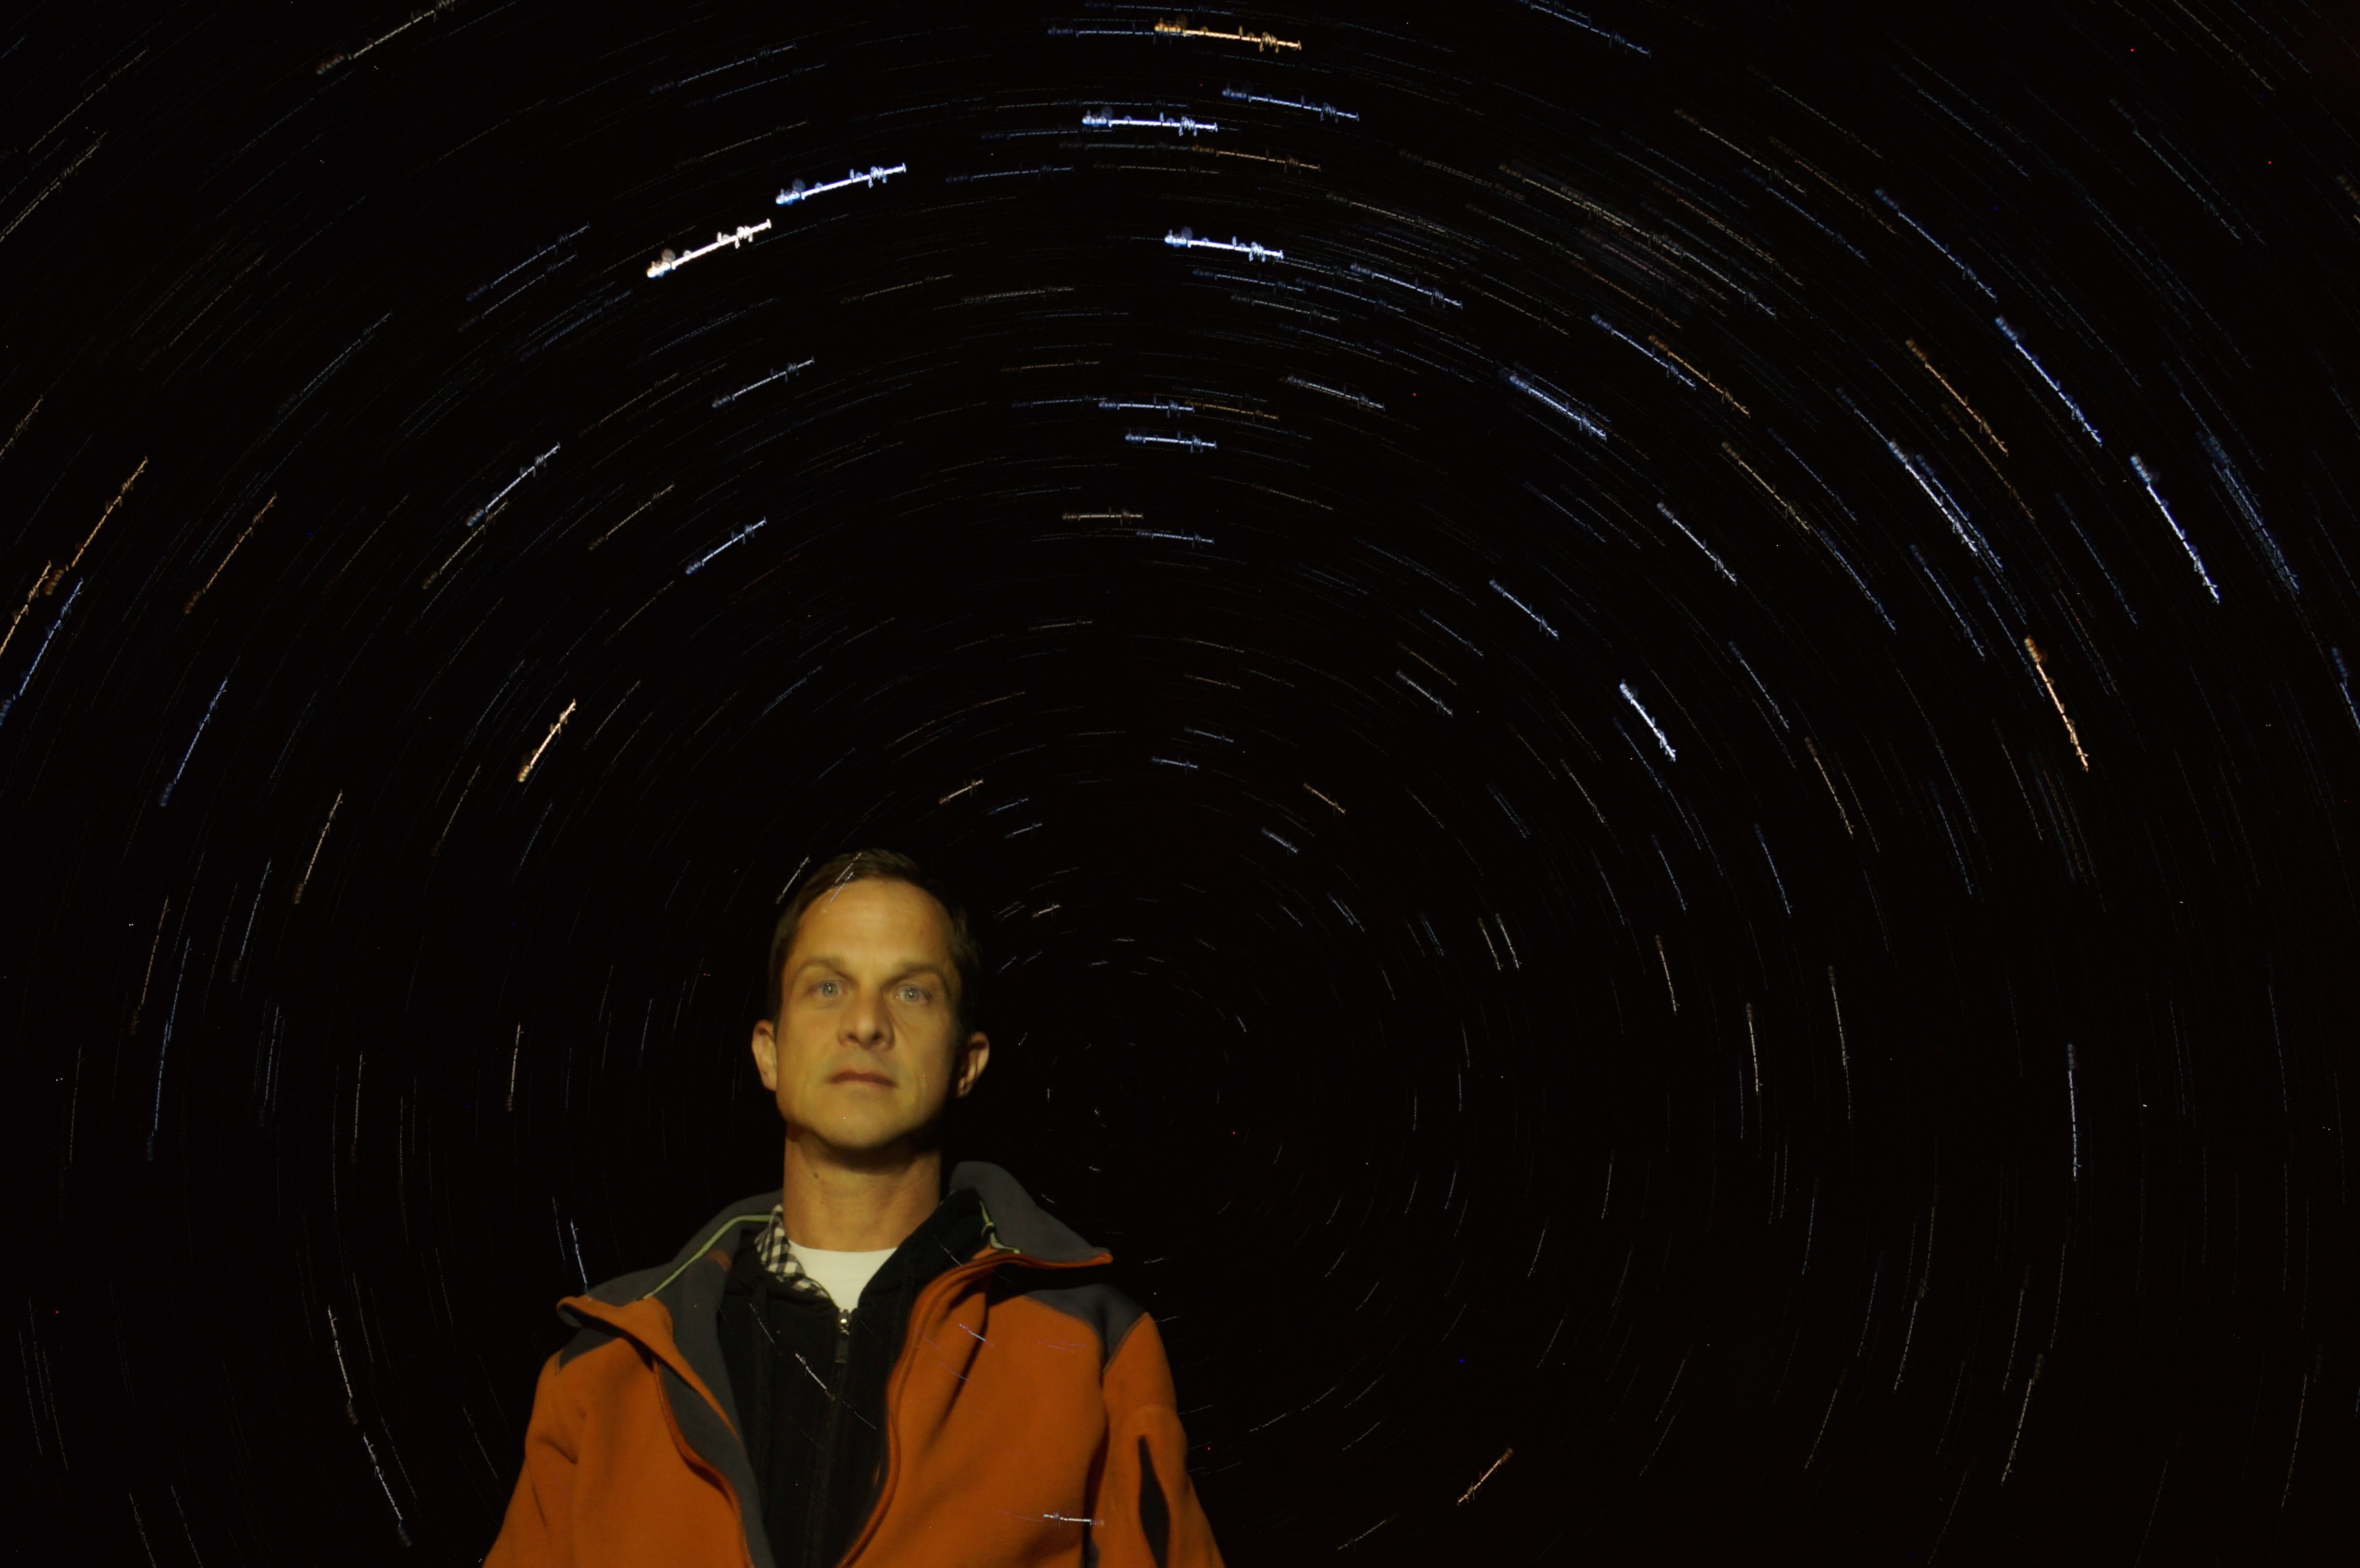
So now what? first, it’s best to find your “celestial pole.” This is an imaginary point in the sky that aligns with the earth’s pole, and due to the earth’s rotation, all stars will appear to rotate around that point. In the photo above, it’s next to my head. How do you find your celestial pole?
If you live in the northern hemisphere, you’re looking for the north star, or Polaris. Most people know how to find the big dipper. Follow the imaginary line extending from the end of the dipper, and you’ll be led to Polaris, as in the diagram below:
In the southern hemisphere, where I currently live, it’s a bit trickier because there are no visible stars near the southern celestial pole. For this exercise, you’ll need to find the constellation Crux, also known as the Southern Cross:
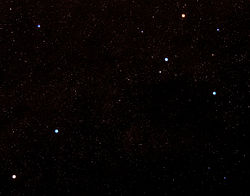
Knowing roughly which direction is south is helpful. The diamond on the top right above is Crux. I find the southern celestial pole by taking the vertical axis of Crux, and following along an imaginary line extending through that axis and out the bottom. About 4.5 times the length of Crux’s axis down that line is where you’ll find the pole. Here’s another way in case my method doesn’t work for you.
Having the celestial pole somewhere in your photo makes it more interesting. As does having something on the ground – a bush, tree, or yourself. Or you can deliberately avoid the celestial pole. Just know that the stars will appear to rotate around the celestial pole.
Now you’ll want to set up your camera and tripod, and take a few sample photos. I would start with a mid-range f-stop and ISO setting. In the photo above, I used f/11 and ISO 800 just to try things out, but it will depend on your gear and how dark the sky is where you live. I think I need to use more like f/5.6 with ISO 800, but you’ll need to experiment. Set your exposure to 30 seconds and see what you get. What you want to see is a bunch of stars – any weird glow, or a completely dark sky and you need to change your settings.
Once you’ve got everything right, you’ll need to double check that your tripod is not going to wobble, double check your settings, and then, preferably using a remote or wire release, start taking 30-second exposures nonstop. If you have a way to do this automatically, great – or you can just do it manually, for at least half an hour. If you wait too long between exposures, you will get gaps in your trails. If your camera has a delay before it can take another photo, check to see that your noise reduction is turned off, you’re not taking RAW photos, or anything else that requires your camera to accomplish additional tasks. Worst case, you can try reducing the resolution of your photos. Using a remote is nice but not necessary. Slight jiggles of the camera on a 30-second exposure are not a big deal – just make sure you don’t shift the camera permanently.
If you want to put yourself in the photo, all you need is a flashlight to illuminate yourself, and then step briefly in front of the camera on one of the exposures. Later on, you can use Photoshop to clean up the stray star trails that will appear to run through you.
So now 30 minutes have gone by, and you should have about 60 photos. Now you will need to “stack” them – use a program to add all of the tiny trails together. You can do this picture-by-picture with Photoshop, or you can use several different programs. Startrails and StarStax are free, and Image Stacker costs 17 bucks (US).
Always happy for any additional advice. Meanwhile, check out these star trails on Flickr.
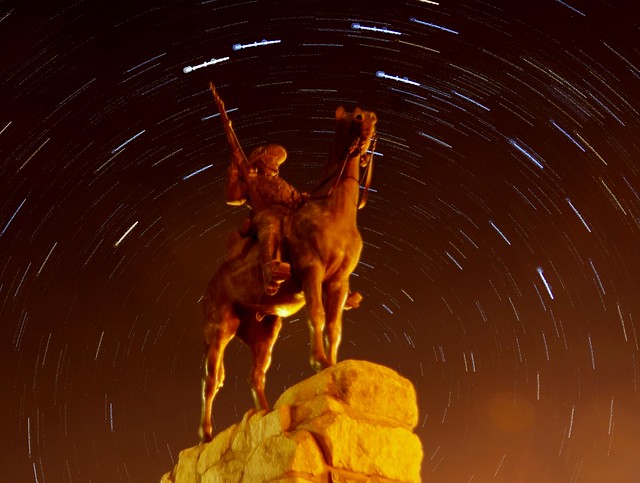
Update: Here’s another example. This is what can happen with too much ambient light, and forgetting to turn off autofocus!