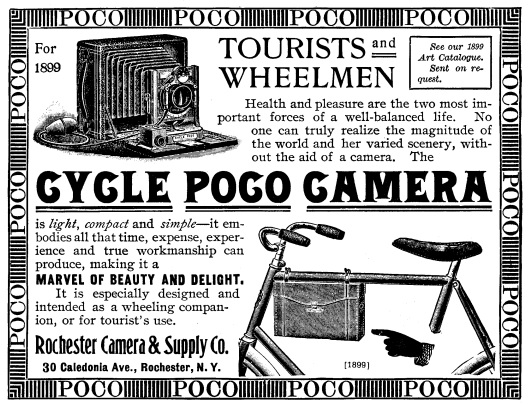
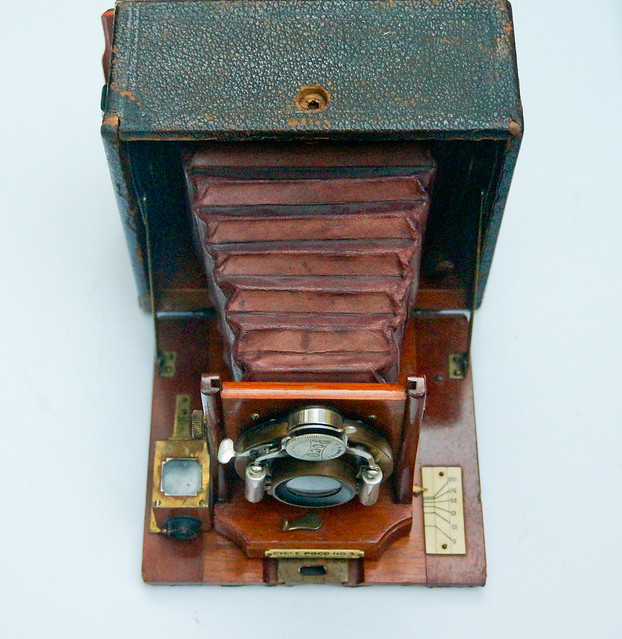
That DSLR you bought a couple months ago – do you think it will still work in the year 2130? Sounds ridiculous? That’s basically the equivalent of taking photos with a Cycle Poco No. 3, manufactured by the Rochester Camera Company between 1893 and 1905. This one is from after 1897, because the finder on the side has a 1897 patent date stamped on it. But the crazy thing is, there is no reason to think it won’t still function in 2140, if it’s looked after properly.
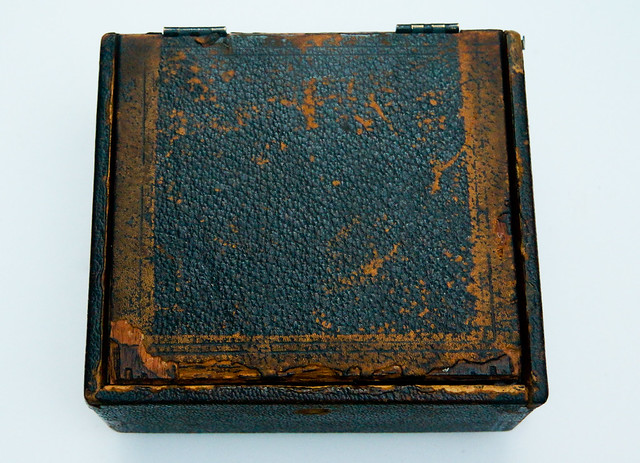
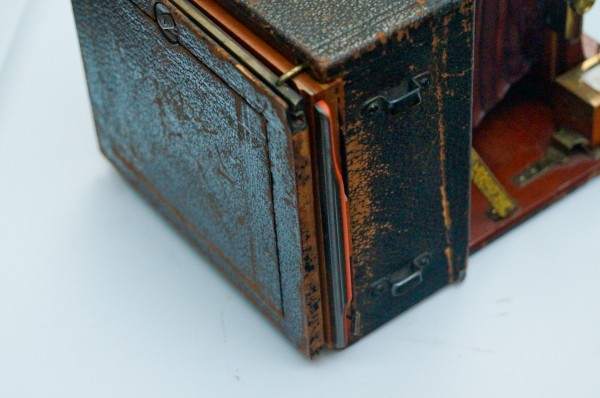
Not only does this camera get high marks for longevity, it’s also quite something to look at. Crafted from mahogany and red Russian leather, with intricately marked brass fittings, it initially looks delicate. It’s strange to think that this camera was specifically designed to withstand rougher use than most cameras of that time period: it was designed to be hung on the crossbar of a bicycle, for a two-wheeler photography outing – hence the name “cycle” poco (Italian for “small”).
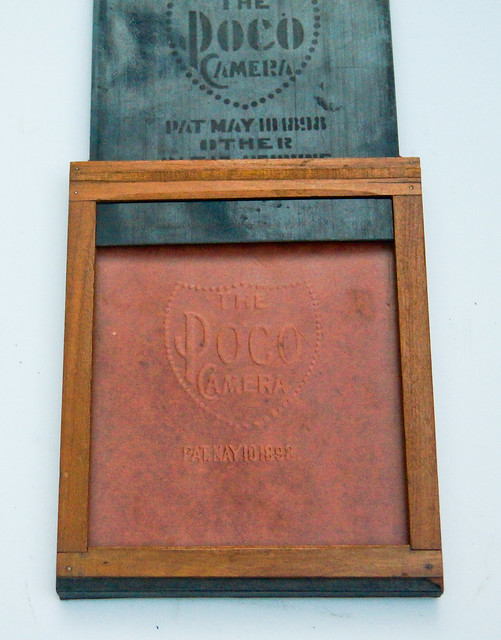
You can still buy film for this camera. It comes in 4-by-5 inch sheets. But making a photo using this camera is quite a production. The sheets of film fit inside one of these holders – two-sided, meaning you have to bring one of these holders, pre-loaded in complete darkness, for every 2 photos you intend to make on your photographic bicycle outing. The black plastic cover, which above has been pulled out of the way, protects the film from light.
So you’re out on your bicycle outing, and you spot something you want to photograph. You set this camera up, preferably on a tripod. Would you believe, in the 150 years of photography, with everything that has changed, one thing that has remained exactly the same is the size of the screw which attaches a camera to a tripod?
You then have to focus on your subject. This can be estimated, and then you can move the lens/shutter assembly forward or backward (see distance gauge on the right) until the image should be in focus. Once you have that, you rotate the brass lever in front of the lens to the left, as it is shown now. On the left of the photo above is a level, with a metal bearing, to make sure your camera is level; and in theory you should be able to use that device as a viewfinder to see what’s going to be on your photo, but in reality the image is very dim and hard to see.
You can also focus by lowering the back flap, which reveals a 4×5 pane of frosted glass, onto which the image is projected from an open lens (you set it to “B” and click the shutter). This can be confirmation of your estimate. This is where that familiar “old time” image of photographers comes from – to see this image, it’s best to throw a cloth over your head and work in darkness. Once that’s done, close the shutter, close the flap, and slide the negative holder between the back panel and the camera (it’s connected by springs) as shown in the photo above. Then you slide out the black plastic cover, exposing the negative, you set your speed and aperture, cock the shutter and press your button. Replace the black plastic cover to protect the negative, and once you flip the holder around, you’re ready to take another picture!
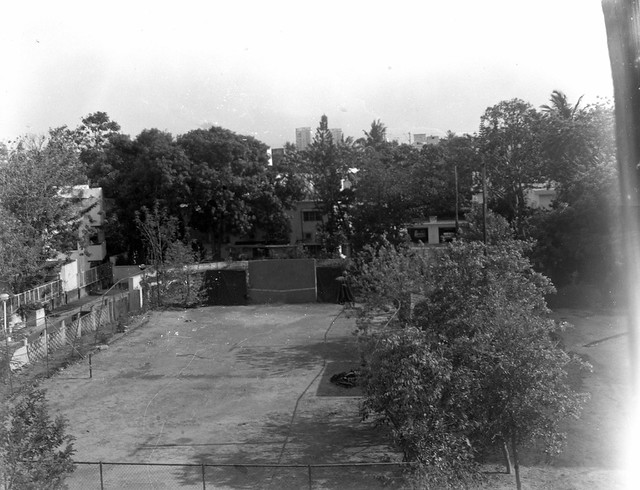
If my explanation has been confusing, you can also try another Cycle Poco How-To. The difficult part, I think, is knowing which aperture and shutter speed to use. The “sunny 16” rule says that for sunny conditions, set your shutter speed to match the film speed, and the aperture should be f/16. However, the camera’s top speed is 1/100 and the film is 400 ASA. So a little math is required. I took the photo below from our roof, in full sunlight, at 1/60 second with f/32 aperture and 400 speed film:
Not the greatest subject matter, but the point was to see whether this thing works. And it appears that it does! Then I looked at the second photo, flipping the negative holder:
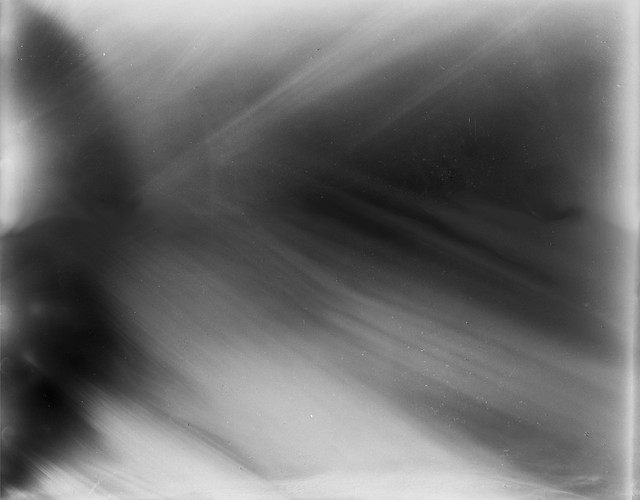
What??!!
Then I saw what happened when another negative fell out of the holder. It appears that, in the dark, I somehow loaded two negatives. I’m not sure how I managed to develop the one in the back, but here it is.
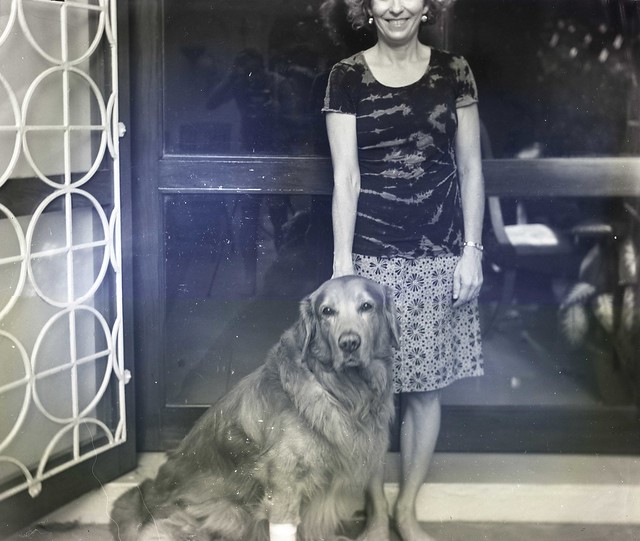
So I decided to give it one more shot, reloaded the whole thing, and found two willing subjects:
This just reinforces the importance of checking – once more – after you’ve done all the setup above and fiddling with all the settings and dials, which way your camera is pointing. But bottom line, the camera works! The settings on this one were 1/100s and f/16 with Ilford HP5 Plus 400 speed film.
In the reflection of the third photo, you may catch a glimpse of the photographer. Go pick up a Cycle Poco now – they start from only 10 bucks!
Just a side note about scanning 4×5 negatives. There are scanners that will do 120 film, but I don’t know of home scanners that can do this size. So I scanned each one twice (top half and bottom half) and then merged them in photoshop. It’s tricky but can be done.
See additional photos taken with this camera at this Flickr album.



Considering the age of this camera, and where it might have been all these years, those photos are impressive. I can even see your reflection in the glass behind Anne. Very cool!!
Thanks! I am always amazed something like this works perfectly after 100+ years – compare that to anything you can buy nowadays. I hope to try again with more film eventually – maybe color next time.
Well, It’s New Year’s Day here in San Diego. I have one of these in storage. Thanks to your excellent article, I’m motivated to get it out and give it a try. Cheers!
Happy New Year and let me know how it turns out!
Lovely project and nice outcomes!
Scanning might be easier done as follows: place the negative on a ‘normal’ flat bed scanner, and use for back lighting the negative an Ipad with fully lit screen….
Clever! I will try that – thanks!
Pingback: Reviewing my Newest Addition: A Rolleiflex 2.8c | TAZM PICTURES