
This is probably not a problem that comes up too often, But the good news: I have a solution!
What can you do when your negatives are so dark, your scanner can’t “see” any image? This happened to me the other day – I had developed a roll of “found film” and could see there were images on it when I held it up to a bright light. But when I tried to scan it – nothing. No amount of changing scanner settings would make the images I could clearly see on the film visible to the scanner. So I decided to make an improvised light box, using what I had lying around.
This ended up being the empty box for a case of coke (cans), a couple of soft plastic CD covers, a roll of duct tape, some electrician’s tape, and an LED video recording light. First, I used duct tape to make the closed end of the box light-tight. Then – the negatives being 127 format – I measured a square in the center of one end of the box exactly the size of one exposure and cut it out as cleanly as possible. Next, I used electrician’s tape along the edges of that square to make the edges absolutely straight, letting the tape hang just slightly over the opening – because the edge of the film is normally unused. About 1 mm all around will do. This also makes sure no light will leak past the edges of the film later on.
Then I cut a couple of squares out of some plastic (soft) CD covers. Any type of cloudy plastic will do. The point was to diffuse the light that will be coming from the LED through the film so that it’s distributed evenly. I used two pieces because the plastic was nearly transparent, and two were needed to do the trick. Then I duct taped the tops and bottoms of both pieces in such a way that the film would barely fit through sideways. You can see the mess I made in the photo below, where the 127 film can be seen being moved into position for the first frame.
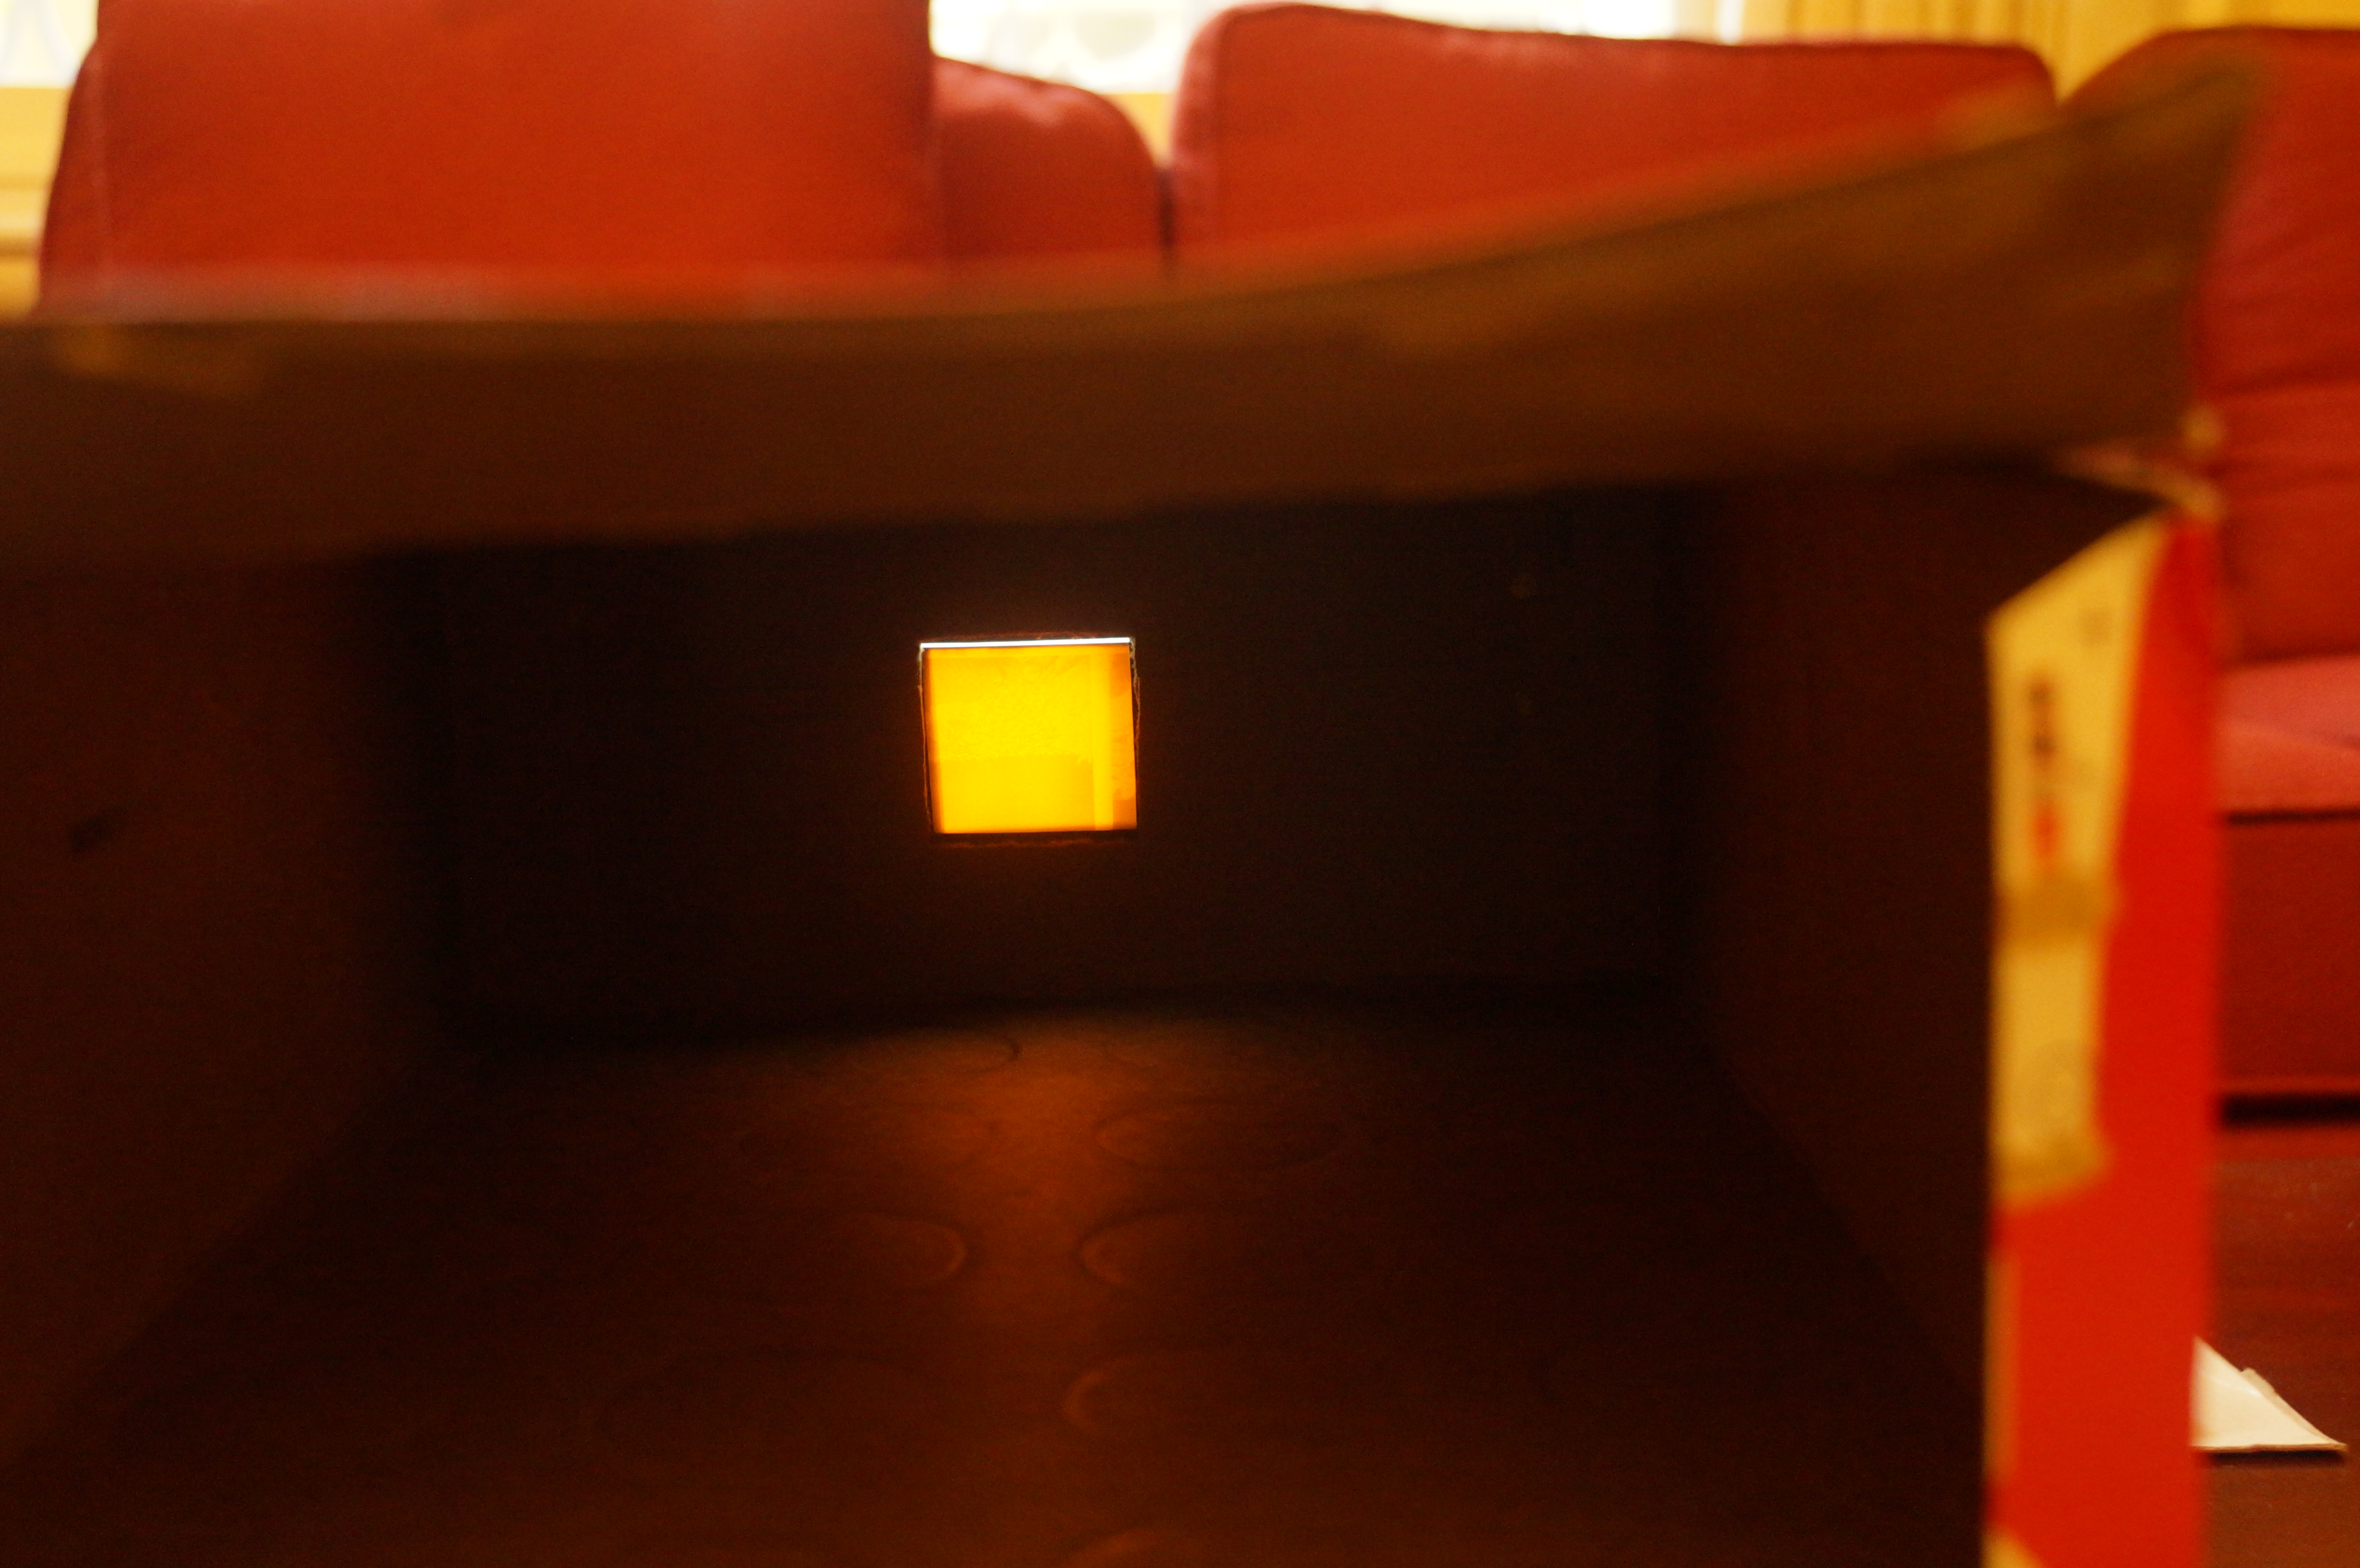
 Next, I simply put the box on a coffee table and positioned the video light at one end so that it illuminated the negative (as close as possible without the individual LED lights showing through the film), and at the other end I positioned a camera on a tripod. So this is basically what the camera would “see” from the open end:
Then it’s just a matter of moving the film into each position, zooming in, and snapping a photo. You can crop it later – the main thing is to get close an in focus. So what did the film look like?
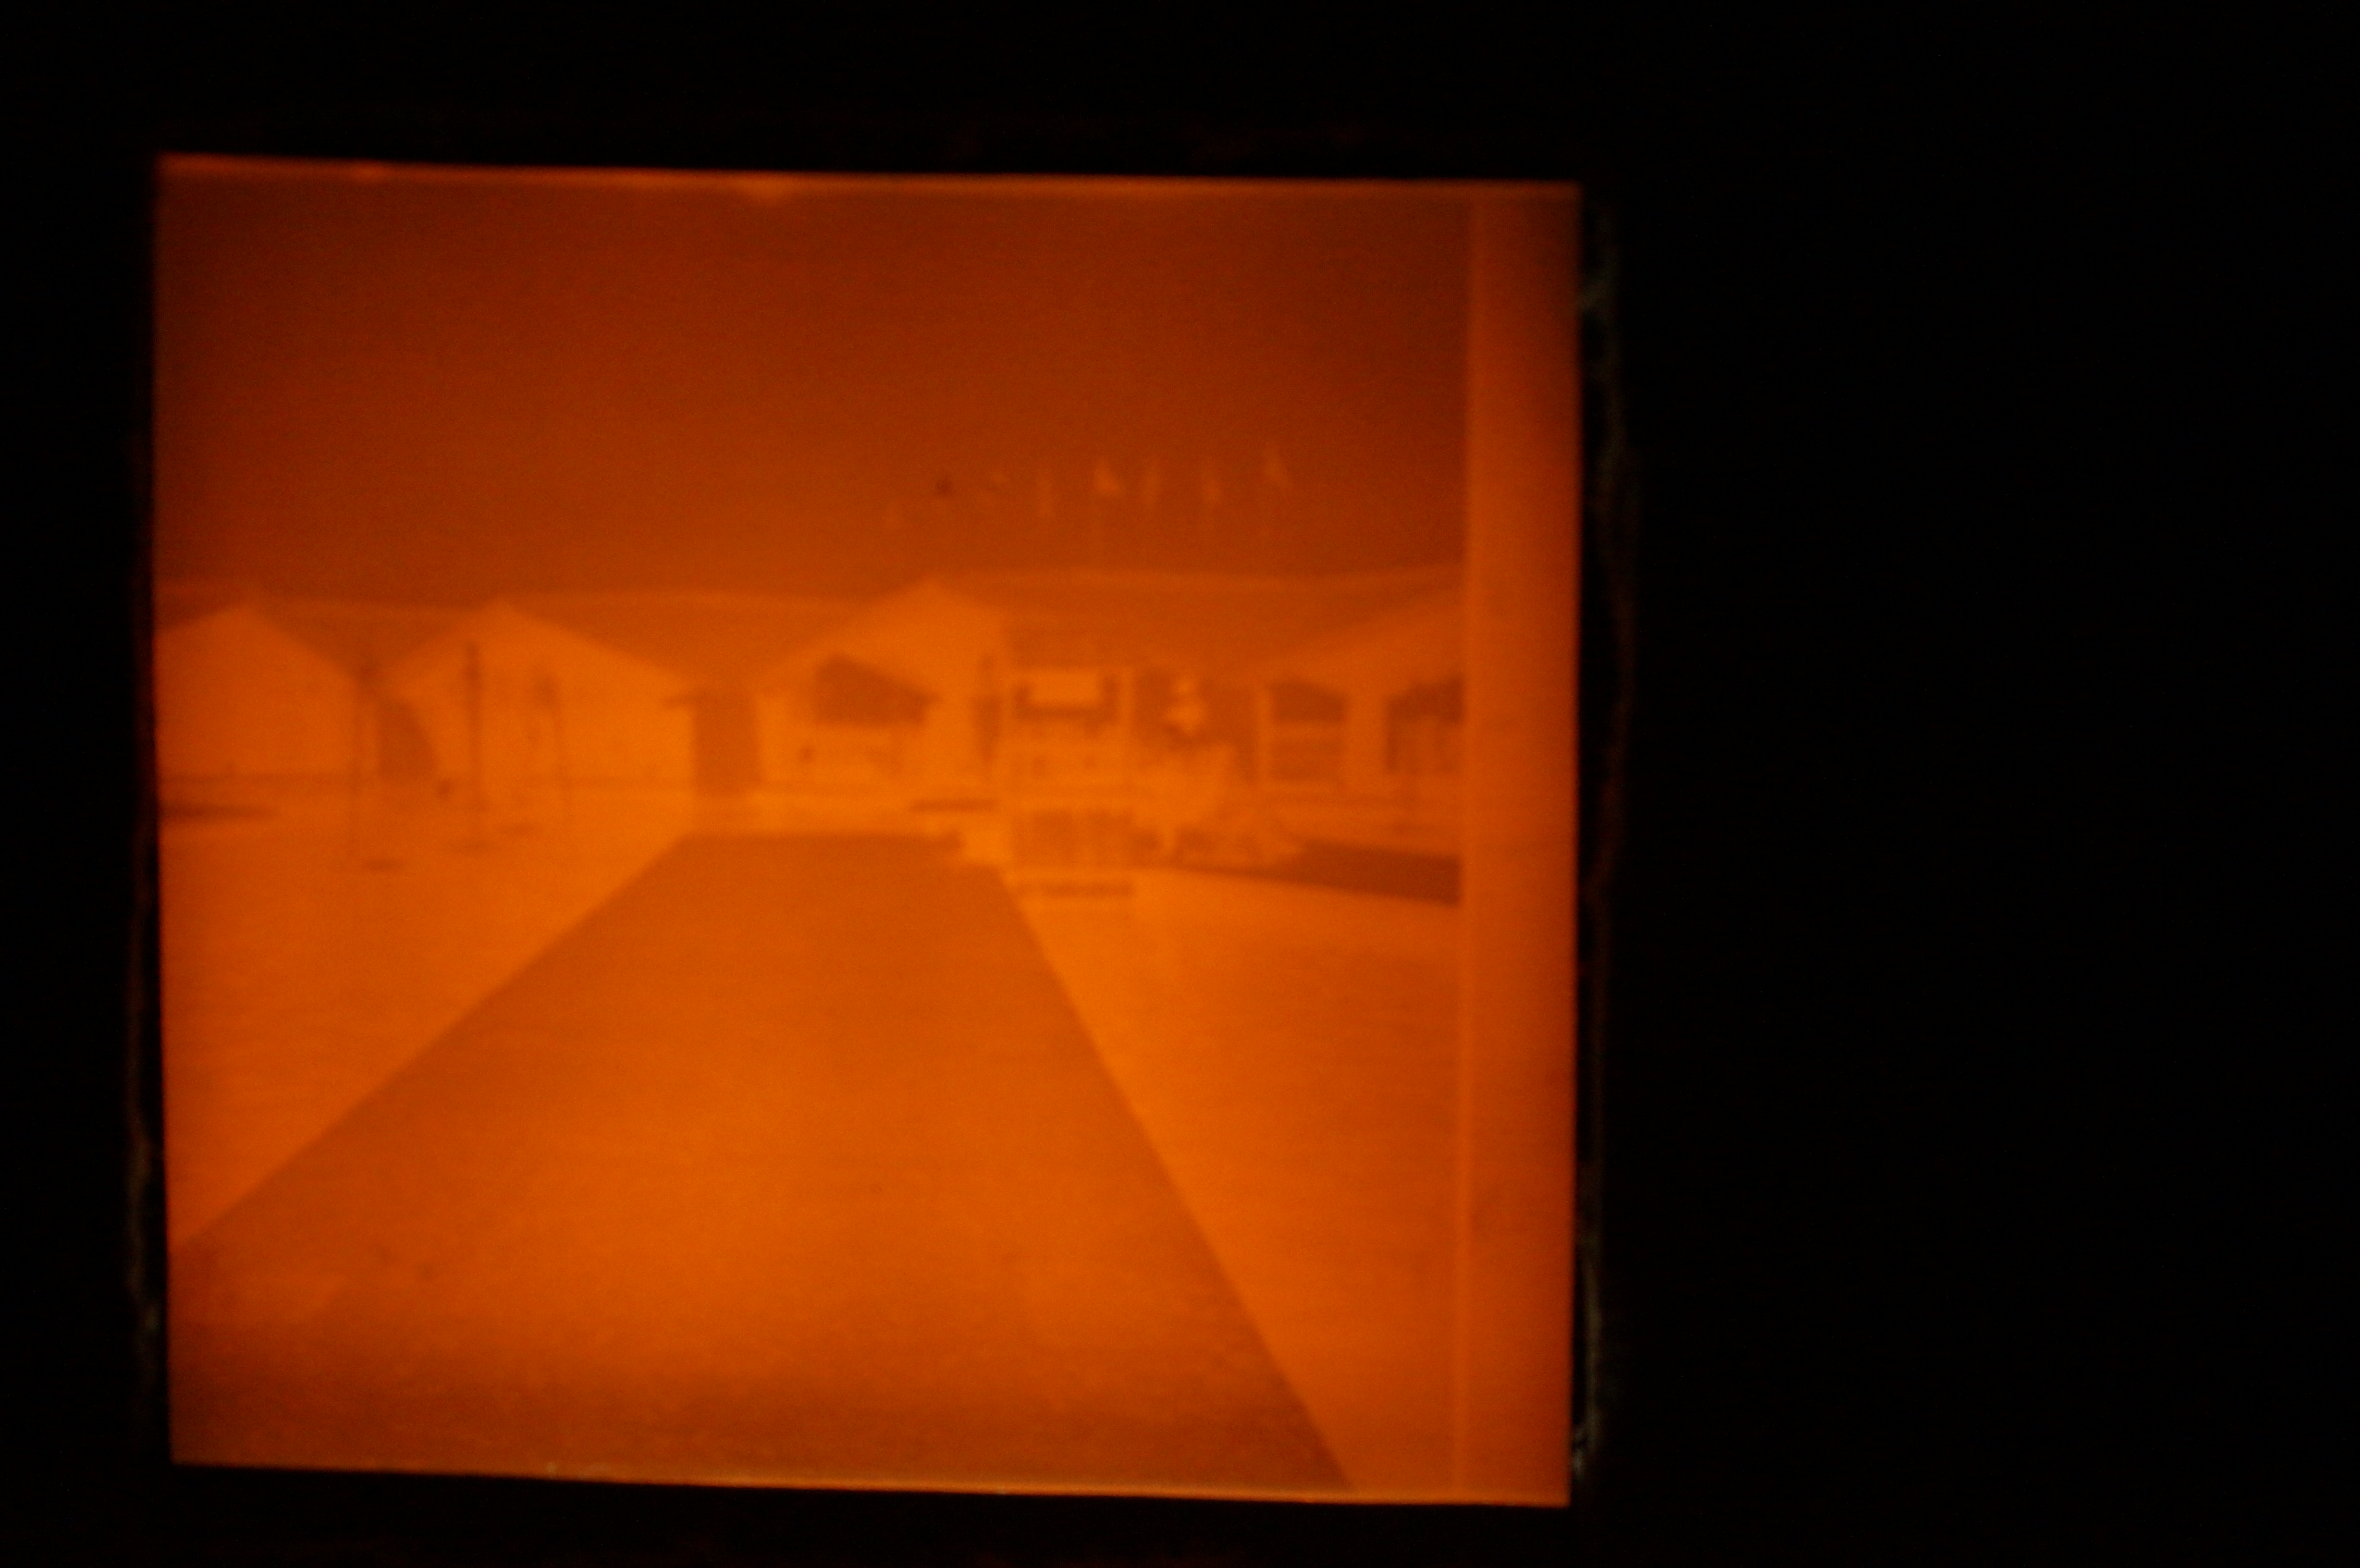
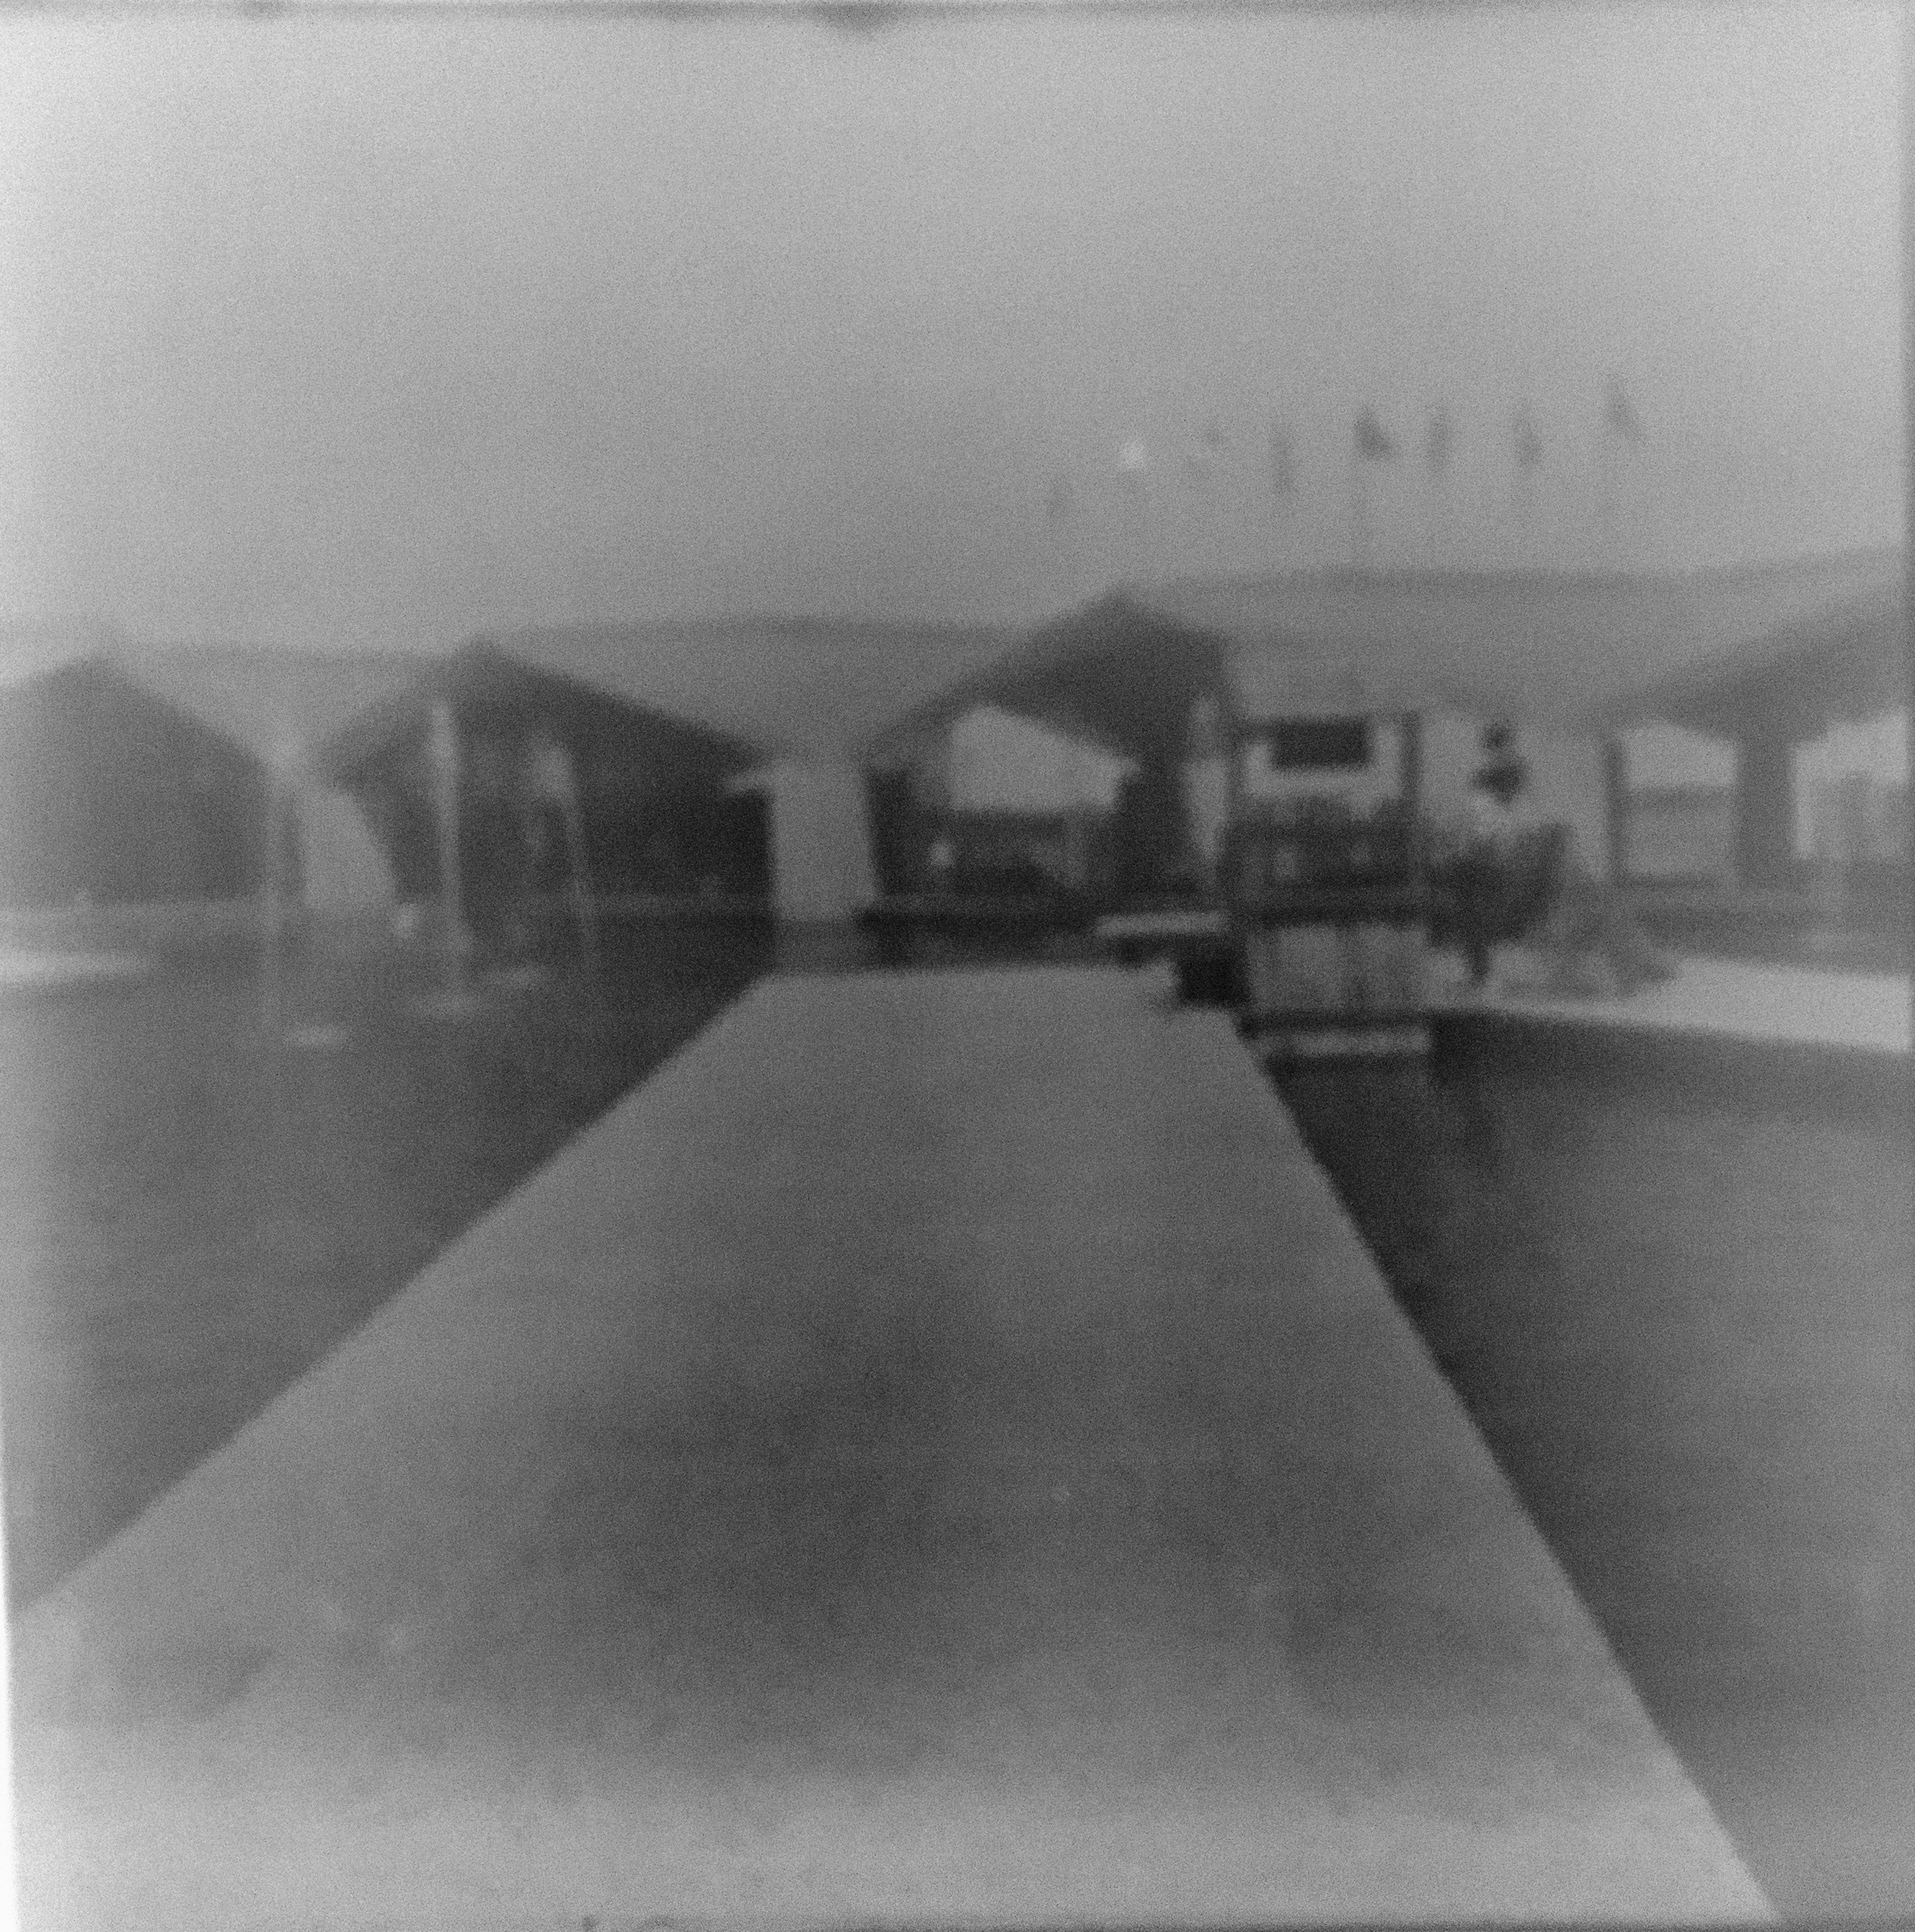
I realized that next, I had to convert to black and white (after cropping and straightening). This film was designed for the (now outdated) C-22 process, which is probably why it turned out this way. So then I had a black and white scan, but for some reason still couldn’t make sense of it:

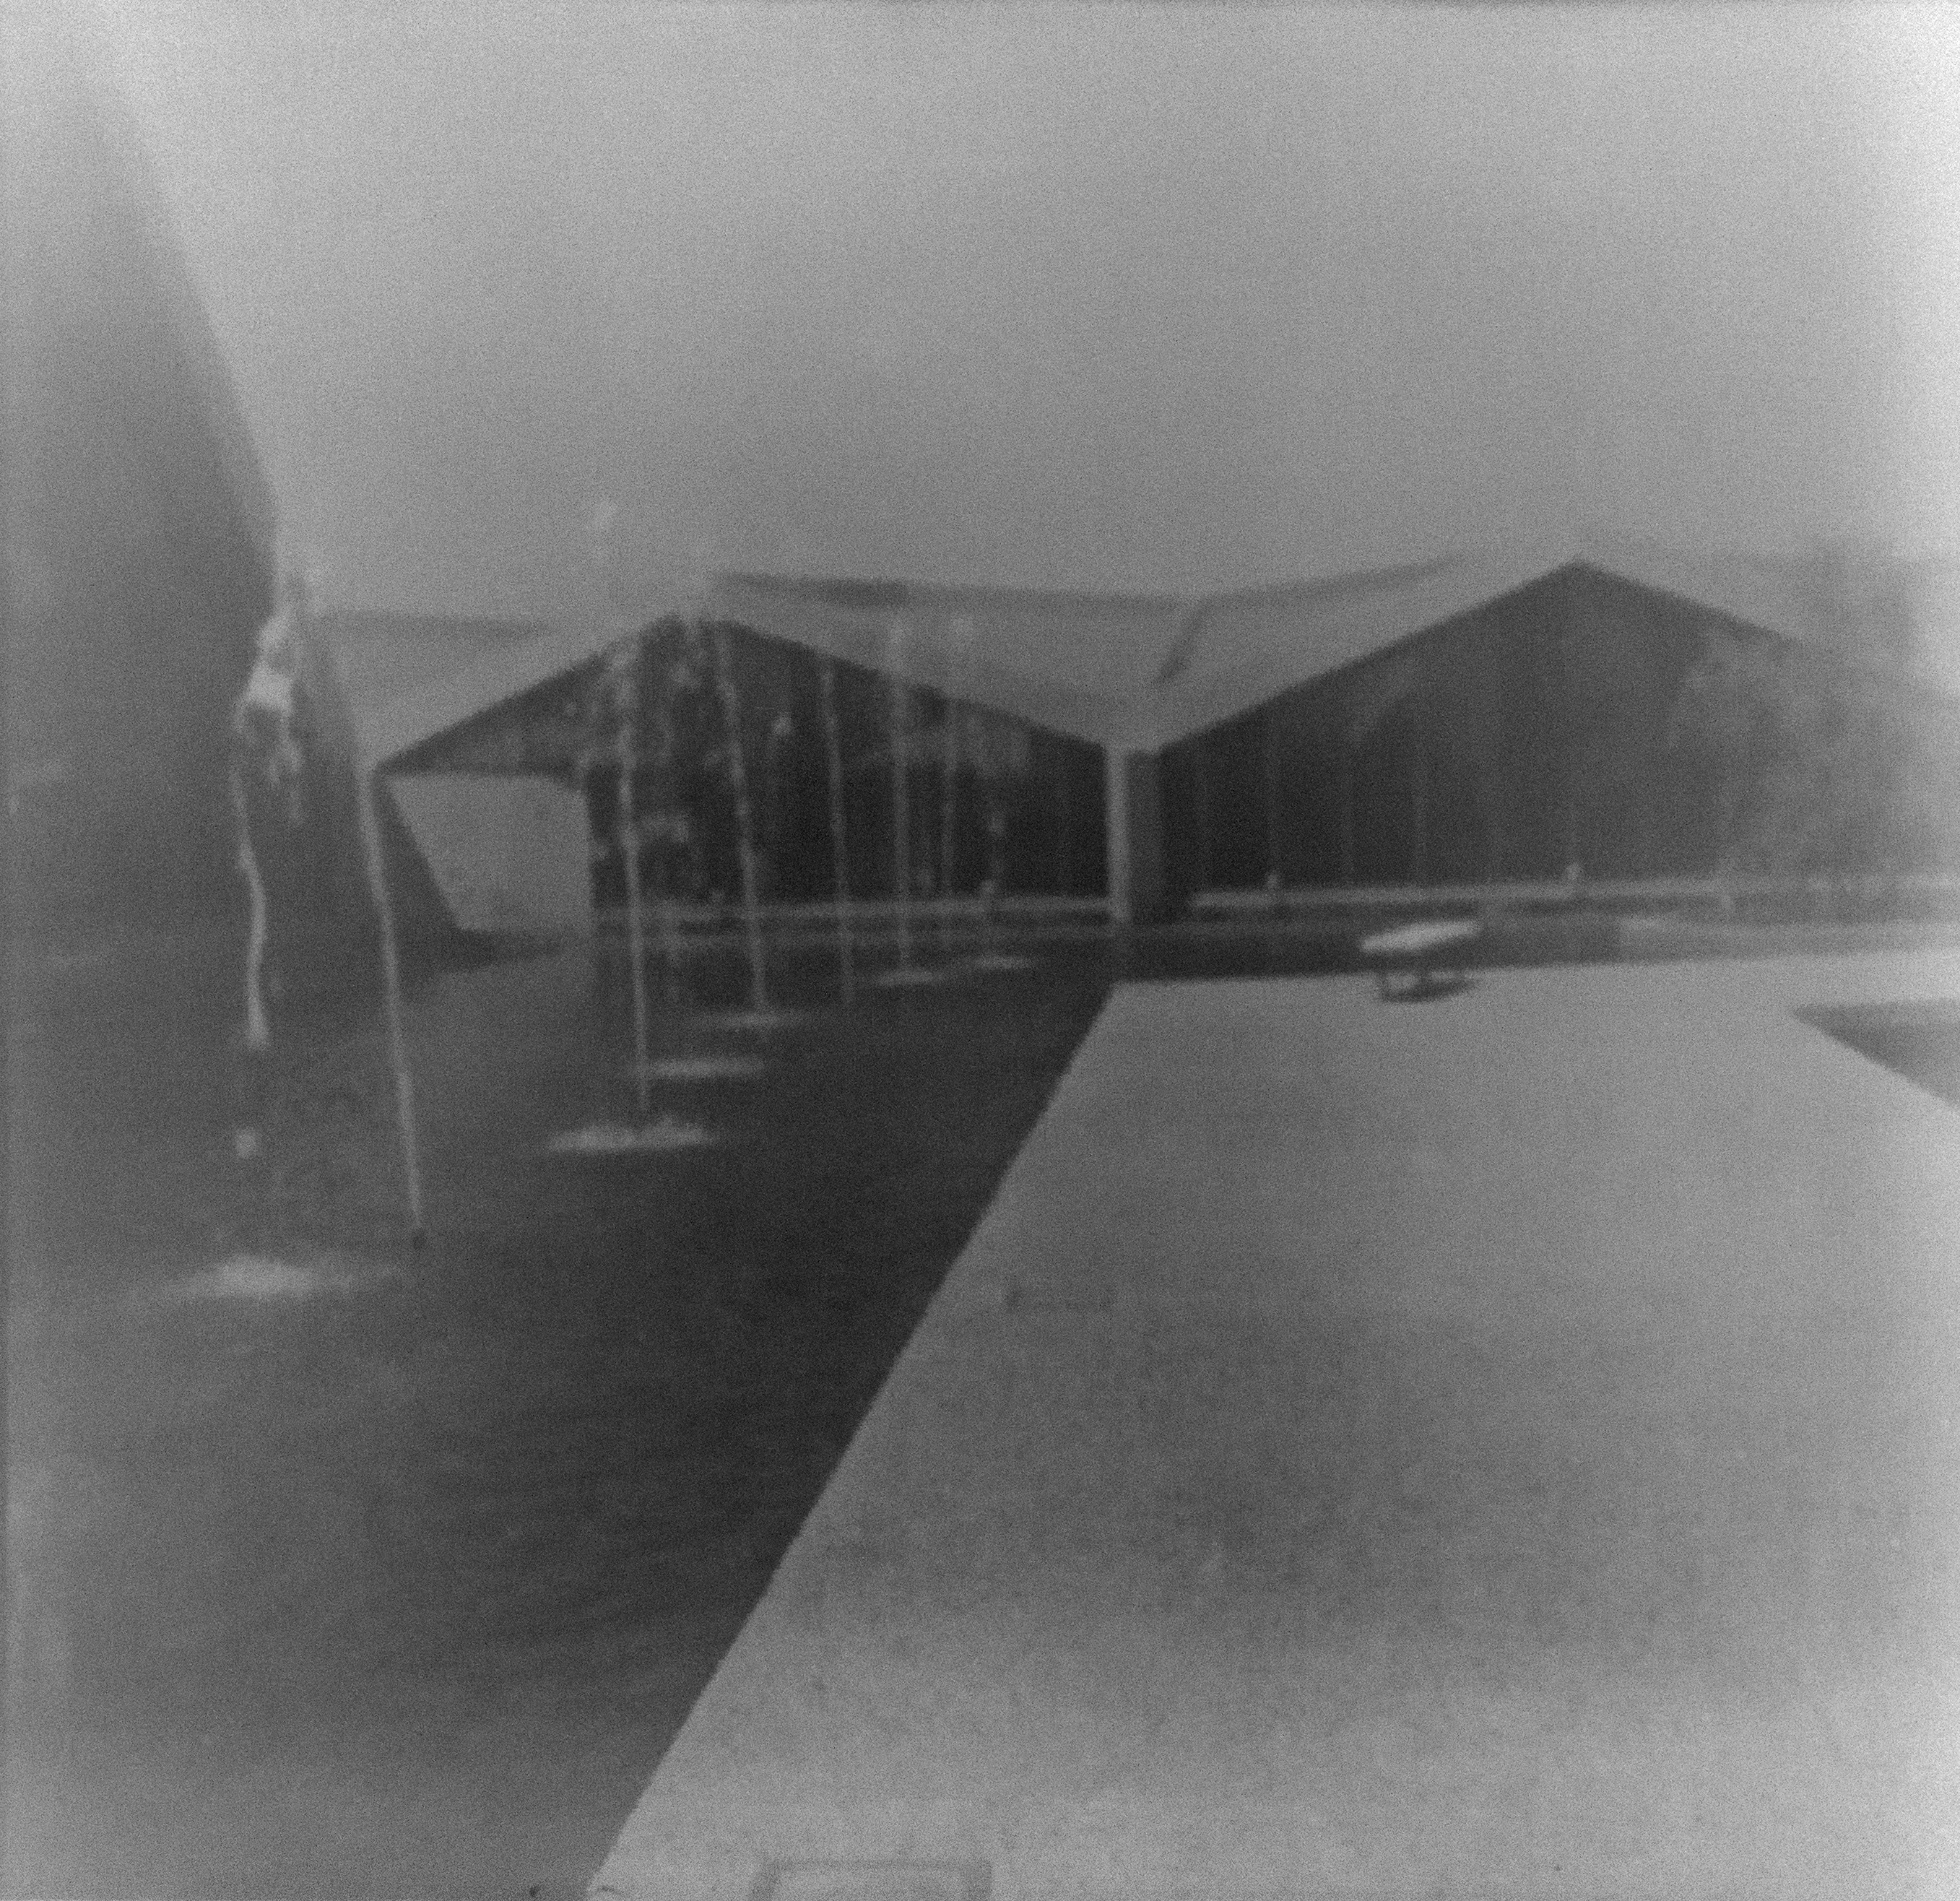
Finally I realized I was looking at a negative. How to convert to a positive image? Fortunately, Photoshop (Elements – and regular Photoshop and Gimp too, I assume) also has a trick for that. Select filter–>adjustments–>invert, and voila, your “positive” image. Fiddling around with contrast and lighting controls will help bring out the image a bit more.
So that’s how you can make and use a simple lightbox using things you probably have lying around somewhere. This could be especially handy if you want to scan slides, or slide film for example, and don’t have a scanner or slide projector. You’ll just have to cut the hole a smaller size.
Unfortunately, when all was said and done, I still wasn’t sure what I was looking at in these photos! What I did get a kick of was that most photos came in twos. Remember back in the days of film cameras, when people always took two pictures of everything, “just in case”? But it turns out that apart from the photo above and one other, the roll was mainly photos of rocks and landscapes. It looks like someone went on a trip somewhere scenic, but I’m not sure where. Do you?
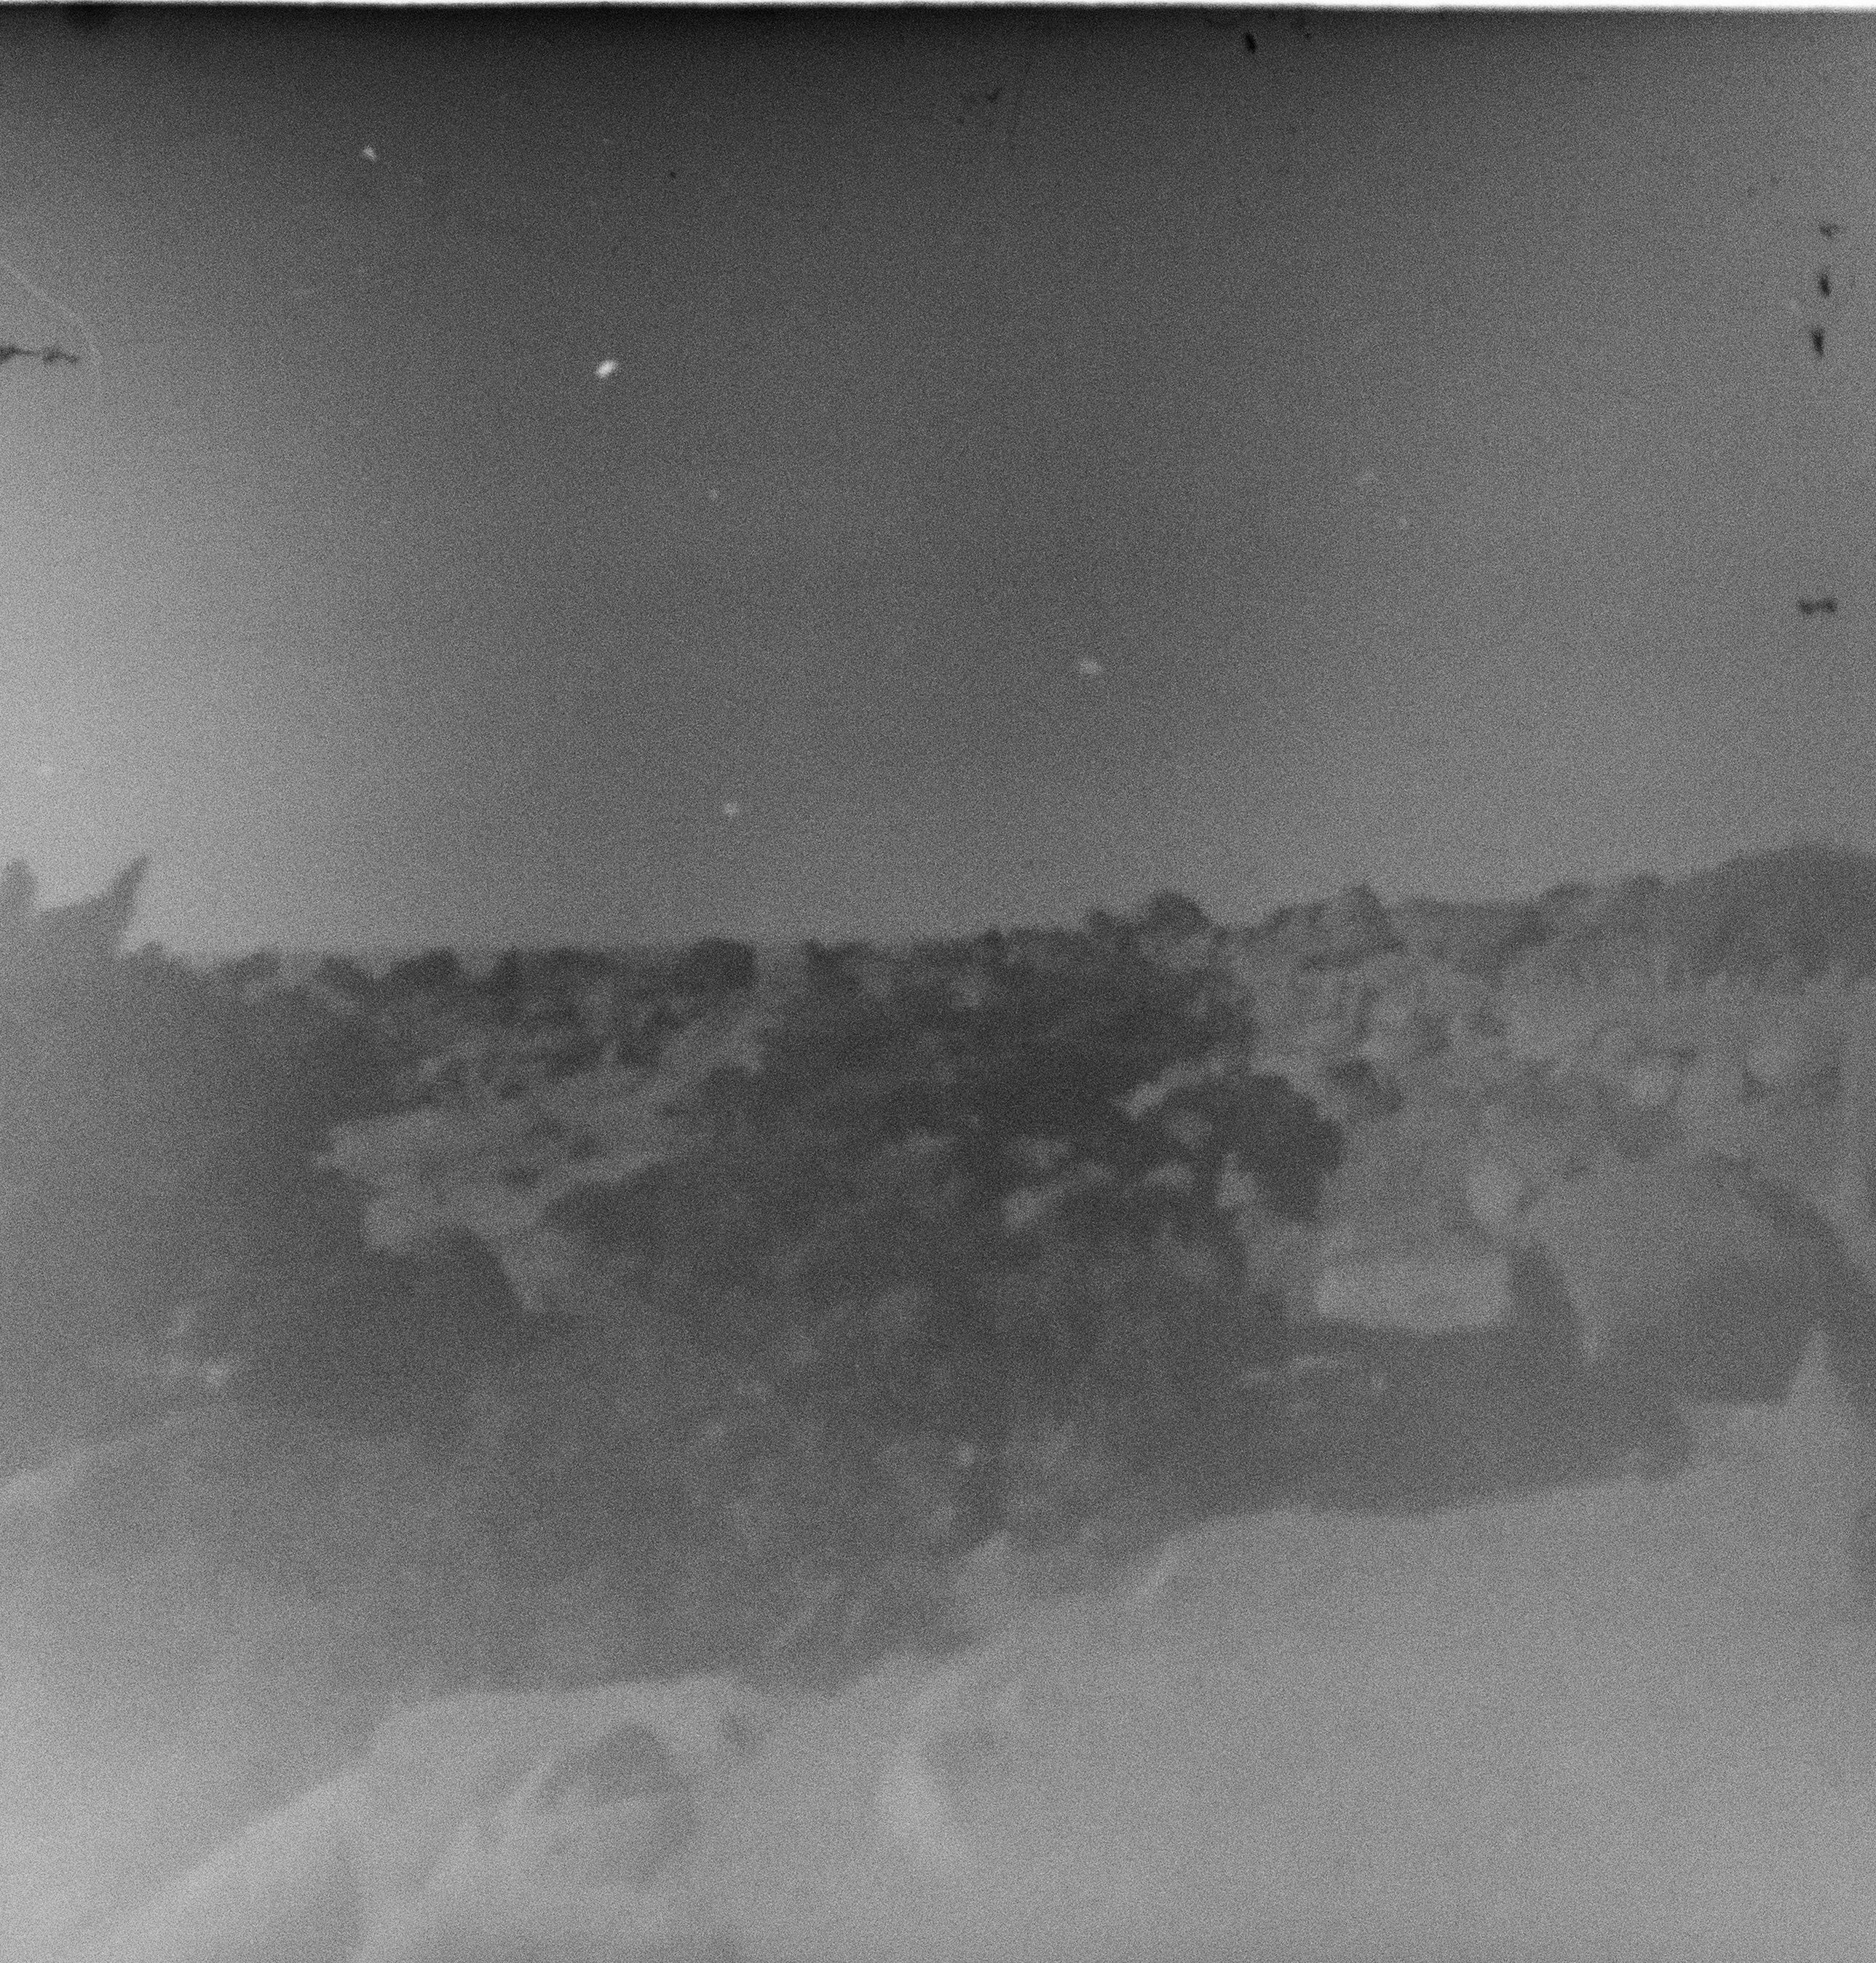
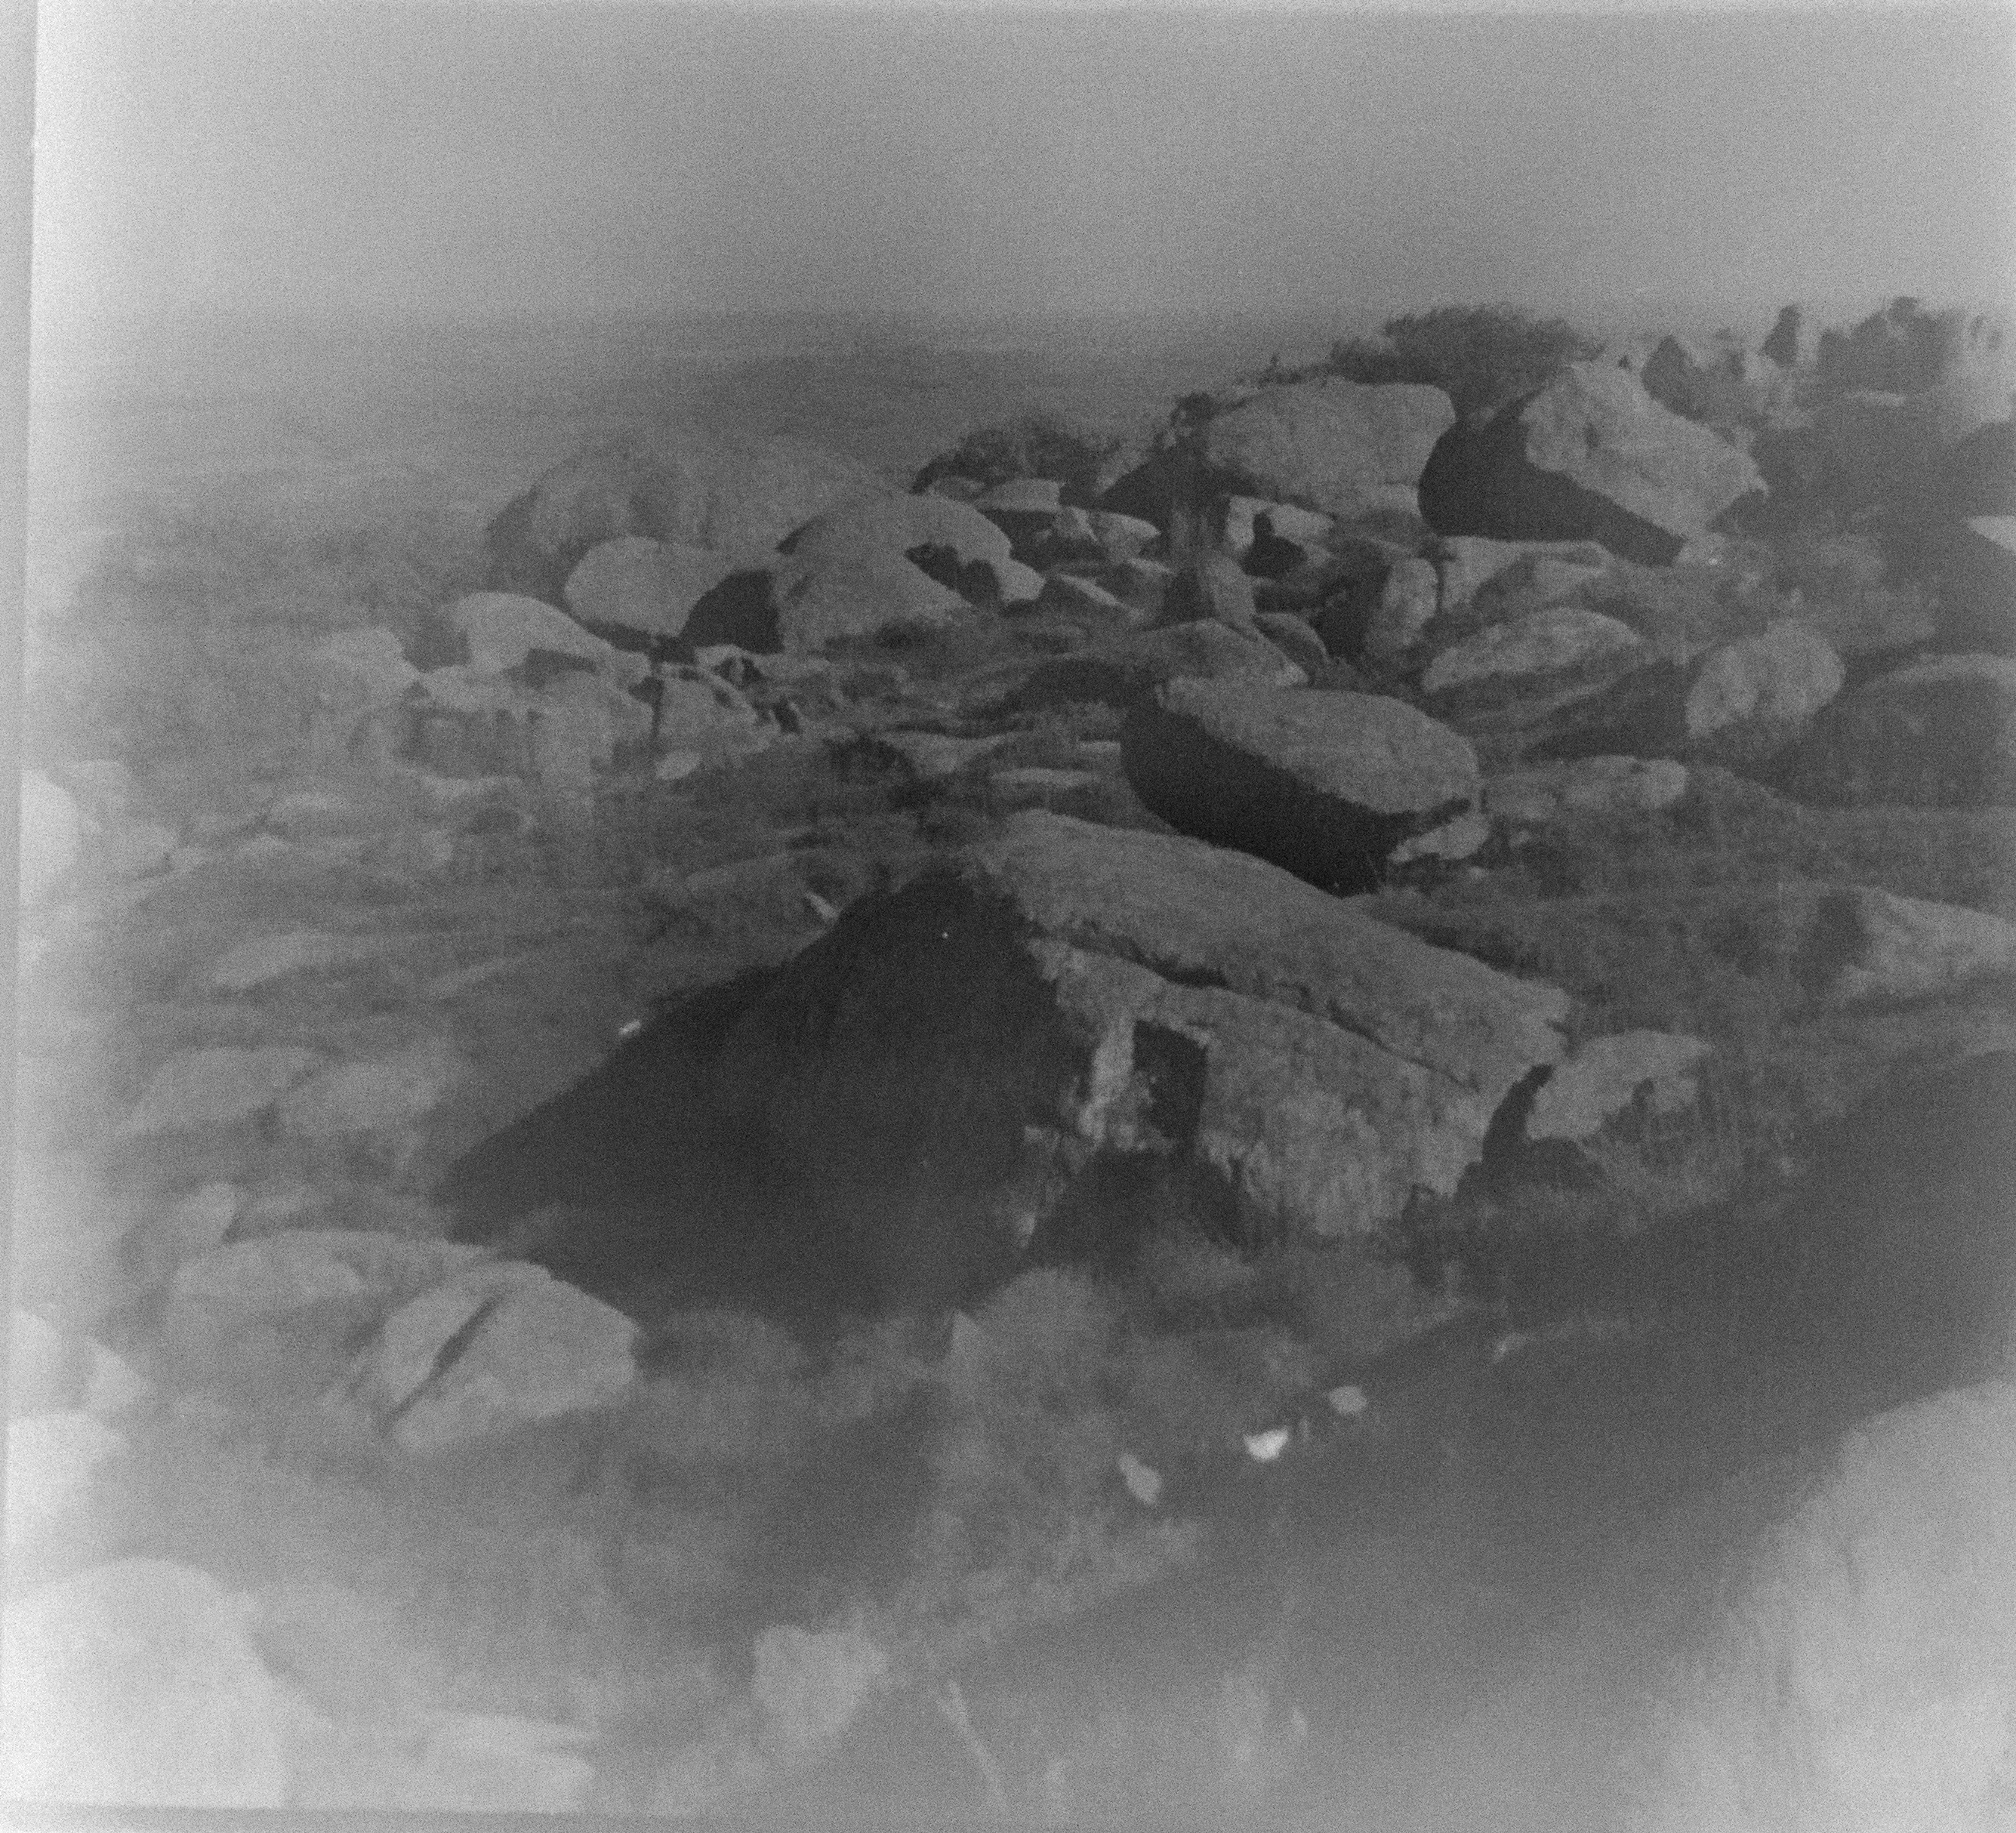
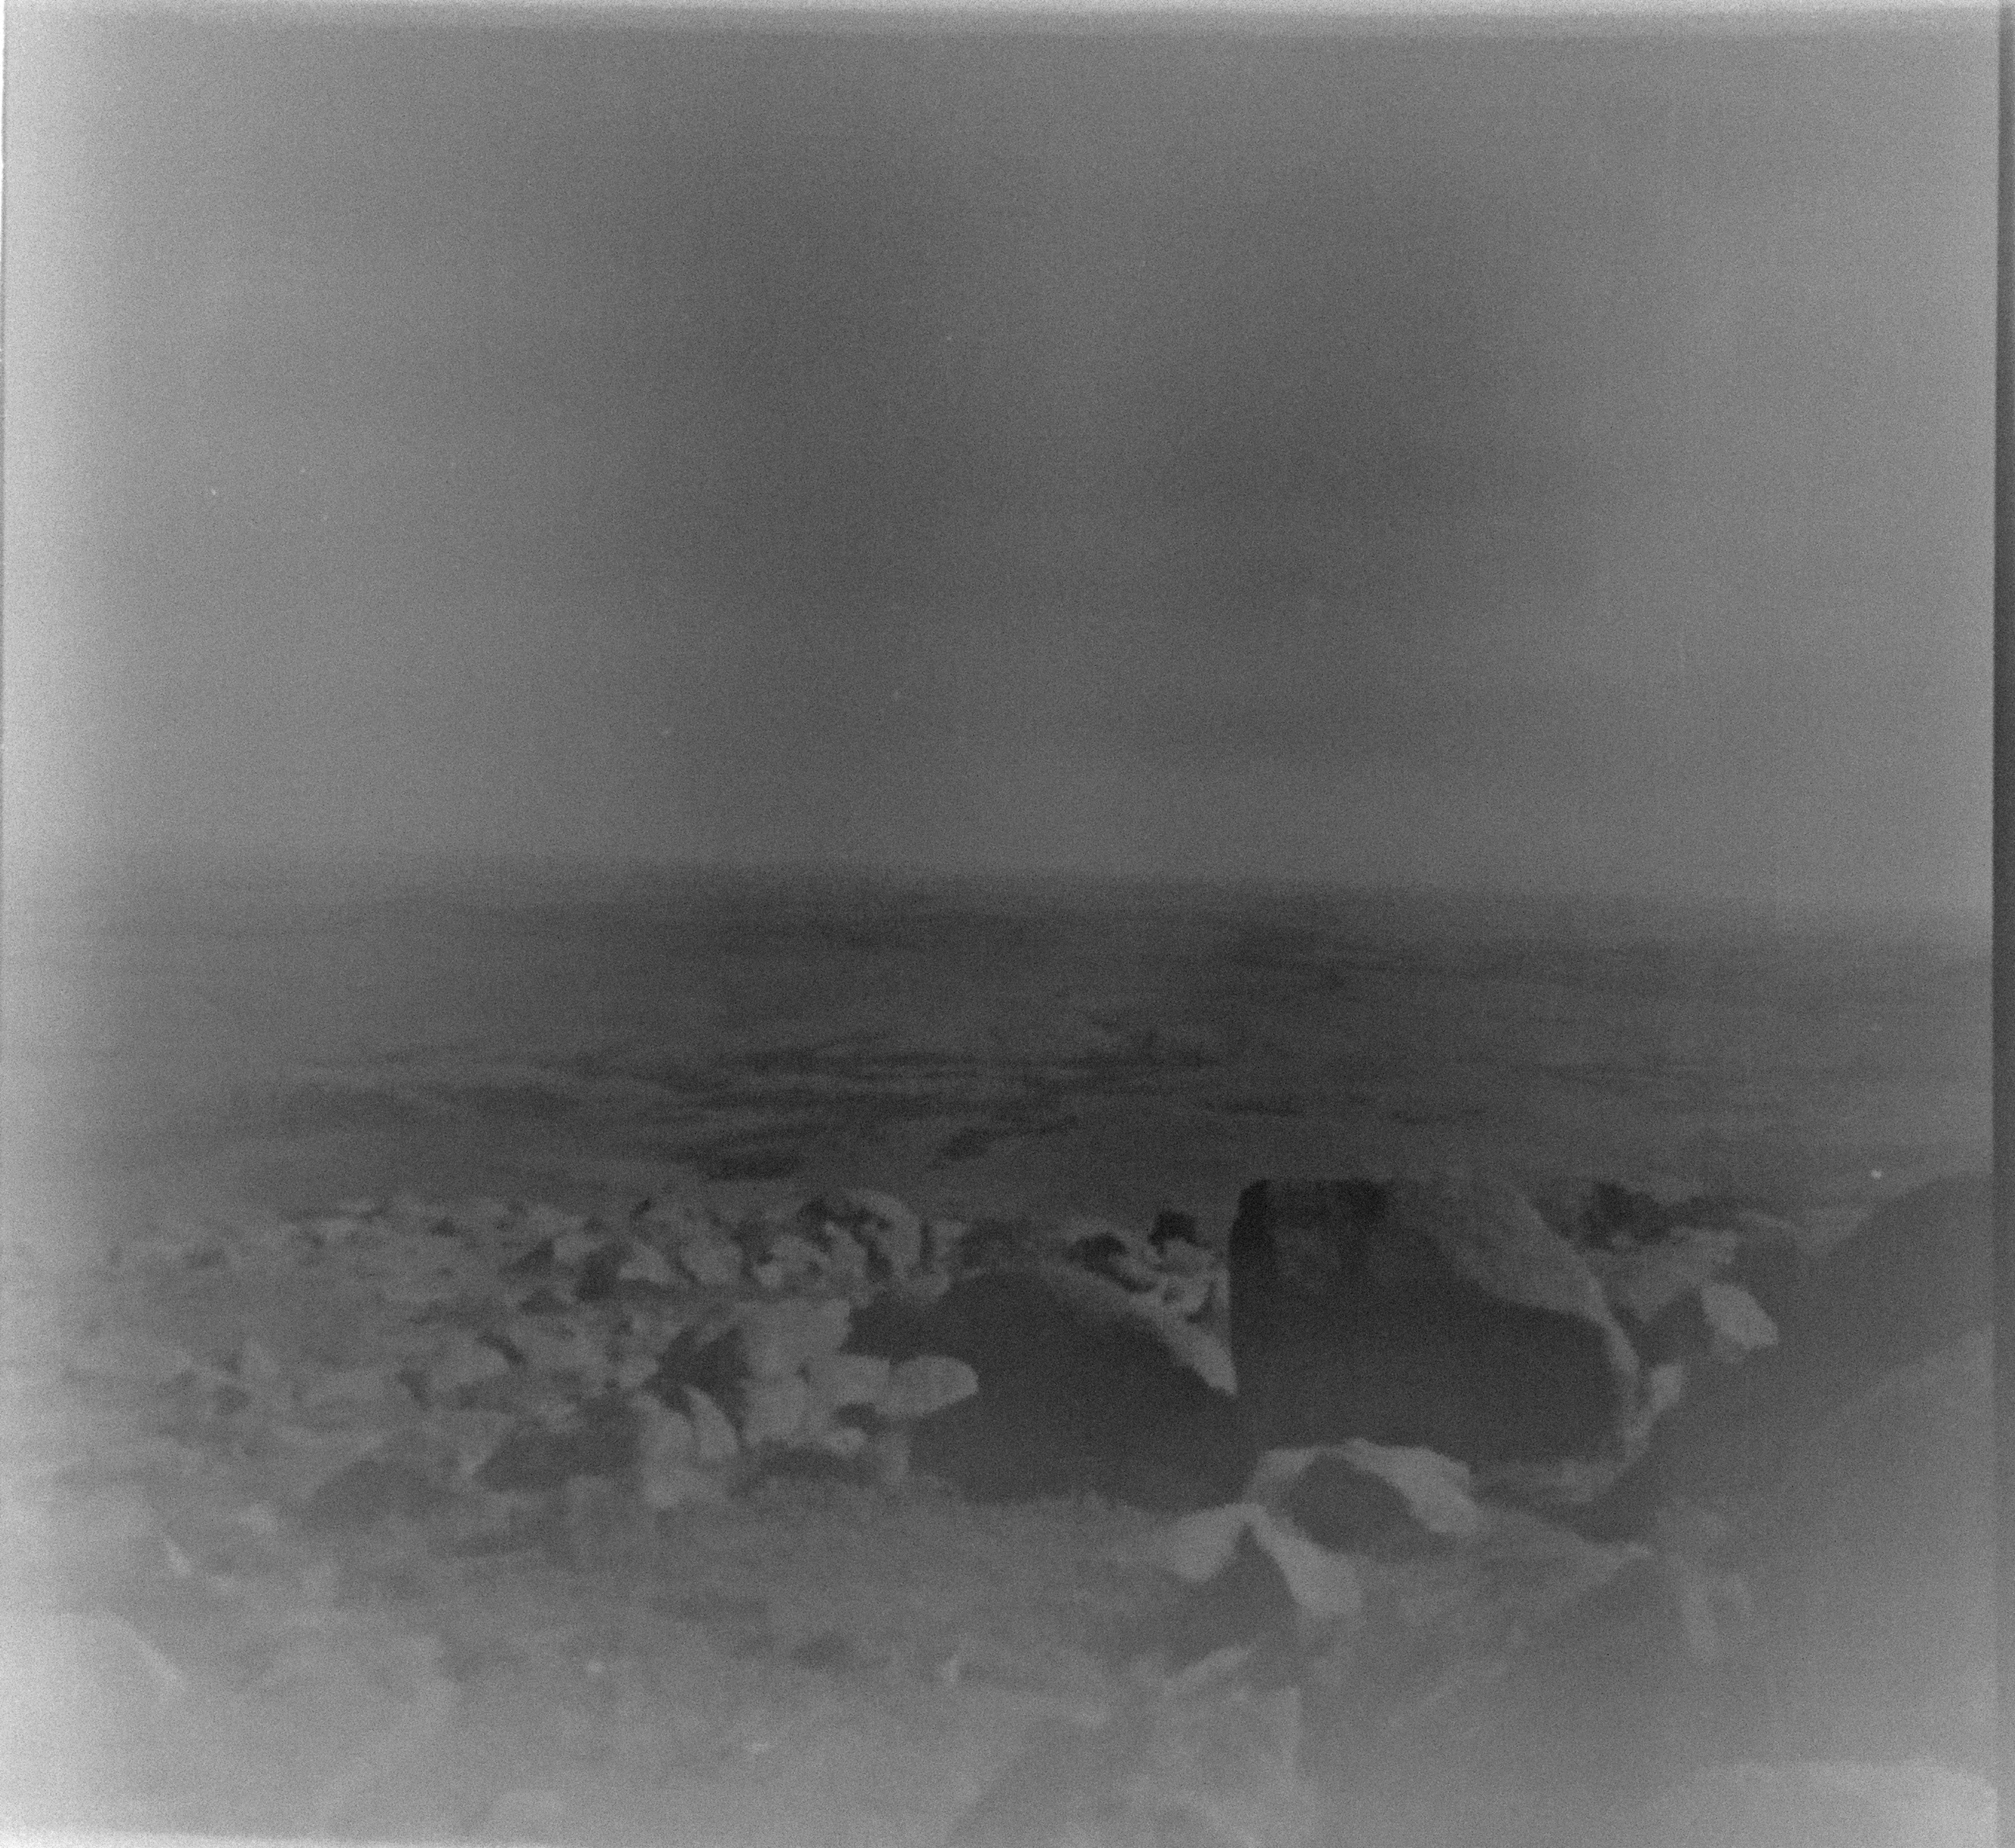
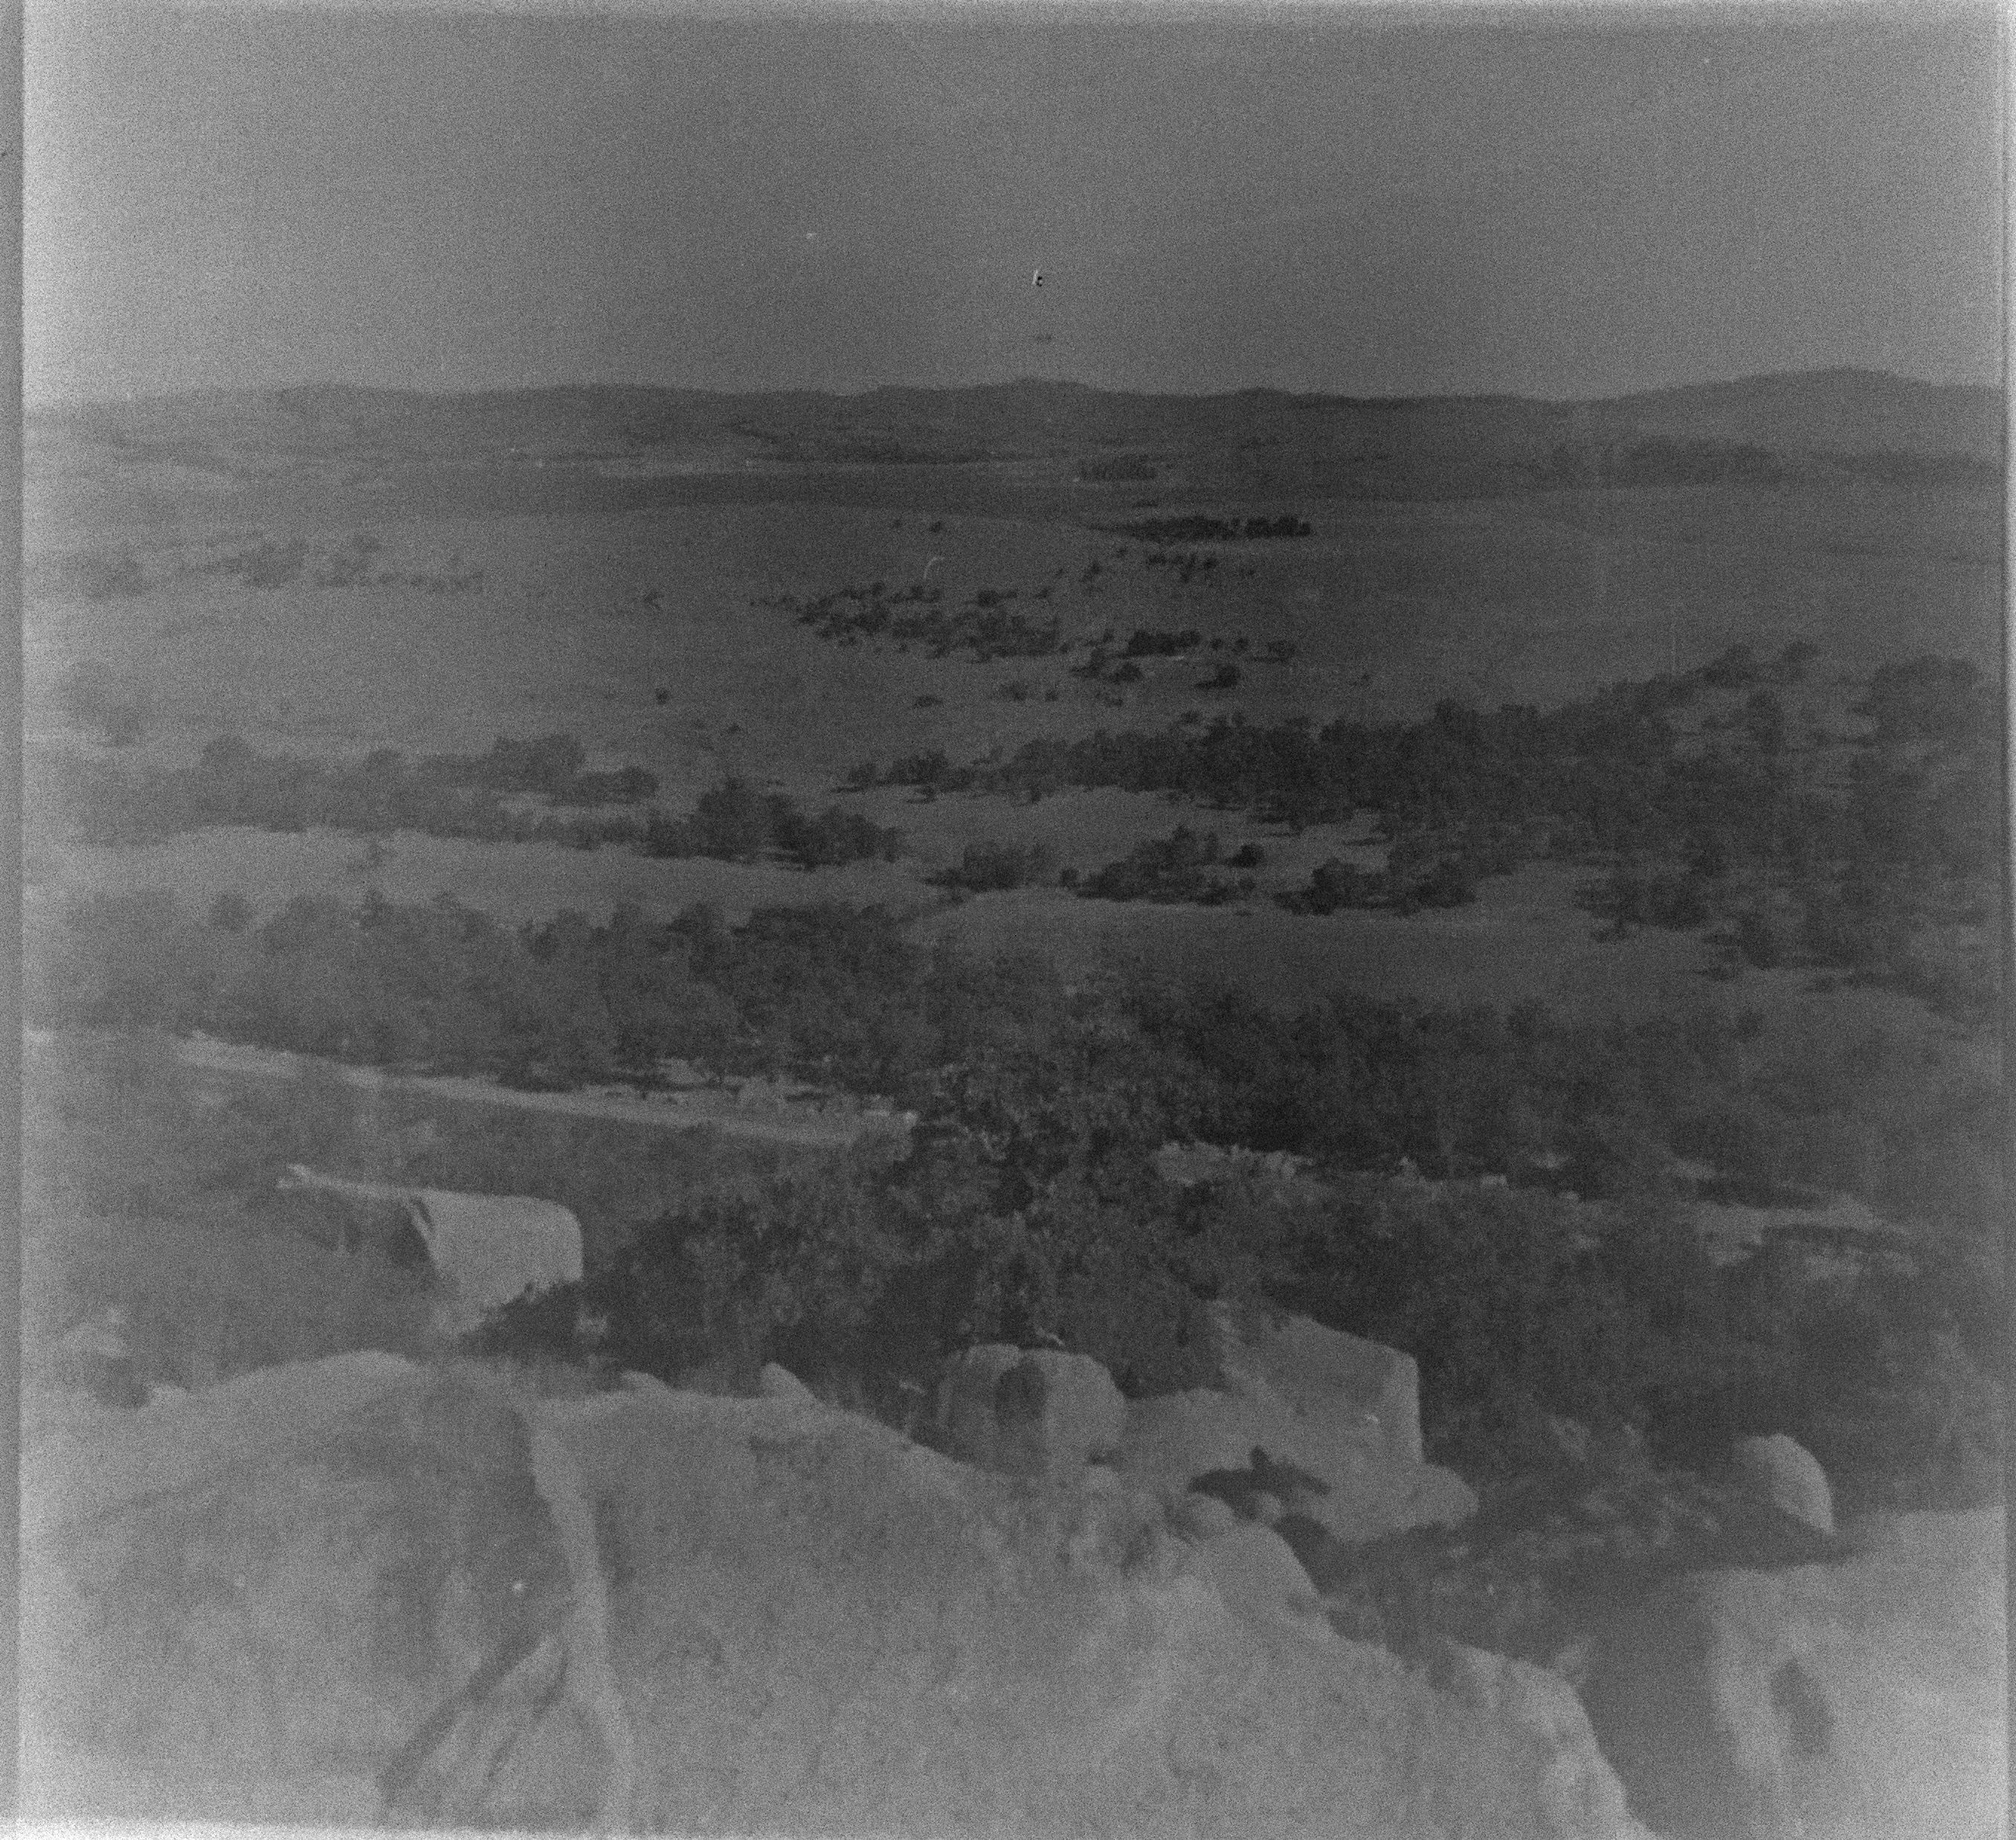

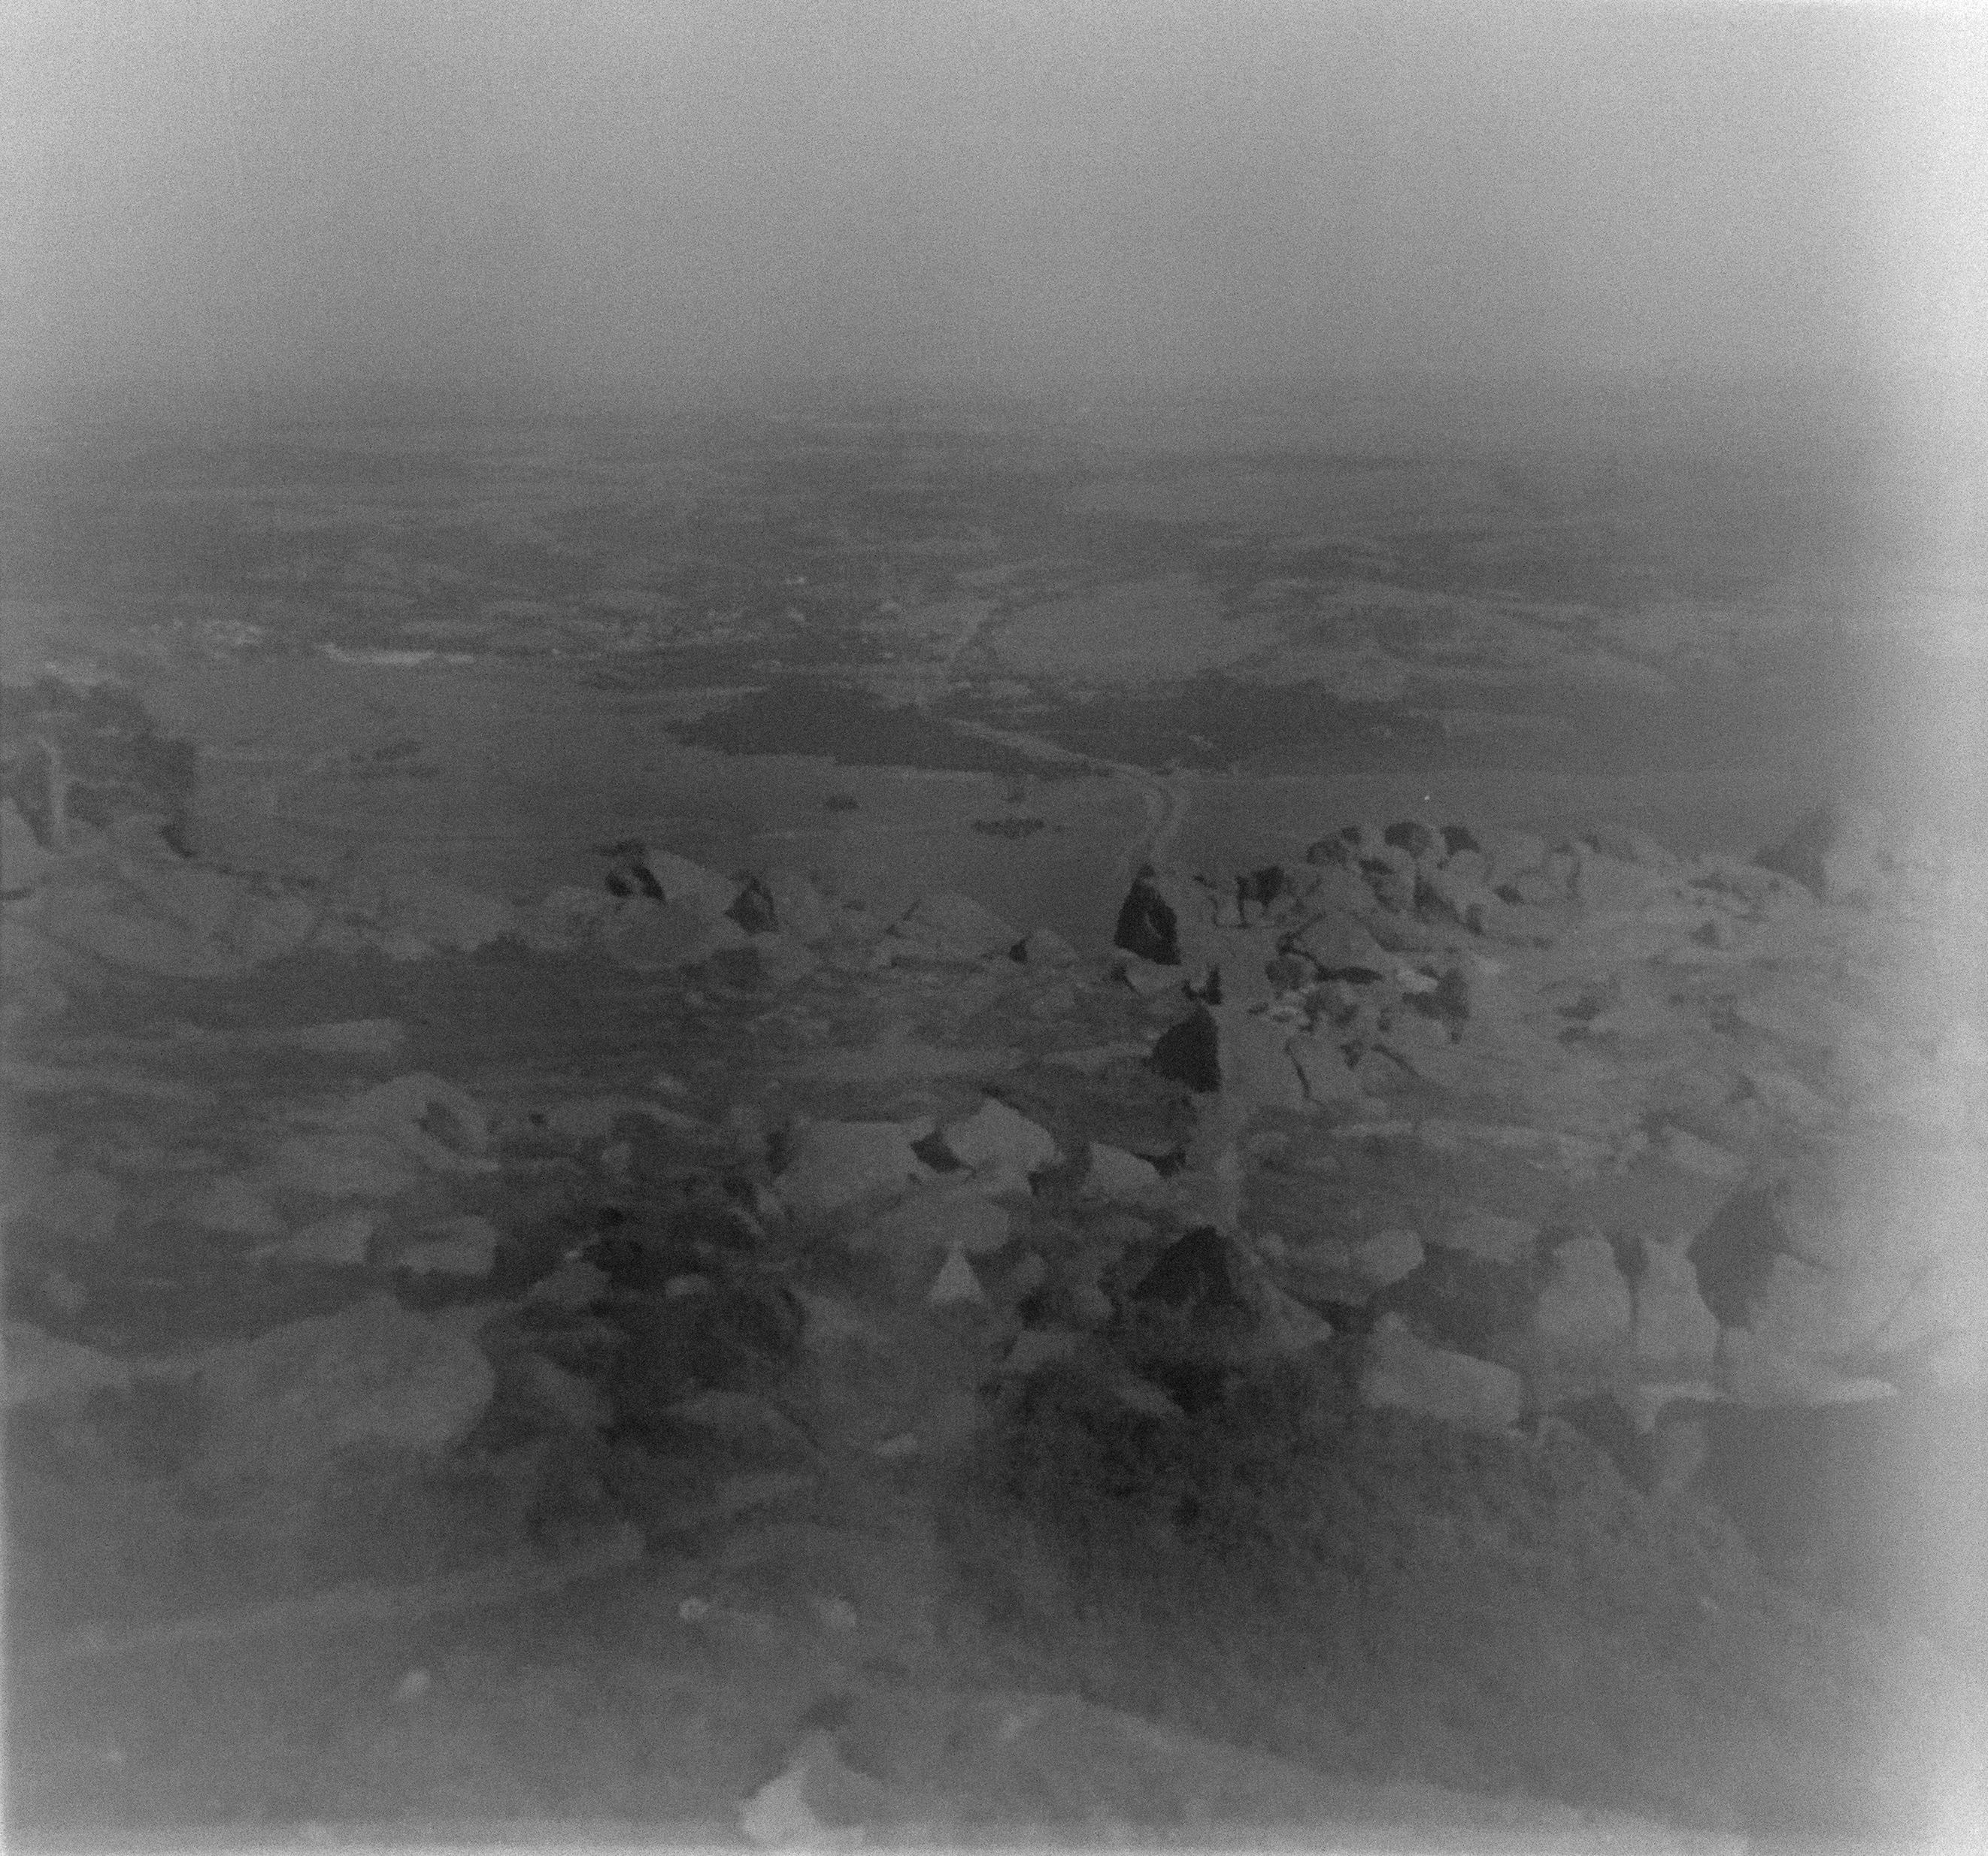
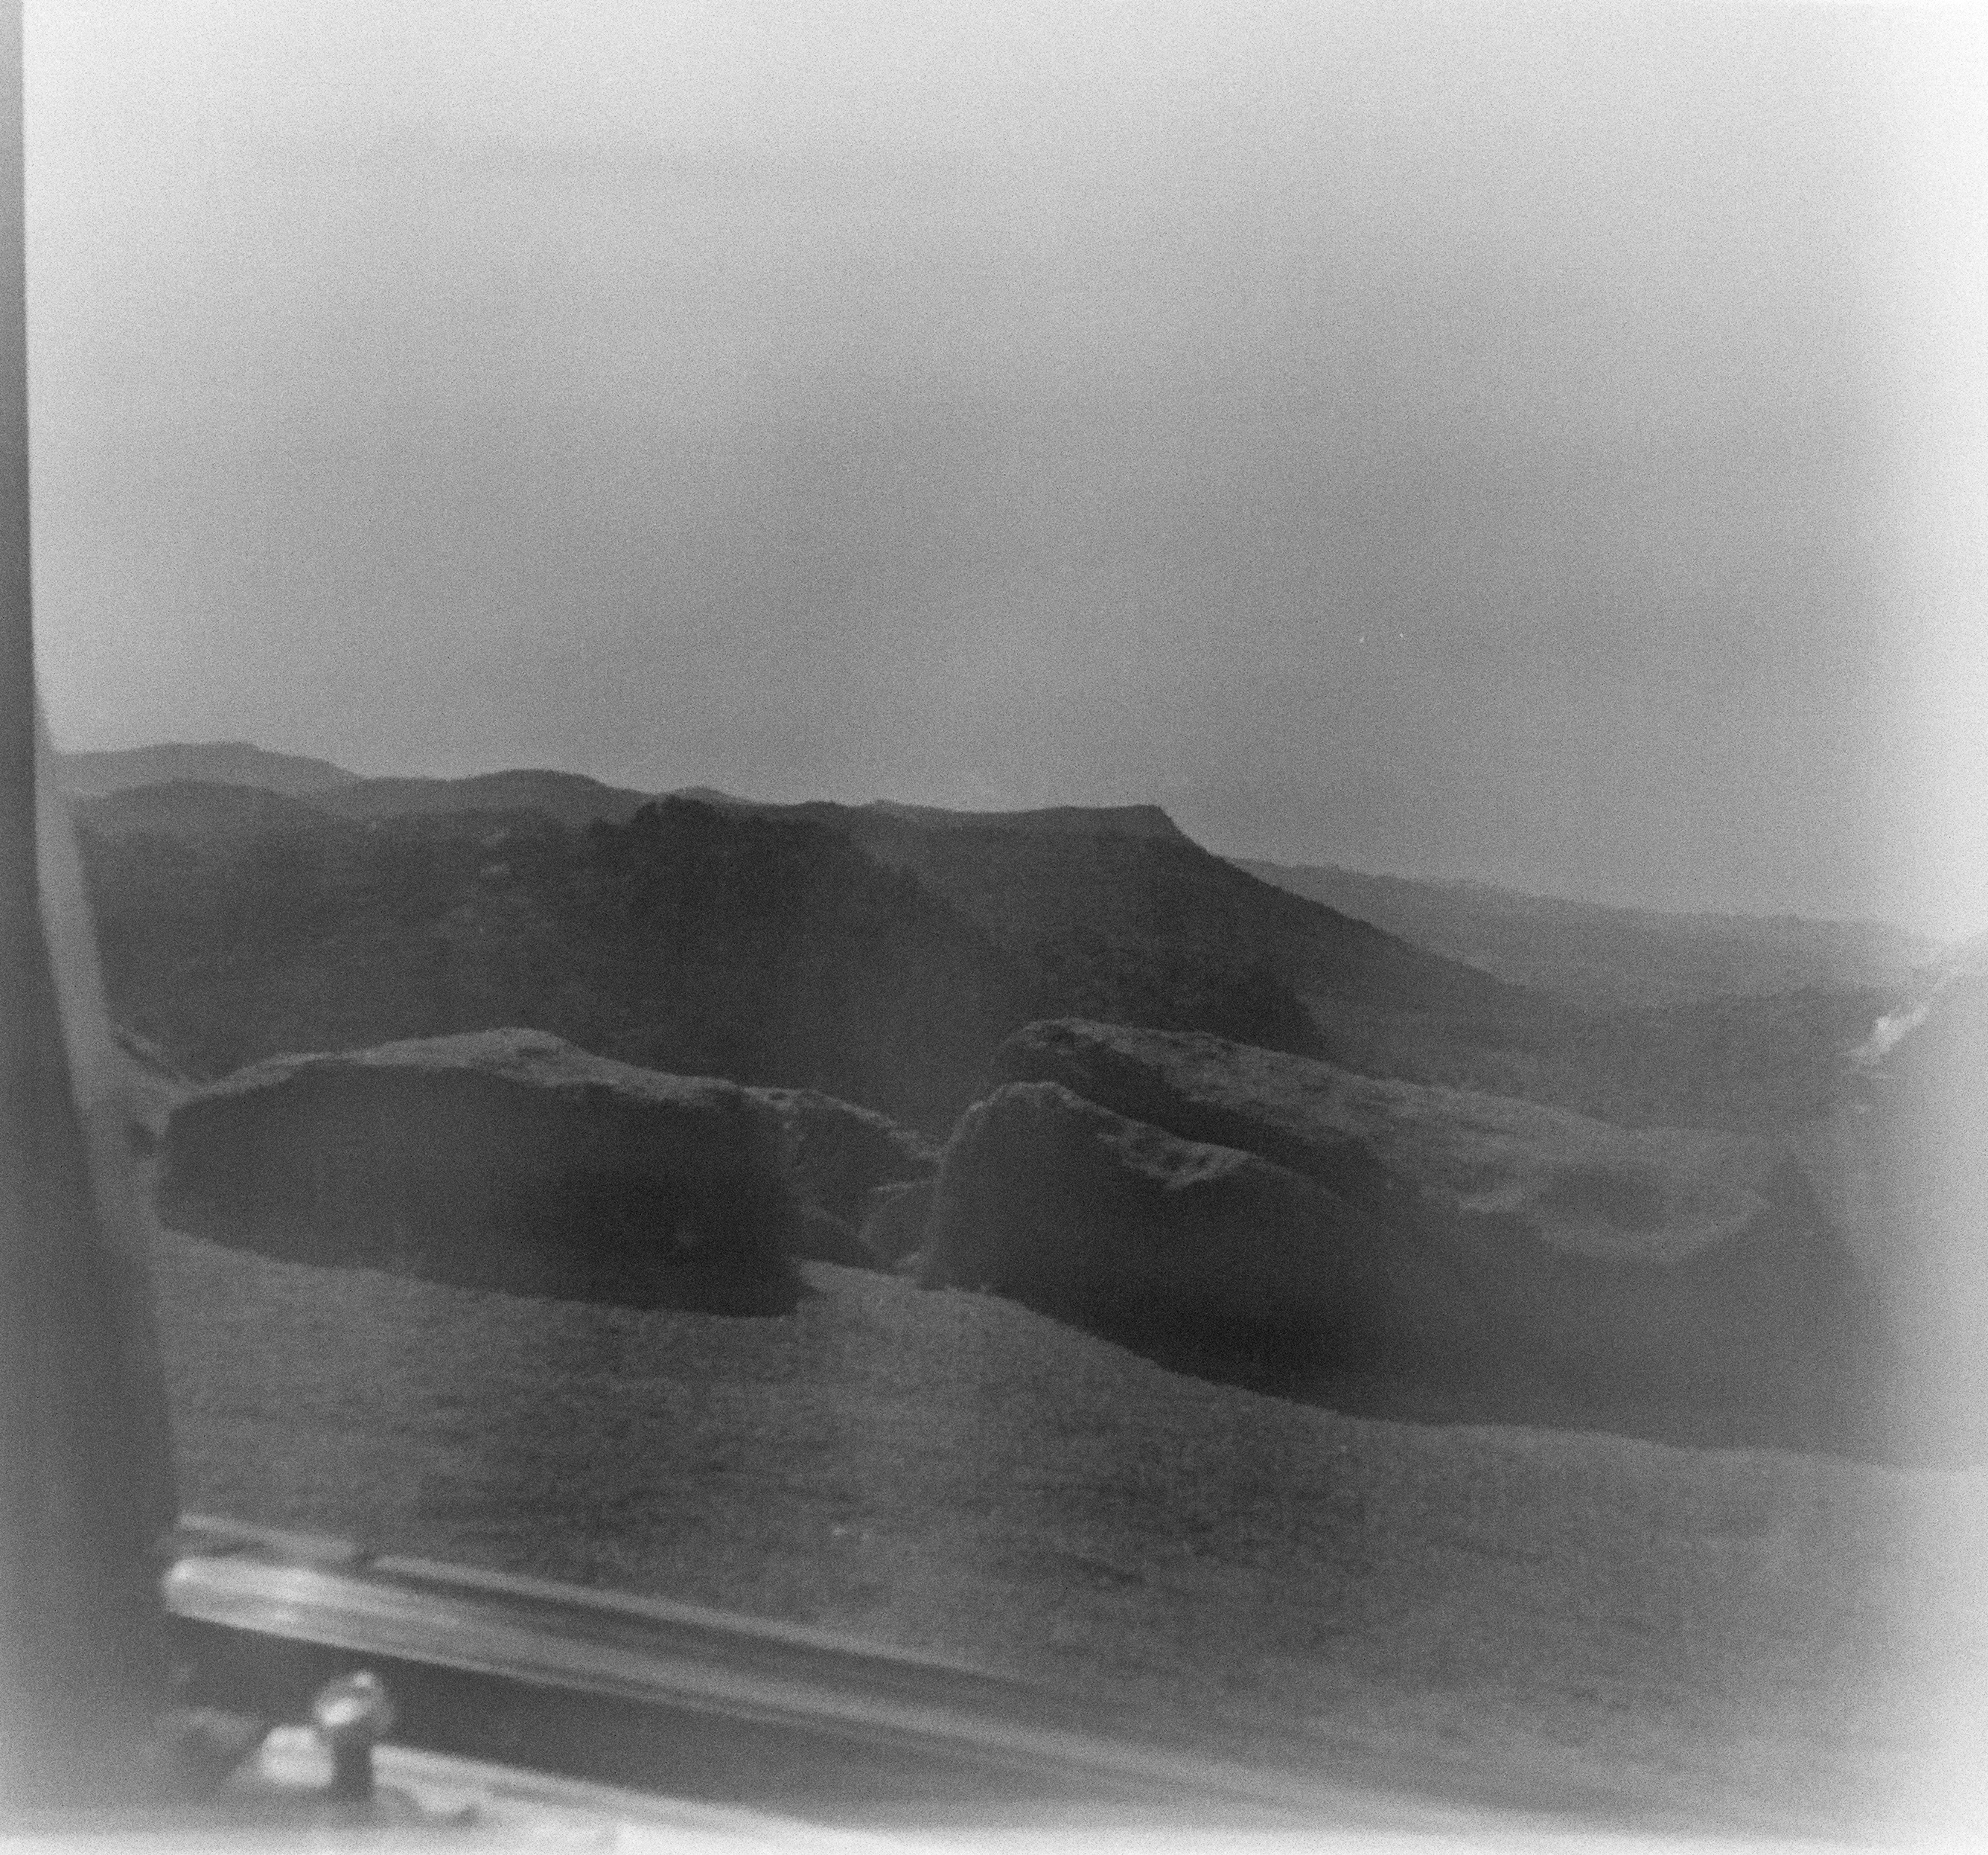
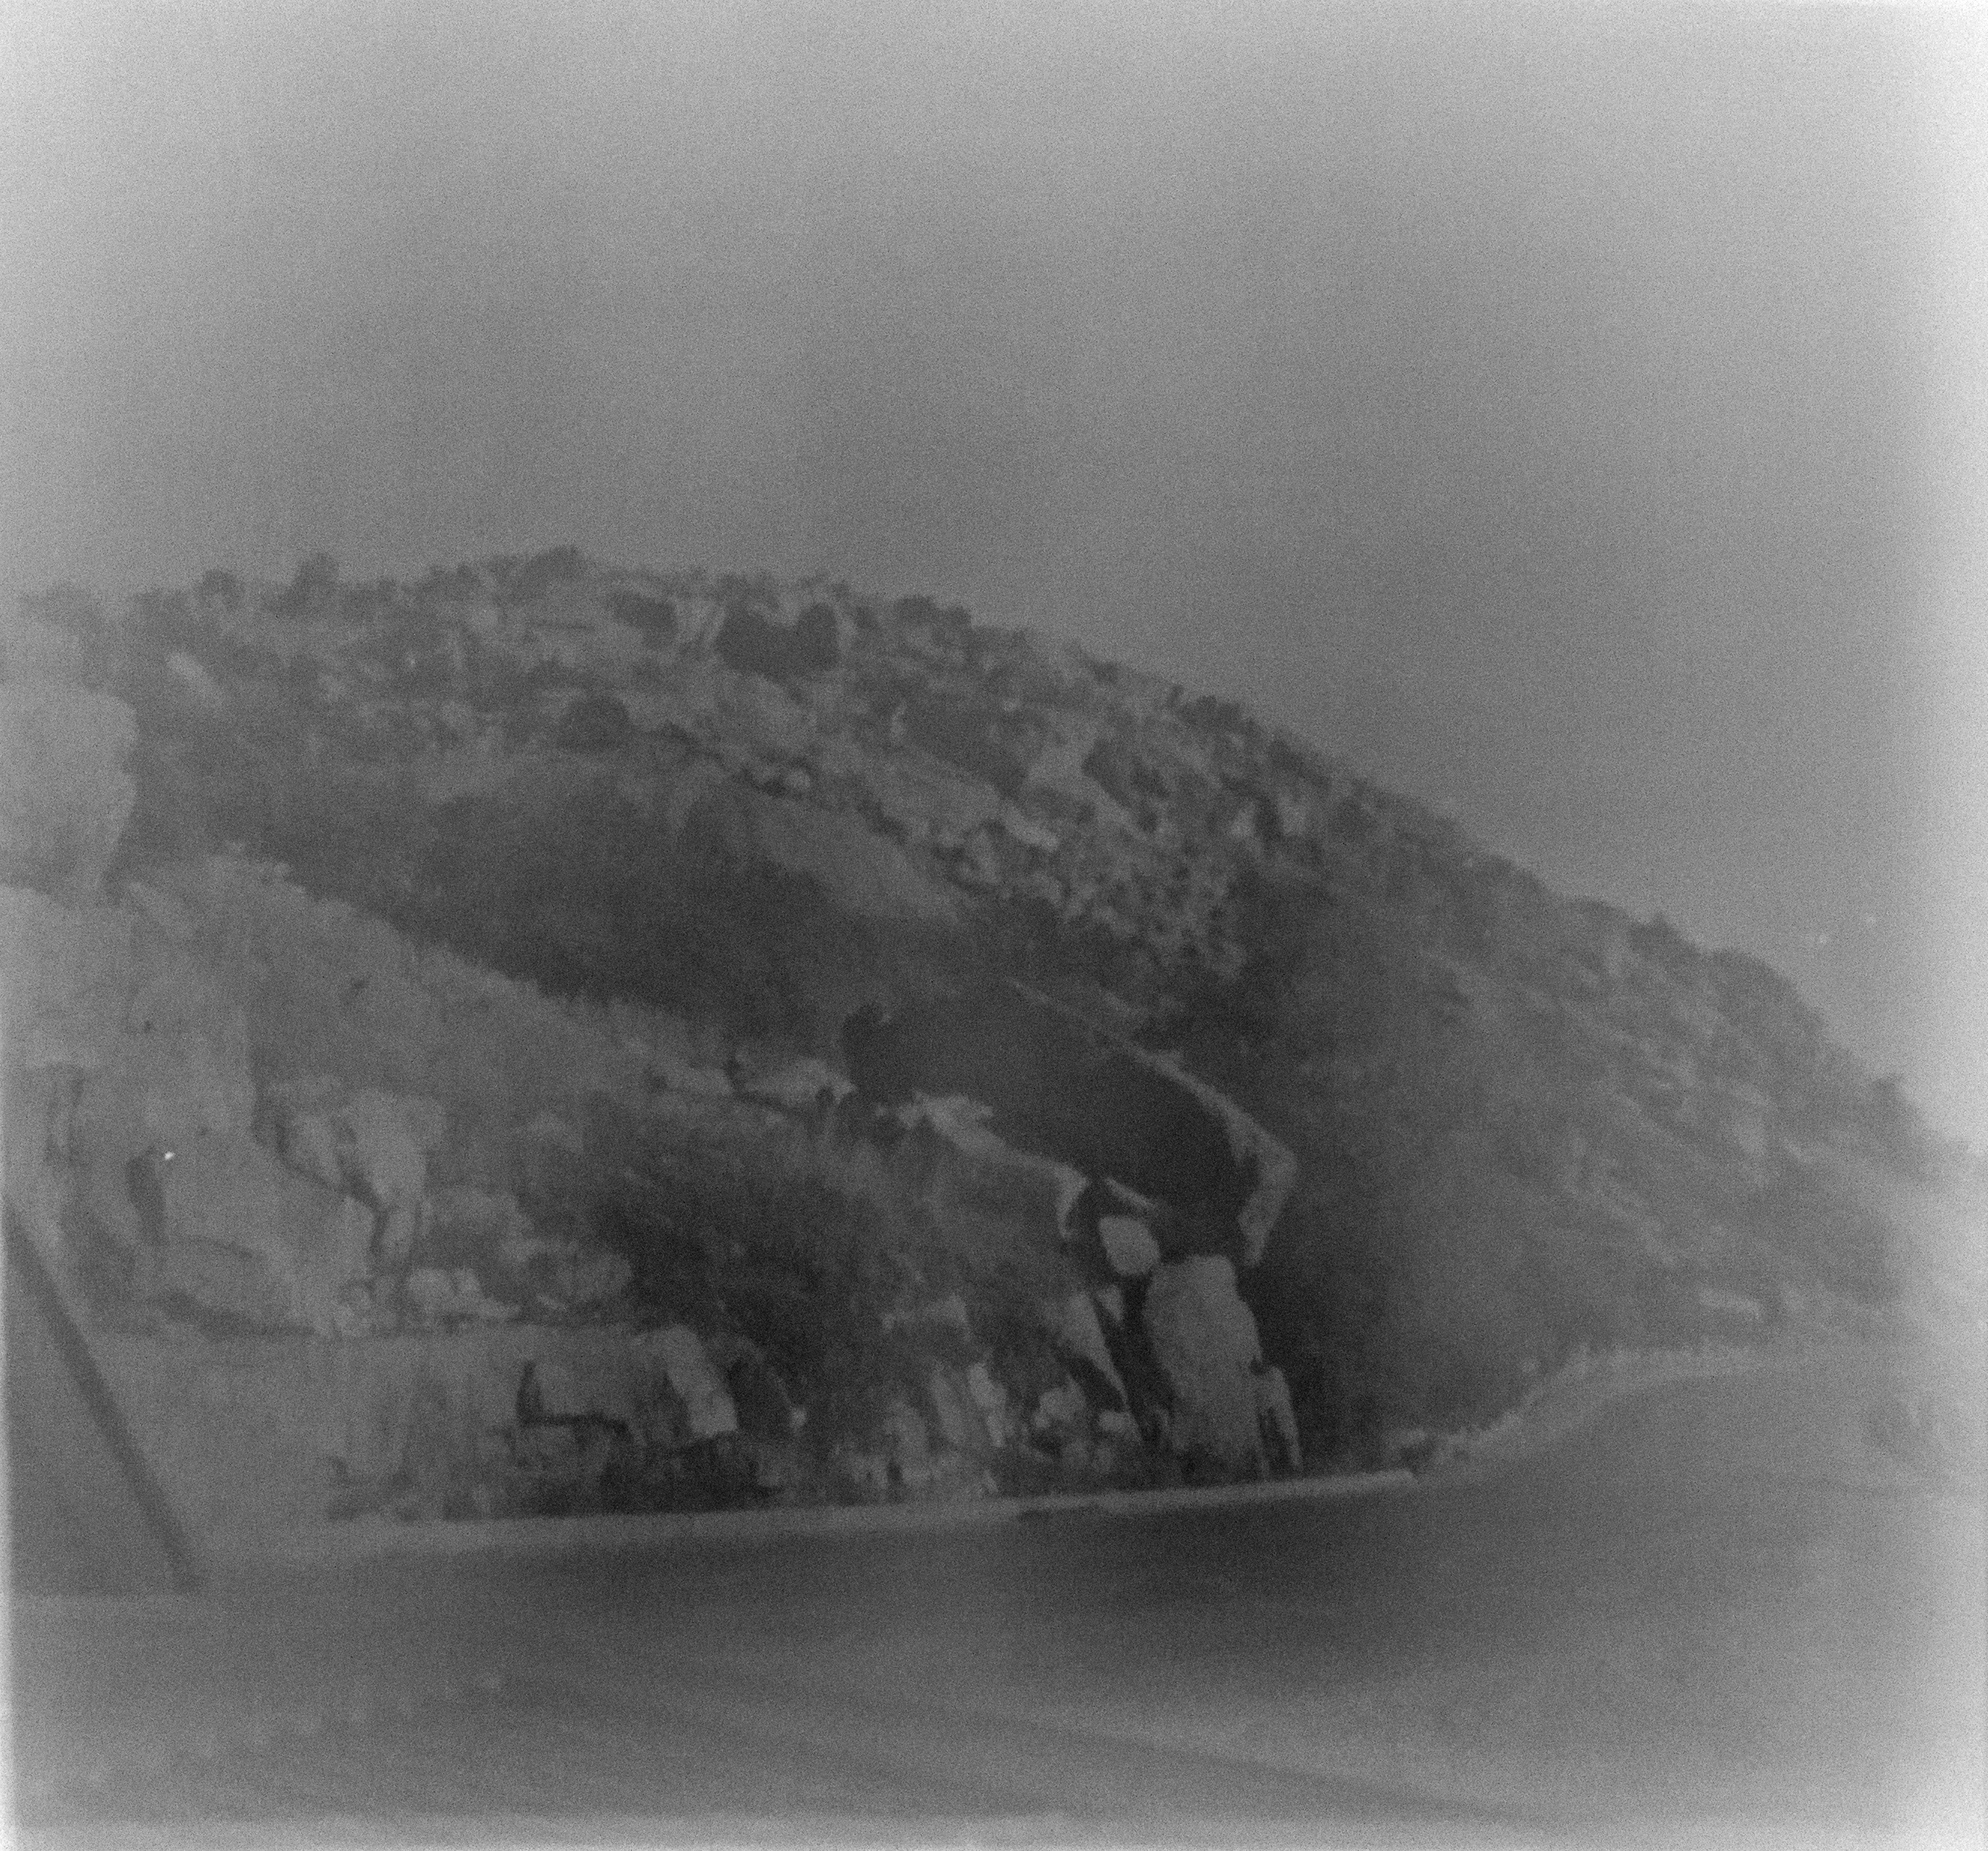

What it would be like to retrace that photographers footsteps ! I cannot understand why people take travel pictures and leave the film intact when selling! I guess the trials and tribulations of film and resulting processing discouraged a many to leave things as they they are and process later, which may never happen…