We recently had the opportunity to visit Kanchipuram, a city about 70 km from Chennai. Nicknamed “The City of Thousand Temples”, the city may well have temples approaching that number – we didn’t count. Many of them are historically and architecturally significant, and the temples have made the city a major pilgrim destination, as it is considered by Hindus of India to be one of India’s seven holiest cities. Specifically, Hindus believe Kanchipuram is one of the seven cities that are providers of “moksha” – or final release.
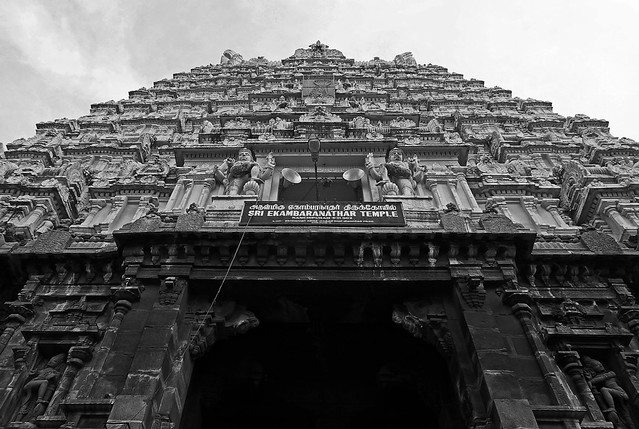
All of the temples provide excellent photography opportunities. They all close in the middle part of the day – roughly noon to 4 – so we only had the opportunity to visit some of the more well-known and impressive ones, including Sri Ekambareswarar Temple:
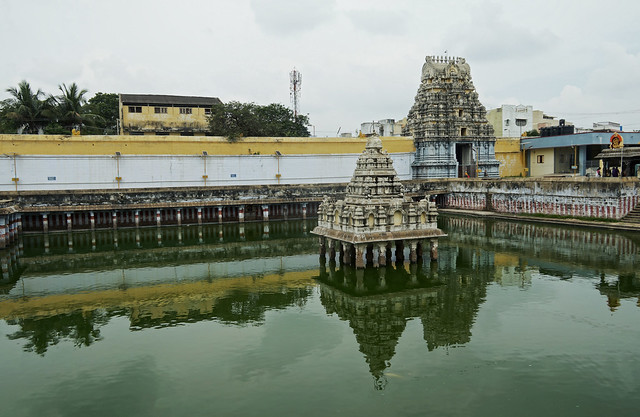
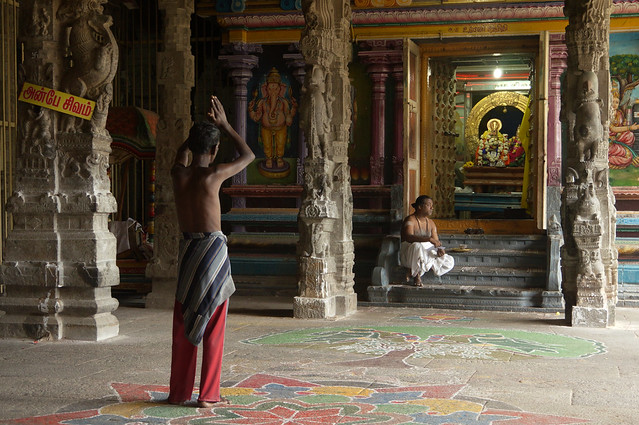
and Kanchi Kamakshi Amman Temple:
Although they are certainly all unique, there are a number of characteristics that tend to repeat in Indian temples – at least those I have seen in southern India. The challenge in photography then becomes capturing them in a way that is unique or different. It’s like photographing the Eiffel Tower: it’s a complicated and impressive structure, but everyone has seen the typical photo that the vast majority of tourists take of it. Is it possible to document what is unique about a certain temple, or use angles and settings to capture things in a completely different way?
Personally, I don’t have the best eye for new and interesting angles, so I came back from Kanchipuram with a bunch of fairly uninspired and uninteresting photos. In addition, they failed to capture the rich textures, highlights and shadows I remembered vividly from our visit. This is where a little software post-processing can help a little. And you don’t have to go broke doing it. Many purists will insist this is “cheating” – but I believe it’s an inherent part of digital photography.
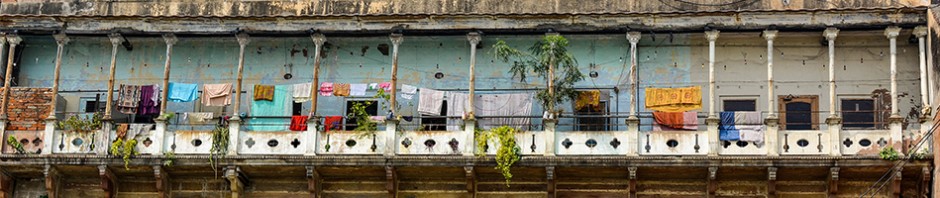
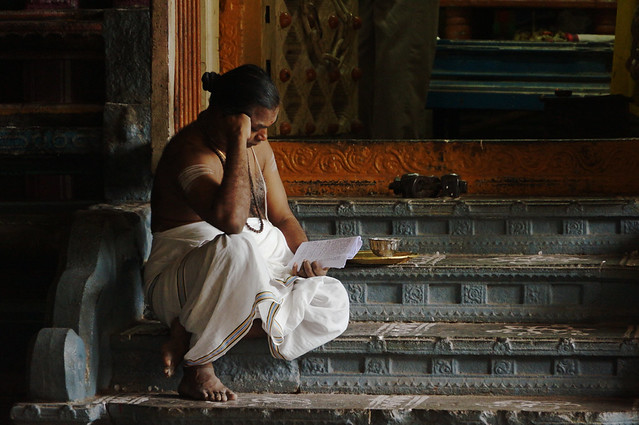
For one, I have a habit of taking “crooked” pictures. This is a relatively simple problem, but it seems that many people overlook it. Especially in architecture, if you have a lot of parallel and perpendicular lines, it can be distracting if they are slightly off from horizontal or vertical. So I use Photoshop Elements ($80) to “free rotate” the photo so it’s straight, and then crop off the edges to fix all the missing edges from rotation. You can do a quick auto-enhance from there, maybe crop a bit more here and there, and end up with a pretty nice photo. But I also like to use the lighting adjustments to play around with the shadows and contrast, and also maybe increase or reduce the saturation a bit – depending on what looks right for the photo. For instance, I reduced some of the glare (highlight reduction) on the floor of the photo below so the texture is visible, and from there slightly enhanced the natural highlights and shadows that were already there.
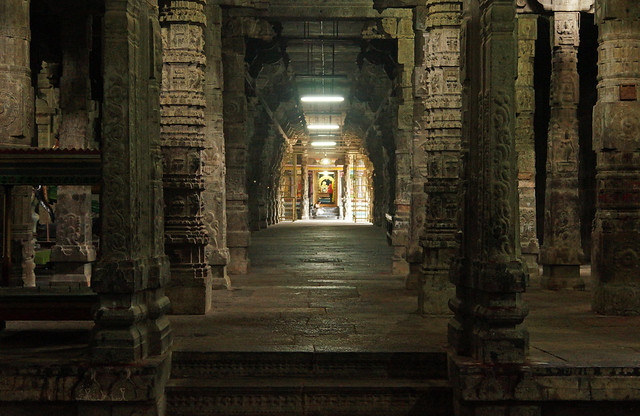
I also like to use a program called Photomatix Pro (also about 80 bucks) when the light and dark areas of the photo are all out of whack. I shoot a JPEG and a RAW file for each photo (simultaneously) and then I plug the RAW file into Photomatix and experiment a bit with the settings to see what I can do to lighten areas that are too dark, or vice versa. Sometimes it works, other times it doesn’t. In the pictures below, the original shot had a completely dark archway with the scene in the background slightly blown out. By applying a little bit of HDR effect using Photomatix, it was possible to reduce the extremes a bit, without overly affecting the realism of the scene. Incidentally, this is a digital solution to a problem that rarely comes up in film photography. Just saying.
This technique can be taken to extremes – but then you pretty much acknowledge that you’re no longer trying to portray reality and are using quite a bit of artistic license to emphasize some aspect of the photo. Many people don’t like this, but I say they can use their own cameras to take their own pictures…
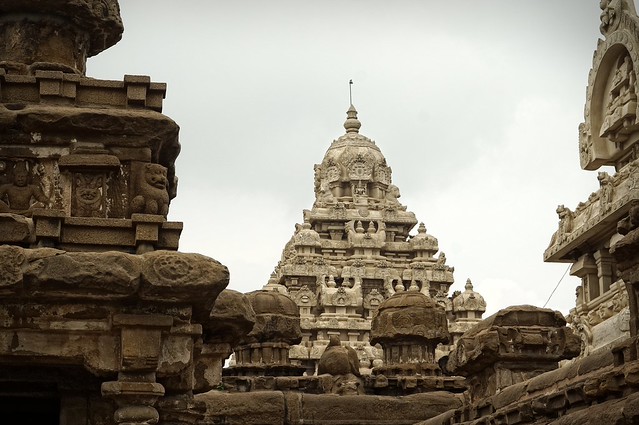
In the picture above, I wanted to emphasize the sharp angles and carvings, and make everything nearly grayscale, except for the pink and yellow. This was done using some of the slider tools that become available after the HDR processing in Photomatix is complete, and before you save the photo. Before any of the processing, it was a pretty boring picture – but by playing around with the colors, it was possible to draw the eye to certain aspects of the scene.
Finally, a few words about a new photo editing program I recently started working with – Perfect Photo Suite, also about 80 bucks. I used Perfect Photo Suite to emphasize the wrinkles in the elephant’s skin below, increase a bit of the detail, bring out the contrast, and increase the “blackness” of the blacks in the photo. The good thing about this program – even though you can only do one photo at a time, it saves the cumulative set of effects you apply in your photos, for re-use as a layer or filter for other photos. So if you have many photos with similar subjects, and you want them to all undergo the same treatment, this program works well.
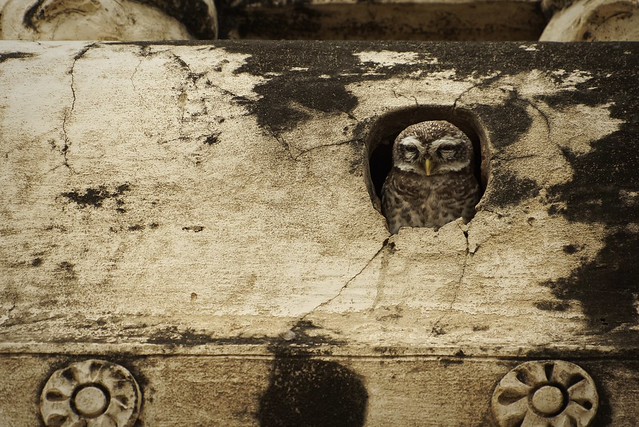
After emphasizing the textures of the elephant’s skin and the doors, I also felt that the elephant’s eye could be emphasized a bit more. When you use the “rule of thirds” with animals, they say it’s good to put the animal’s eye at one of the “thirds” sweet spots. The elephant’s eye was pretty drab in the original photo, so here I went back to photoshop again, used the magic wand to select the colored part of the eye, created a “new layer from copy”, and then manipulated that little bit. If the effect is too extreme, you can make that new layer partially transparent. In this case, I think I overdid it a bit, but you get the idea. The owl photo below, where I emphasized the eyes and beak, worked a bit better.
To see other photos from our visit to Kanchipuram, click here.
