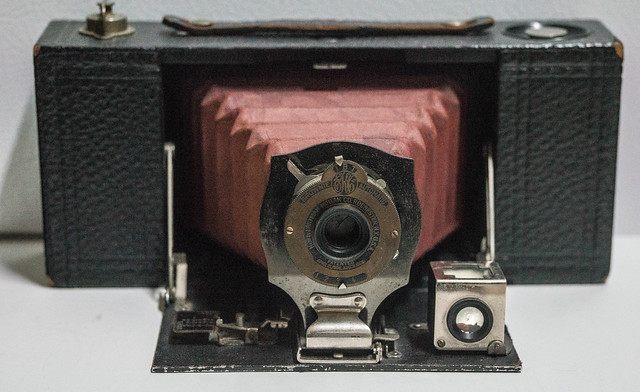
 I have most of my collection of 100-plus cameras on a couple of shelves made from old Indian doors whose multiple layers of paint was peeling. By collector standards it’s not many, but it’s enough so that they grab your attention when you walk into the room. Eventually they ask, “Do any of them still work?” and are surprised to hear that in fact most of them still work. “Yeah but can you still find film for them?”
Yes, but sometimes you have to get creative. Definitely the case for this camera.
The “No. 2A” (don’t ask me how the numbering works) is oddly called a “pocket camera” – odd because you’d need pretty huge pockets. The camera is 8.5 inches wide, two inches deep, and nearly 4 inches tall. I suppose back in 1910 when they started making these, competing cameras were all significantly larger, so maybe it was all relative. But for 7 bucks ($170 in today’s dollars) you had an attractive camera that was relatively portable and simple to operate.
According to the website Brownie-Camera.com, they made about 120,000 of these, starting in February 1910 until about November 1915. They are all serial-numbered, and mine is 57635, which puts it around mid-1912 because in November 1912, starting with serial number 62,551, they manufactured them with black bellows instead of red. I like the red bellows.
This camera used one of the many film sizes that existed in the early days of cameras – 116. It was a bit smaller than some of the other film spools of that time but still bigger than 120 film, which is the largest you can reliably find nowadays. So one way to make this camera work is to find an old roll of 116 film where you can salvage the backing paper and spool (it’s not always possible – sometimes the old film is fused to the paper); and you get a roll of 120 film – easily orderable by mail.
If you’re interested in trying to use 120 film in place of 116, 616, or any other old spool film that’s at least as wide as 120, check out this video.
Operating the camera can be a bit tricky. Once you’ve focused it, based on your best estimate of the distance from subject to lens, you’ve got two more settings you can change. First, you can set the shutter to “instant”, “bulb” or “time.” The other switch can be moved from the numbers 1 thru 4.
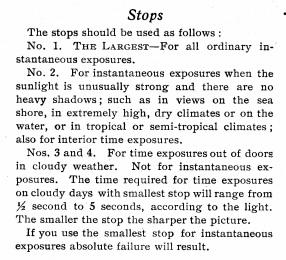
At first, I had no idea what this was about – but I found a manual online and this is the aperture setting. There’s no shutter speed, but according to the manual:
I took the warning in the last line quite seriously – the last thing I want is to experience “absolute failure!”
Thanks to Ivan Lo’s excellent Vintage Camera Lab, we know that the four stops are f/8.8, f/11, f/14 and f/16 (roughly, I assume). He says the shutter is 1/25 second, which seems reasonable, given f/8.8 is the default stop. Not that I had any luck figuring out what typical 116 film speed was in the 1910s.
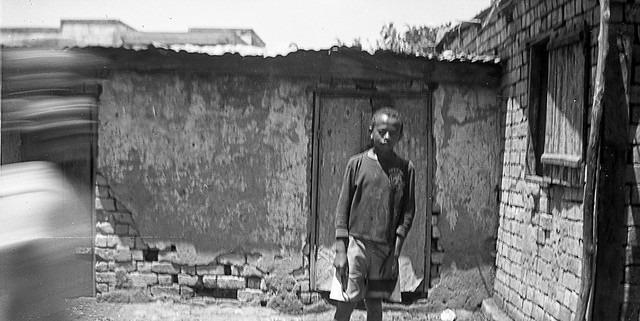
So having figured all of this out, I took the camera out for a spin with a roll of 100-speed black and white film, and here is what I got:
In this first photo, someone jumped into the frame from the left right as I clicked. Frustrating when you only have 6.5 exposures!
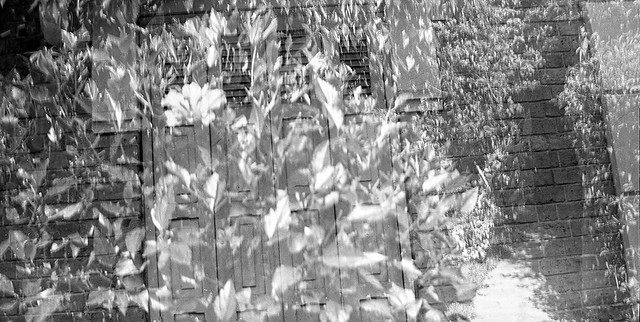
It’s actually trickier than it seems to keep the camera horizontal. For fun, I took the same photo again, and then photographed a bush, to get this double exposure:
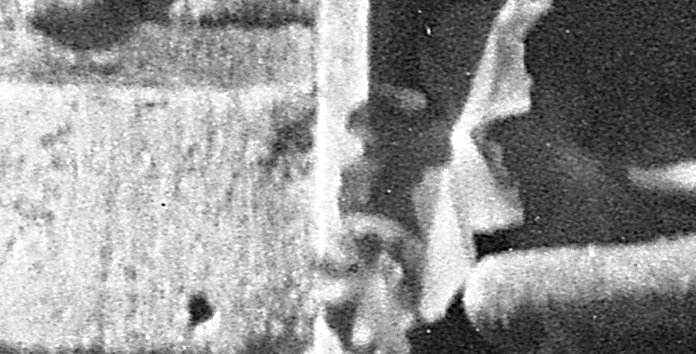
The last photo is probably the best, and it reminds us why, even with a relatively cheap lens and simple camera, “medium format” photographs can still be useful.
The amount of detail in this photo is phenomenal. Using a relatively inexpensive scanner, even at 2400 dpi you end up losing much of the detail on the original negative. The scans end up being 10,000 by 5,000 pixels (a 50 MP scan!) and a 150 MB file. I reduced them drastically before I posted them here, and they get squashed down more to fit on your screen. Below you can see what a portion of the original photo looks like, displayed at full size (hint: it’s the left part of the center plant):
Overall verdict: I’m always amazed that these old cameras still work as they should, even 105 years after manufacture. It’s always difficult to estimate distance, so inevitably I ended up with some blur. It would be beyond me to try and use a camera like this in low light or inside, using the “bulb” or “time” function, or adding a flash into the mix. We’re lucky our modern cameras do all the work for us but it’s still fun to try and see what you can make these old cameras do using a little trial and error.


