Blog
-
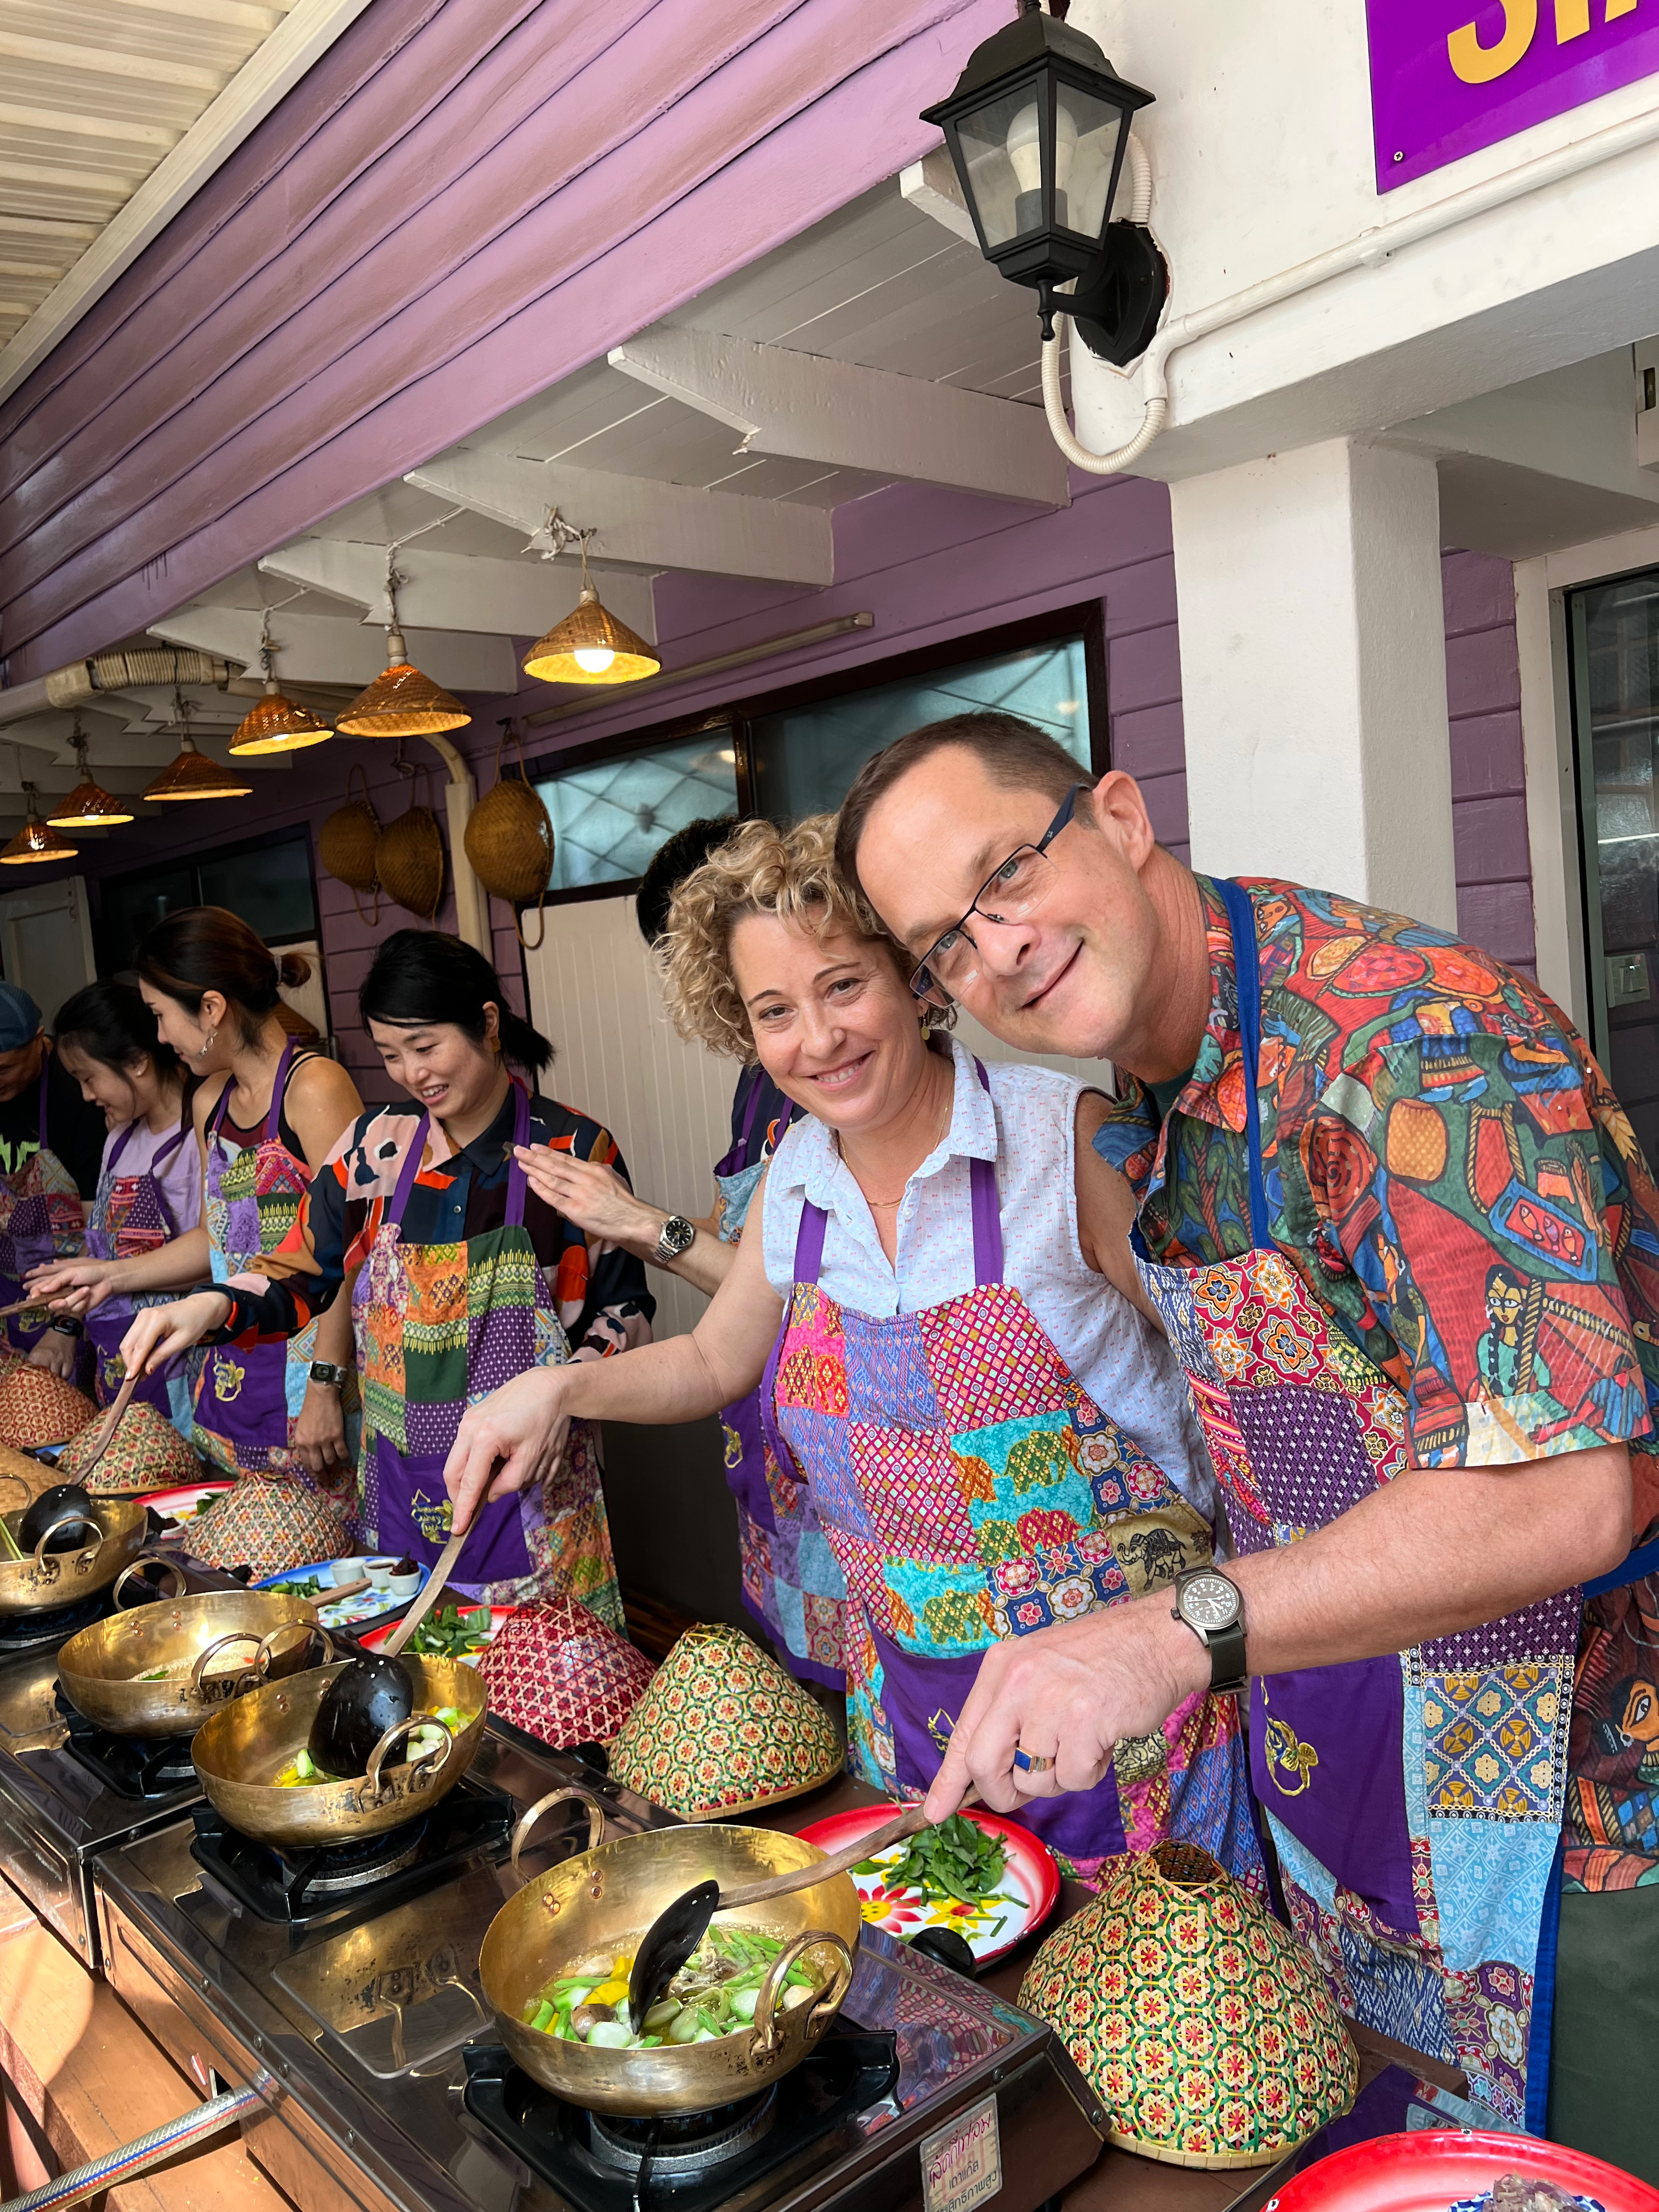
Gulshan 3: Weekend Escapes to Thailand
Mae Klong Market and Bangkok’s Unexpected Order Living in the diplomatic heart of Dhaka—nestled between Baridhara, Gulshan 1, and Gulshan 2—you learn to appreciate the finer points of organized chaos. Twenty million people, constant honking that’s considered not just normal but polite communication, and traffic that defies all logic. So when we learned the expat
-

Another Year, Another Itdyadi
I see it has been 18 months since my last post. In that time, a lot has happened in Bangladesh, to say the least. It has kept us all quite busy and on our toes. In the meantime, in the weeks prior to Eid ul Fitr 2024 – which was way back in April –
-

Our Truly Amazing TV Debut: Behind the Scenes
A few months ago, we got word through the Dhaka expat network that someone was looking for “foreigners” to play roles in a Bangladeshi television show. No acting experience or Bengali language experience required. It turns out that this “someone” was none other than television personality, writer, producer, comedian, voice actor, and singer Hanif Sanket.
-
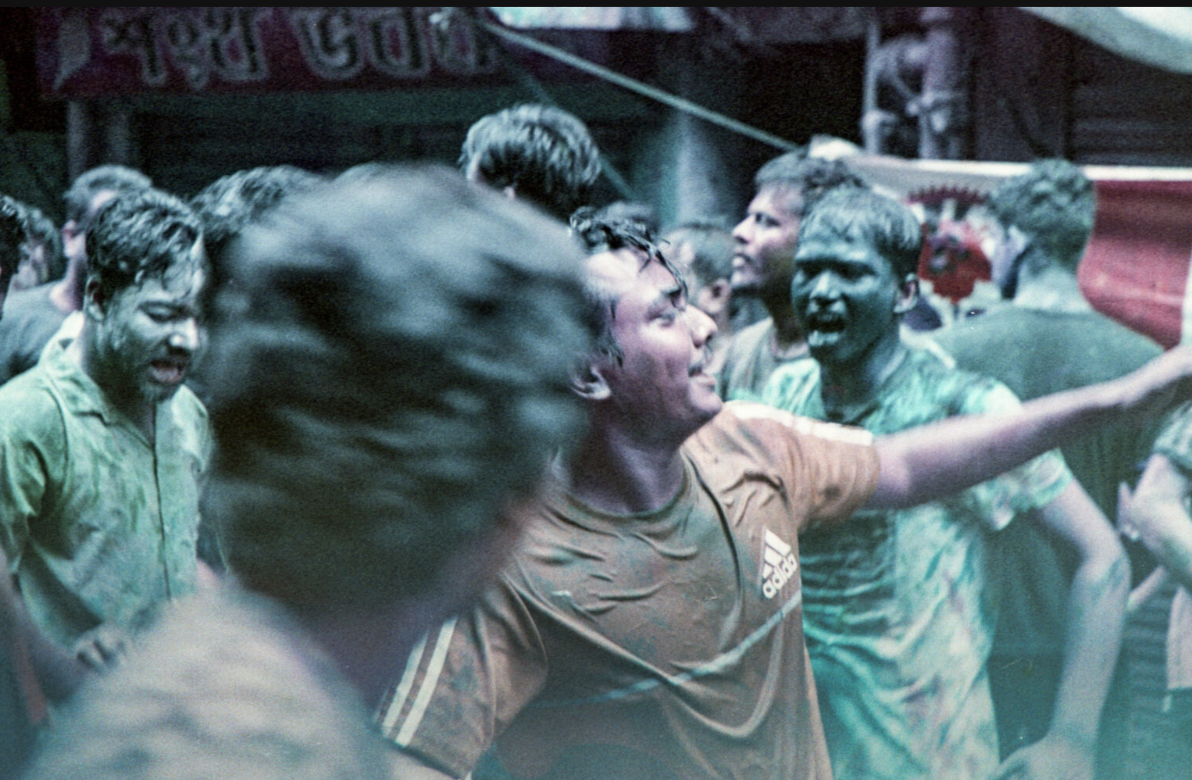
Holi in Bangladesh Part 2: the Ruined Roll
A bit of clicking around this site will reveal I’m a film photographer. And when I went to photograph the Holi celebration for my previous post, I took with me three rolls of film. Only two turned out as intended. I had two small developer tanks that hold two spools each – two in one,
-

Holi in Bangladesh
For those of you familiar with the holiday Holi, it may come as a surprise to see a post about Holi, a Hindu holiday, in Bangladesh, a predominantly Muslim country. The number of Hindus in Bangladesh has declined significantly since the country’s independence, but given a total country population, of 170 million, there still remain